(Nate from Debbie: For those of you who missed last year’s AWBU Foodie Friday, here’s a little hint of one of the sessions coming up for 2015. We’re so excited to have Heather expanding her Food Photography and Food Styling session; she will be assisted by Sarah Shotts, Jenny Marrs and Whitney Binzel, skilled photographers themselves. Now, isn’t it about time you turned in your registration for AWBU 2015 including Foodie Friday?)
Session Title: Creative Food Photography: Branding Yourself with Gorgeously Designed Food Photos
Hey y’all! My name is Heather and I’m the proud owner of the blog Heather’s Dish, a place where I create recipes and talk to y’all like we’ve been friends forever. It’s simple: I’m a wife, mother, and full-time food blogger. I do all of it imperfectly, but since I believe it’s our imperfections that attract other people to us I’m OK with sharing that. And here’s the thing about food photography: it can be SUPER intimidating (has anyone SEEN Pinterest lately?!) but the thing is that we all have a story to tell. We all have a unique perspective to share, so there’s room at the proverbial table for all of us!
Because we are such a visually-driven society it’s important to take the time to set up our photos to tell our story so that we can set ourselves apart. The first thing to do is find a camera you love and learn how to use it! This means look up videos and tutorials, be an A+ student, and practice. Realize that you’ll likely never get that one photo that you consider absolutely perfect, but then again it’s that search for that one photo that keeps us going. Practice and be willing to make mistakes!
Something to consider when you’re shooting is consistency. If someone ran across your photo on Facebook or Pinterest, would they know it was yours based on the quality and consistency of the photo? Or even just looking for consistent lighting – try shooting at the same time of day with the same kind of light (Northern light is always the most consistent!). And create a consistent editing routine – it will make the whole post-processing thing much simpler!
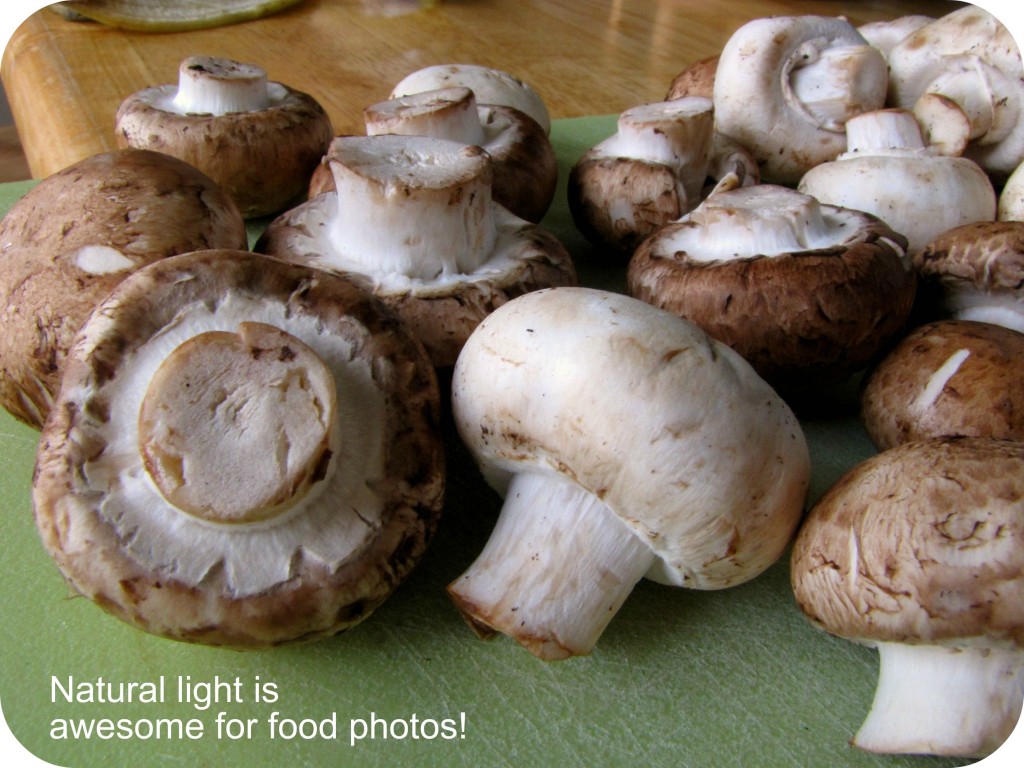
My husband is super smart and knows all of the things about lighting setups and products to use…but I am a purist at heart and only ever shoot using natural light. It’s the most beautiful to me and always highlights the food best, plus the evenness of the light is perfect for casting the light across the food in a beautiful way. And yes it can be fickle (time changes, weather, etc) but I believe it’s worth it to wait for the good light than to shoot using anything else.
Because I’m a list person I‘m going to give y’all a bullet point list of the highlights of this presentation (and lucky you – no nervous laughter from me!):
- Styling food requires utilizing texture. That means fresh food might look great with a quick mist of water, cooked food usually works best without too much steam (so let it cool slightly), and a final plating looks great with a few fresh ingredients in the shot as well. Don’t be afraid to change it up!
- Styling props and accessories are SUPER important! Find things that really portray the kind of food you cook (homestyle? restaurant-quality? simple? colorful?) Keep in mind that you don’t want to overwhelm the actual food with bright colors and too-bold patterns. And just an FYI – red can be very hard to photograph.
- Play with lighting angles! Shoot the food with the light directly at the subject, from the side, or with the light coming from behind. All of those options can create really great texture.
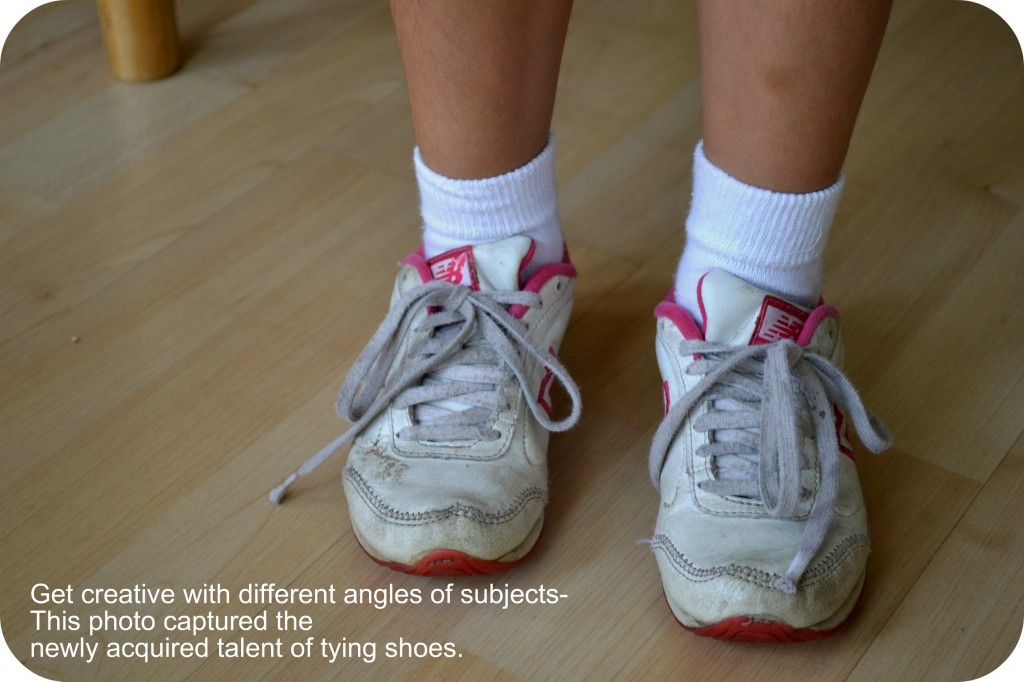
- Play with other angles! Shoot the food from the ground level, a 45-degree angle or overhead to create different stories with your shots.
- Basic editing can be done with Lightroom (highly recommend), Photoshop, or various online resources. I use Lightroom almost exclusively, but will resize things as necessary in Photoshop. All of these options have really great online tutorials and you can Google anything you want to know.
- A note on sizing: vertical (portrait) photos are usually work best for Pinterest, Google+, StumbleUpon and are easily cropped if you’re reposting to Instagram. Horizontal (landscape) photos are usually best for Facebook and Twitter, but are also responsible for increased viewability if you work with an ad network who has those requirements.
In short, be prepared to make mistakes. Be prepared to get frustrated. But in the end be prepared to fall in love with photography and eventually develop a really keen eye for great photos!

Heather Disarro is a food-centric lifestyle blogger who is passionate about embracing the beauty that surrounds us with in our everyday lives. She is a Texan living the expat life in central Arkansas with her husband, son and two massive dogs. Heather writes her blog, Heather’s Dish, from an office filled with dust, dog fur, toys and plenty of love, grace and music. She specializes in creating delicious and creatively nourishing recipes. Cooking seasonally and with as many local ingredients as possible is an important component to Heather’s style of food, and she revels in the opportunity to bring the love of cooking to the world as a way to love others well! You can find her on her blog, Facebook, Twitter, Pinterest, Google+ and Instagram.
