I do my best to try to find ways to make the everyday a bit more special. And you know what? Like exercise, the more I act upon this quest, the more toned I become.
Take my little photo tour of three every day items around my home that elevate pretty in two ways: for the items they cradle and for how they make me feel. Read More.
(Nate from Debbie: For those of you who missed last year’s AWBU Foodie Friday, here’s a little hint of one of the sessions coming up for 2015. We’re so excited to have Heather expanding her Food Photography and Food Styling session; she will be assisted by Sarah Shotts, Jenny Marrs and Whitney Binzel, skilled photographers themselves. Now, isn’t it about time you turned in your registration for AWBU 2015 including Foodie Friday?)
Session Title: Creative Food Photography: Branding Yourself with Gorgeously Designed Food Photos
Hey y’all! My name is Heather and I’m the proud owner of the blog Heather’s Dish, a place where I create recipes and talk to y’all like we’ve been friends forever. It’s simple: I’m a wife, mother, and full-time food blogger. I do all of it imperfectly, but since I believe it’s our imperfections that attract other people to us I’m OK with sharing that. And here’s the thing about food photography: it can be SUPER intimidating (has anyone SEEN Pinterest lately?!) but the thing is that we all have a story to tell. We all have a unique perspective to share, so there’s room at the proverbial table for all of us!
Because we are such a visually-driven society it’s important to take the time to set up our photos to tell our story so that we can set ourselves apart. The first thing to do is find a camera you love and learn how to use it! This means look up videos and tutorials, be an A+ student, and practice. Realize that you’ll likely never get that one photo that you consider absolutely perfect, but then again it’s that search for that one photo that keeps us going. Practice and be willing to make mistakes!
Something to consider when you’re shooting is consistency. If someone ran across your photo on Facebook or Pinterest, would they know it was yours based on the quality and consistency of the photo? Or even just looking for consistent lighting – try shooting at the same time of day with the same kind of light (Northern light is always the most consistent!). And create a consistent editing routine – it will make the whole post-processing thing much simpler!
My husband is super smart and knows all of the things about lighting setups and products to use…but I am a purist at heart and only ever shoot using natural light. It’s the most beautiful to me and always highlights the food best, plus the evenness of the light is perfect for casting the light across the food in a beautiful way. And yes it can be fickle (time changes, weather, etc) but I believe it’s worth it to wait for the good light than to shoot using anything else.
Because I’m a list person I‘m going to give y’all a bullet point list of the highlights of this presentation (and lucky you – no nervous laughter from me!):
Styling food requires utilizing texture. That means fresh food might look great with a quick mist of water, cooked food usually works best without too much steam (so let it cool slightly), and a final plating looks great with a few fresh ingredients in the shot as well. Don’t be afraid to change it up!
Styling props and accessories are SUPER important! Find things that really portray the kind of food you cook (homestyle? restaurant-quality? simple? colorful?) Keep in mind that you don’t want to overwhelm the actual food with bright colors and too-bold patterns. And just an FYI – red can be very hard to photograph.
Play with lighting angles! Shoot the food with the light directly at the subject, from the side, or with the light coming from behind. All of those options can create really great texture.
Play with other angles! Shoot the food from the ground level, a 45-degree angle or overhead to create different stories with your shots.
Basic editing can be done with Lightroom (highly recommend), Photoshop, or various online resources. I use Lightroom almost exclusively, but will resize things as necessary in Photoshop. All of these options have really great online tutorials and you can Google anything you want to know.
A note on sizing: vertical (portrait) photos are usually work best for Pinterest, Google+, StumbleUpon and are easily cropped if you’re reposting to Instagram. Horizontal (landscape) photos are usually best for Facebook and Twitter, but are also responsible for increased viewability if you work with an ad network who has those requirements.
In short, be prepared to make mistakes. Be prepared to get frustrated. But in the end be prepared to fall in love with photography and eventually develop a really keen eye for great photos!
Heather Disarro is a food-centric lifestyle blogger who is passionate about embracing the beauty that surrounds us with in our everyday lives. She is a Texan living the expat life in central Arkansas with her husband, son and two massive dogs. Heather writes her blog, Heather’s Dish, from an office filled with dust, dog fur, toys and plenty of love, grace and music. She specializes in creating delicious and creatively nourishing recipes. Cooking seasonally and with as many local ingredients as possible is an important component to Heather’s style of food, and she revels in the opportunity to bring the love of cooking to the world as a way to love others well! You can find her on her blog, Facebook, Twitter, Pinterest, Google+ and Instagram.
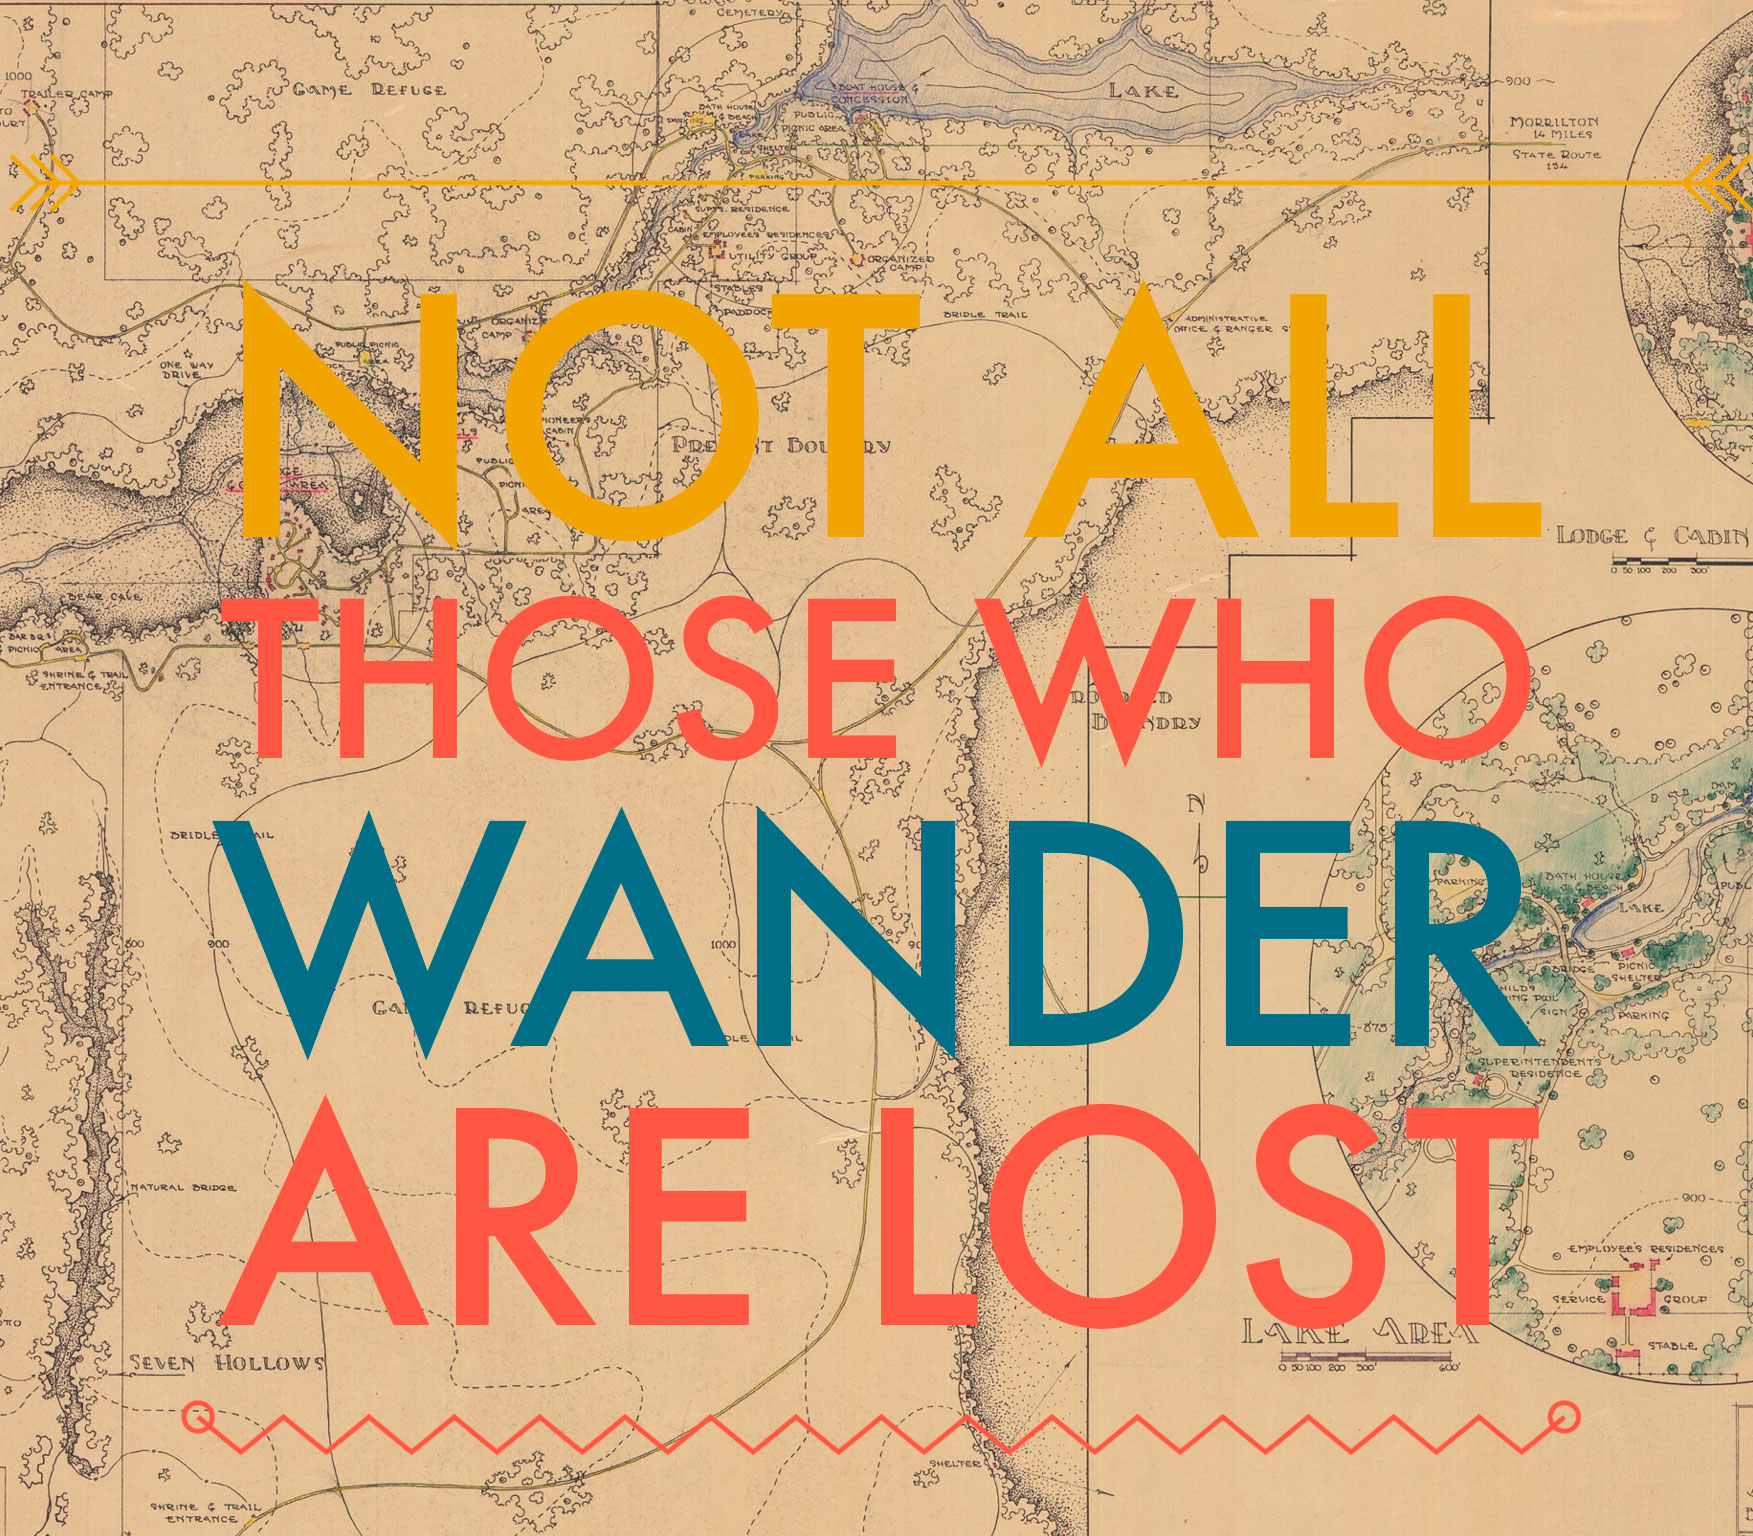
1936 Petit Jean State Park map courtesy of National Park Service
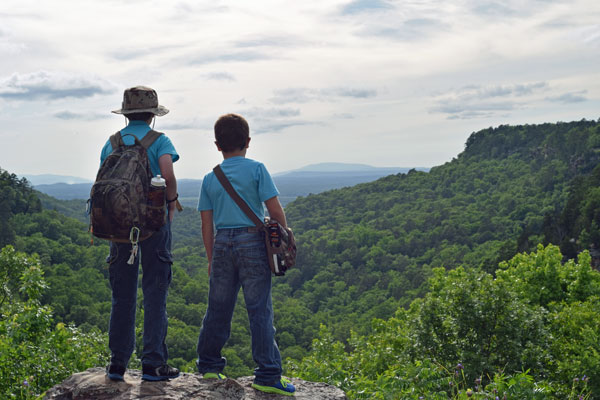
Stephanie Buckley, aka The Park Wife, is the founder of Arkansas Women Bloggers (ARWB), a community of over 700 women designed to gather, grow, and connect bloggers in our state (and seven other states are building the amazing in their backyards).
She loves gardening, porch swings, a beautifully set table, a delicious meal surrounded by great conversations, their cabin in the woods and monogramming everything that is not nailed down. She is a devoted wife and fun-loving, homeschool mom to two extraordinarily cool little gentlemen and is fortunate enough to live on one of Arkansas’s premier state parks.
Great photos allow the memories of life to live on. Remember sifting through your grandma’s photo albums when you were a kid? Photos of family (both near and far), family pets, farm animals, babies, kids, vacations or trips to distant places, trees, flowers, school days, the family car, trips to town…
Photos are a window into the past. Photos allow us to visually share our story with the next generation. It’s important to think about the moments you want to capture, the message you want to convey.
Photos make your content even more visual for your readers. They bring an added measure of beauty to your writing. Good photos draw the eyes in and make readers want to click on that Pin or want to read more. They allow you to more visually promote a brand, but in a relevant way that also connects with your readers.
We had a great time in this session, covering the following points:
– Photography in Everyday Life, Travel, Blogging, and Working with Brands
– Positioning and Lighting
– Handy Tools
– Photo Styling and Props
– Mobile Apps
– Basic Photoshop and PicMonkey Skills
Mel Lockcuff is a wife and homeschool mom to 2 boys and a cat named Harold. She and her family are transfers to Arkansas and are loving life in Northwest Arkansas. They have 10 chickens and a lovely little garden in their budding back yard homestead.
Now. Pull up your instagram profile. Look at the grid of pictures under your name. What do you see? What story are you telling? Here is a random list of some of our favorites – they are telling a clear story with beautiful images, and they run the gamut from professional photographers to regular people who have simply learned some tricks to help out their photos. Take a look at:
@abeautifulmessofficial
@alisonchino
@destinationeu
@kjp
@smileandwave
@garethpon
@taza
@bobdavidson
@ryanbyrd
@christenbyrd
@mooshinindy
Now that you’ve seen these, we hope you’re inspired to take better pictures. Here are some things you can do! While you’re shooting: What are you shooting with?
iPhone camera(Whitney) I shoot 99% of my phone photos with my iPhone camera. No fuss, No frills.
Touch the screen to control the focus and exposure (brightness).
Lock the focus (helpful when your subject is close or hard to focus on) by holding down on the spot you want to focus until the yellow box pops up.
Help yourself with the rule of thirds (more on this later) by turning on your grid, I think the default is off, but you can turn it on under settings.
VSCOcam(Sarabeth) I also shoot mostly with my iPhone camera but I also like the camera in this app for a few reasons:
Tap the screen with 2 fingers to separate your focus from exposure which gives you a little added control over brightness.
Shoot in a square mode to help you see what you’re getting for Instagram – the full rectangular frame is still captured in case you want more to work with later.
The whole bottom of the screen turns into the camera button – it’s just bigger and easier.
Don’t shoot in an app that’s not made to be a camera – like Instagram, Facebook, or Twitter. You just have more tools to work with and will get better pics using a camera app.
Things to keep in mind while you’re shooting:
Why: take a minute to think about the purpose of the content. You wouldn’t share on the fly on your blog; remember that this is part of a bigger story. Pictures of your kids, pets, dinner, place you visit…all fine, but does it fit the story you are telling
Where: look at your surroundings, how does your location play into the photograph,
Light: Where is it coming from, and what kind? filtered sunlight, direct sun, interior light, backlighting, side light. Turn off your flash. Don’t be afraid to play with light, moving around to see how it plays in your photo.
What (check background, etc): be aware of the entire frame, even the background tells a story. With food you want the water on the fresh produce to give the photo a feeling, same can be true of the surrounding/background. For example…if I’m (Whitney) taking a picture of my son on my couch I might get up and open my blinds to add better light or shadows and move laundry off my couch to give a clean look. It’s still true to a natural moment, but just a cleaner version. I am a photographer and I will set people up for a natural photo; it’s very rare for it to happen completely naturally.
Angles: start by taking lots of photos. Don’t be afraid to move around and see what works. Shoot from above, get lower (on the level of your subject), straight on, from the side. Then, in editing, decide what you like best. Resist your urge to post multiples and only post one! Save the progression and full story for your blog.
Color: pay attention to it in each photo as well as your total feed/story. Use it, don’t let it overwhelm. A note about black and white – make it black and white, lots of contrast, not just a bunch of gray.
Rule of thirds, leading lines:imagine you take your frame and cut it in 9 equal parts, like a tic tac toe board. This is the rule of thirds. Use the intersections of those lines as points of interest, something the eye will naturally be drawn to. By placing a subject in the middle of the frame your eye is immediately drawn to it and then has no place to go. By placing your subject on one of these points of interest, near a side, your eyes follow the photo and linger longer. Another tool to lead a viewer into a photo is the use of leading lines. Often a road, bridge, straight line, path, but can also be a softer line that leads you deeper into the photo.
Try the opposite: Always important to remember that sometimes we have to throw out all of these rules. Some of our favorite photos are real life, messy and all, or a photo off the grid. We can really love a photo in full center focus. or something with so much negative space.
Take a LOT of pictures: It’s worth repeating. Take several, look at what you got, adjust. Try the opposite! Lather, rinse, repeat. J
While you’re editing (you ARE editing, right?):
Cropping can make your picture stronger – make it look better, give it a stronger point of view. You can adjust to use leading lines or the rule of thirds, or can fix things you didn’t get quite right when you shot.
Contrast & saturation: if I (Sarabeth) don’t do anything else, I always adjust – increase – these. Especially for these pictures that are viewed on small screens.
Don’t over adjust – remember to keep a natural look, especially if you are going to share these at a larger size, like on your blog.
Color: Would your picture be stronger if it were black & white?
You can do all of this in Instagram, or you can try our favorite apps–
Snapseed– we love the sliders for adjustments, mostly use crop, tune image & sharpening screens. You can vignette with the center focus screen.
VSCOcam – also has same tools – I like the separate shadows/highlight tools here – but VSCO sliders have stops, so they’re not quite as flexible as snapseed. Easier to vignette because there’s a specific tool for it. Some really nice filters too.
This is a lot of information, and it’s a little hard to convey without visuals, but there are so many great tutorials on pretty much every aspect of photography – so if there’s a term you don’t understand, start Googling (or ask us)! Here’s to taking better pictures: Slideshare.
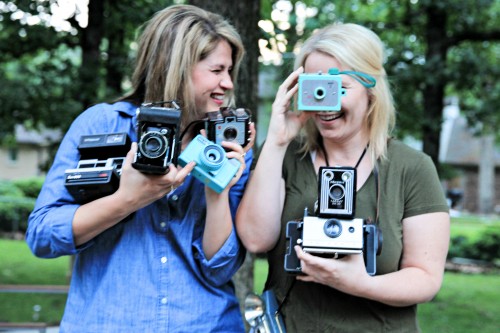
Whitney Loibner and Sarabeth Jones are framily. They love to take trips together, especially cruises. They love to have drinks on the patio together, especially margaritas. And they love living in Dogtown and taking pictures of it all. Whitney is quite adept at putting funny things in Sarabeth’s purse for her to find later, and Sarabeth is practically a professional at borrowing Whitney’s clothes. [whitneyloibner.com | sarabethjones.com, @whitneyloibner & @sarabethjones on twitter & instagram]
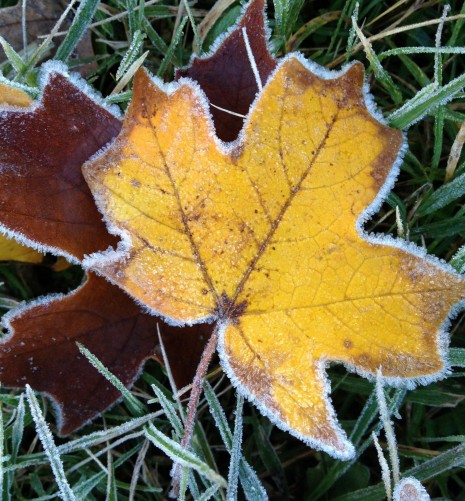
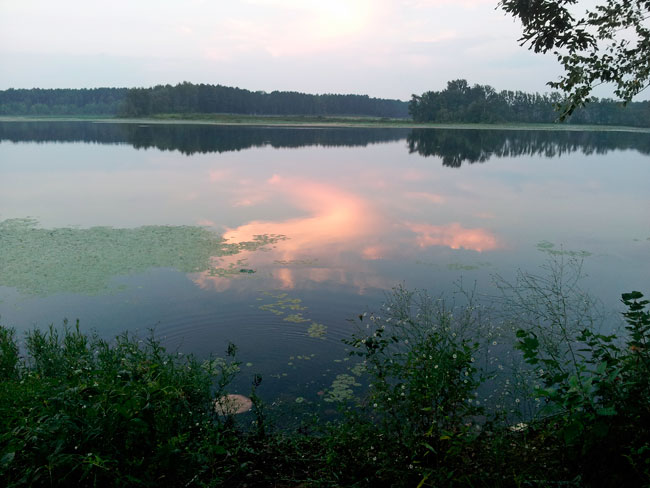
I’m grateful for the colors of autumn that decorate my back yard.
Laurie is a writer and junque-hunter living in Springdale, Arkansas with her husband, son and three goofy cats. She raises kids and chickens and makes messes in her craft room. She loves to create good food, pretty gardens, and happy kids. But when that doesn’t happen as planned she simply reads about them on Pinterest. You can follow Laurie at See Laurie Write and Junque Rethunque
We’ve experienced a paradigm shift in the blogging world over the past several years. When I began blogging, most of my peer sites read like personal journals, long blocks of text with little to break them up aside from an indention and a hard return. These days, if you don’t have an eye-catching photo to kick things off, you are likely to get passed over, no matter how good your writing.
Early in my experimentation in digital photography, a fellow blogger complemented me on my shots and lamented her lack of high-end photography equipment. I didn’t have the heart to tell her that I was using a basic point-and-shoot that set me back about a hundred bucks. Years later, I’m still using that little work horse, but I like to think I’ve progressed a bit and learned a few valuable tips.
Shoot a lot of photos.
Seriously, go to the edge of ridiculous and then shoot a few more. Unless you are shooting on film (in which case you probably know far more about photography than I do) there really is no longer an excuse to be stingy with your shots. Few things are more frustrating than getting a photo that is almost perfect. Even the best of us occasionally lose focus or inadvertently crop out a bit of our subject. Additionally, you don’t want to end up with the perfect vertical shot only to realize in editing that what you need is the perfect horizontal. Finally, there are few exercises more valuable than looking at dozens of shots from slightly different angles and from varying distances to figure out a style you like, not just for that shot, but for future shots. With over six years in, I still take about thirty shots of any still life that I set up.
Natural light is your friend, and the in-camera flash is your last resort.
Mid-morning sunlight is a photographer’s dream, and mid-afternoon is a close second. Shoot during these slots whenever you can. Photos will have a natural depth of field and shadows will be soft and diffuse. Sunlight during the rest of the day will be sharper, but with screening and bounces, you can still use it for great shots. Whatever light you have to deal with, you can help it a bit with bounces and screens. The goal with these techniques is to even out your light, giving you fewer hot spots and shadows. About ninety-percent of the time, I’m shooting indoors in front of a large window. This gives me one major light source. Since I’m shooting a three-dimensional object, it stands to reason that I want to get light all around it. I do this by putting a bounce opposite the window and beyond the object I’m shooting.
Just about any large, flat expanse of white with work as a bounce. I have a fabric draped pvc frame I use for big projects, but I encourage you to use what you have. When I’m enjoying a meal out, the company and food come first and the photos come second, so I don’t like to carry lot of gear. That said, I don’t hesitate to use my water glass as and impromptu tripod or my white napkin or bread plate to bounce light. In a pinch and see someone in a white t-shirt? “Excuse me, sir!”
I use screens far less than bounces, but they are invaluable in particularly harsh light. Unlike a bounce, screens are placed between the light source and the subject. Screens will block some light, bounce some light, and let some light straight through. The overall effect is much softer light and less harsh shadows. I use a tulle covered pvc frame as my screen for most projects, adding layers of cheesecloth or thin cotton fabric if needed. A flour sack dish towel draped over the window works as well. I almost always use a bounce when using a screen.
These photos taken of the same subject during the same time of day show the difference between results with the in-camera flash (left), natural light from a single source (center), and natural light using a bounce (right).
Explore and experiment with your camera’s settings.
I love my camera’s macro setting. It is perfect for the many close-ups I shoot, allowing the camera to focus clearly on objects within a fraction of an inch from the lens. Although you have less control with this automatic feature than you would with a special lens, you can still create some great effects through a bit of trial and error. Most cameras will indicate which area of the frame will be in sharpest focus, so you can adjust as you shoot. Find your own favorite feature of your camera!
A very simple shot can be made a little more interesting with the macro setting which puts the area of the subject closest to the lens in sharp focus and slightly blurs the background.
Photograph things you love.
Just as with writing, it will be obvious from your photos if you are passionate about your subject. If you are trying to copy others who have better equipment, more training, and a bigger budget, you doom yourself to failure and discontent. If you are creatively pushing your limits to capture a subject the means something to you, most likely you are enjoying life and getting good pictures.
My mom doesn't like photos of her hands, but from her wedding ring, to the veins that run in the same pattern as mine, to the fact that they are always doing something for someone else, I think they are beautiful.
Play with your photography!
Take plenty of shots of anything that interests you and make use of natural light and the features of your camera. The more photos you take, the more you will begin to develop and eye for the kind of photos you want to take. What are your best photography tips?
Stephanie, originally from Wonderview, AR, now lives in our state’s capitol. A freelance graphic artist and a local-food
activist, she enjoys gardening, photography, and cooking. You can indulge in more of her musings by visiting her blog, Proactive Bridesmaid , which celebrated its sixth anniversary in June. Stephanie was Arkansas Women Blogger of the Month in December 2011.
When I’m reading blogs and I come across a post that is super long and has no photos, my brain tends to want to shut off. Photos can be very instrumental in grabbing the attention of your readers. Photos can help tell a story and really emphasize posts on your blog.
With an SLR camera, a few pointers (don’t be afraid!), and a little creativity, you can take great photos for your blog.
When working with an SLR camera, you have a several options for shooting. These options are Auto, Program Mode(P), Manual Mode, Shutter Priority, and Aperture Priority(Av or Tv).
When shooting in Auto, the camera decides what aperture and shutter speed to use. This is very easy to use and versatile in many situations. However, it doesn’t always give you the results you may want. Since the camera is “guessing” at which aperture and shutter speed, it does not always get it right.
Shooting in Program mode is very similar to Auto mode; however, you have a little more control over features such as using the flash, ISO and white balance.
Shooting in full on Manual mode is where a lot of people get nervous. To shoot in Manual, you must have a good understanding of ISO, aperture and shutter speed. Depending on the type of photo you are taking will determine what levels of each you will use.
If you are outside, an ISO of 100-400 should do just great. But, while shooting indoors, an ISO of 400-1600 or more can be used for better results.
Choosing a shutter speed is usually pretty simple. A shutter speed of 1/50 (1/50th of a second) is a slow shutter speed
and a shutter speed of 1/2000th is very fast and it freezes the action of an event.
When choosing the aperture or f-number/f-stop for a shot, it gets a little trickier. Aperture is defined as a hole through which light travels. The size of the f-stop affects the depth of field. A large stop (f/1.4) produces a more shallow depth of field, causing your subject to be in focus and the background to be blurred. The blurring that occurs in the photos is called bokeh. This blurring helps to highlight the subject of the photograph. This is great for when you are doing portraits or just photographing an object.
Smaller stops (f/22ish) produce a longer depth of field, allowing objects at a wide range of distances to all be in focus at the same time. This is
beneficial when taking photos of landscapes.
That brings us to Aperture Priority and Shutter Speed Priority Modes. Aperture Priority is used by photographers when depth of field is the main focus. When using Aperture Priority, the photographer chooses the f/stop and the camera decides what shutter speed would be best. Shutter Speed Priority is used when photographing a moving subject. The camera then chooses the appropriate aperture. So basically, if you want to freeze an action moment, you will want a fast shutter speed (1/2000th) and if you want to show motion in a photo you will want to choose a slower shutter speed (1/125th).
Understanding how to use your SLR camera will help you to take great photos! (I’m still learning and doing a lot of practicing myself!)
Some other tips to help you take great photos are-
Don’t be afraid to get creative! Don’t be afraid to take your camera with you and take shots of everyday life! I know sometimes I get funny looks for whipping out my camera, but I love having memories of normal, everyday things. These pictures are great for blog posts and it’s even better when the photos are ones that you have taken!
Try different angles! Try photographing something from an angle you normally would not think of and see how it turns out!
Try editing your pictures. There are great free photo editing software available. And there are great photo editing software available for purchase.
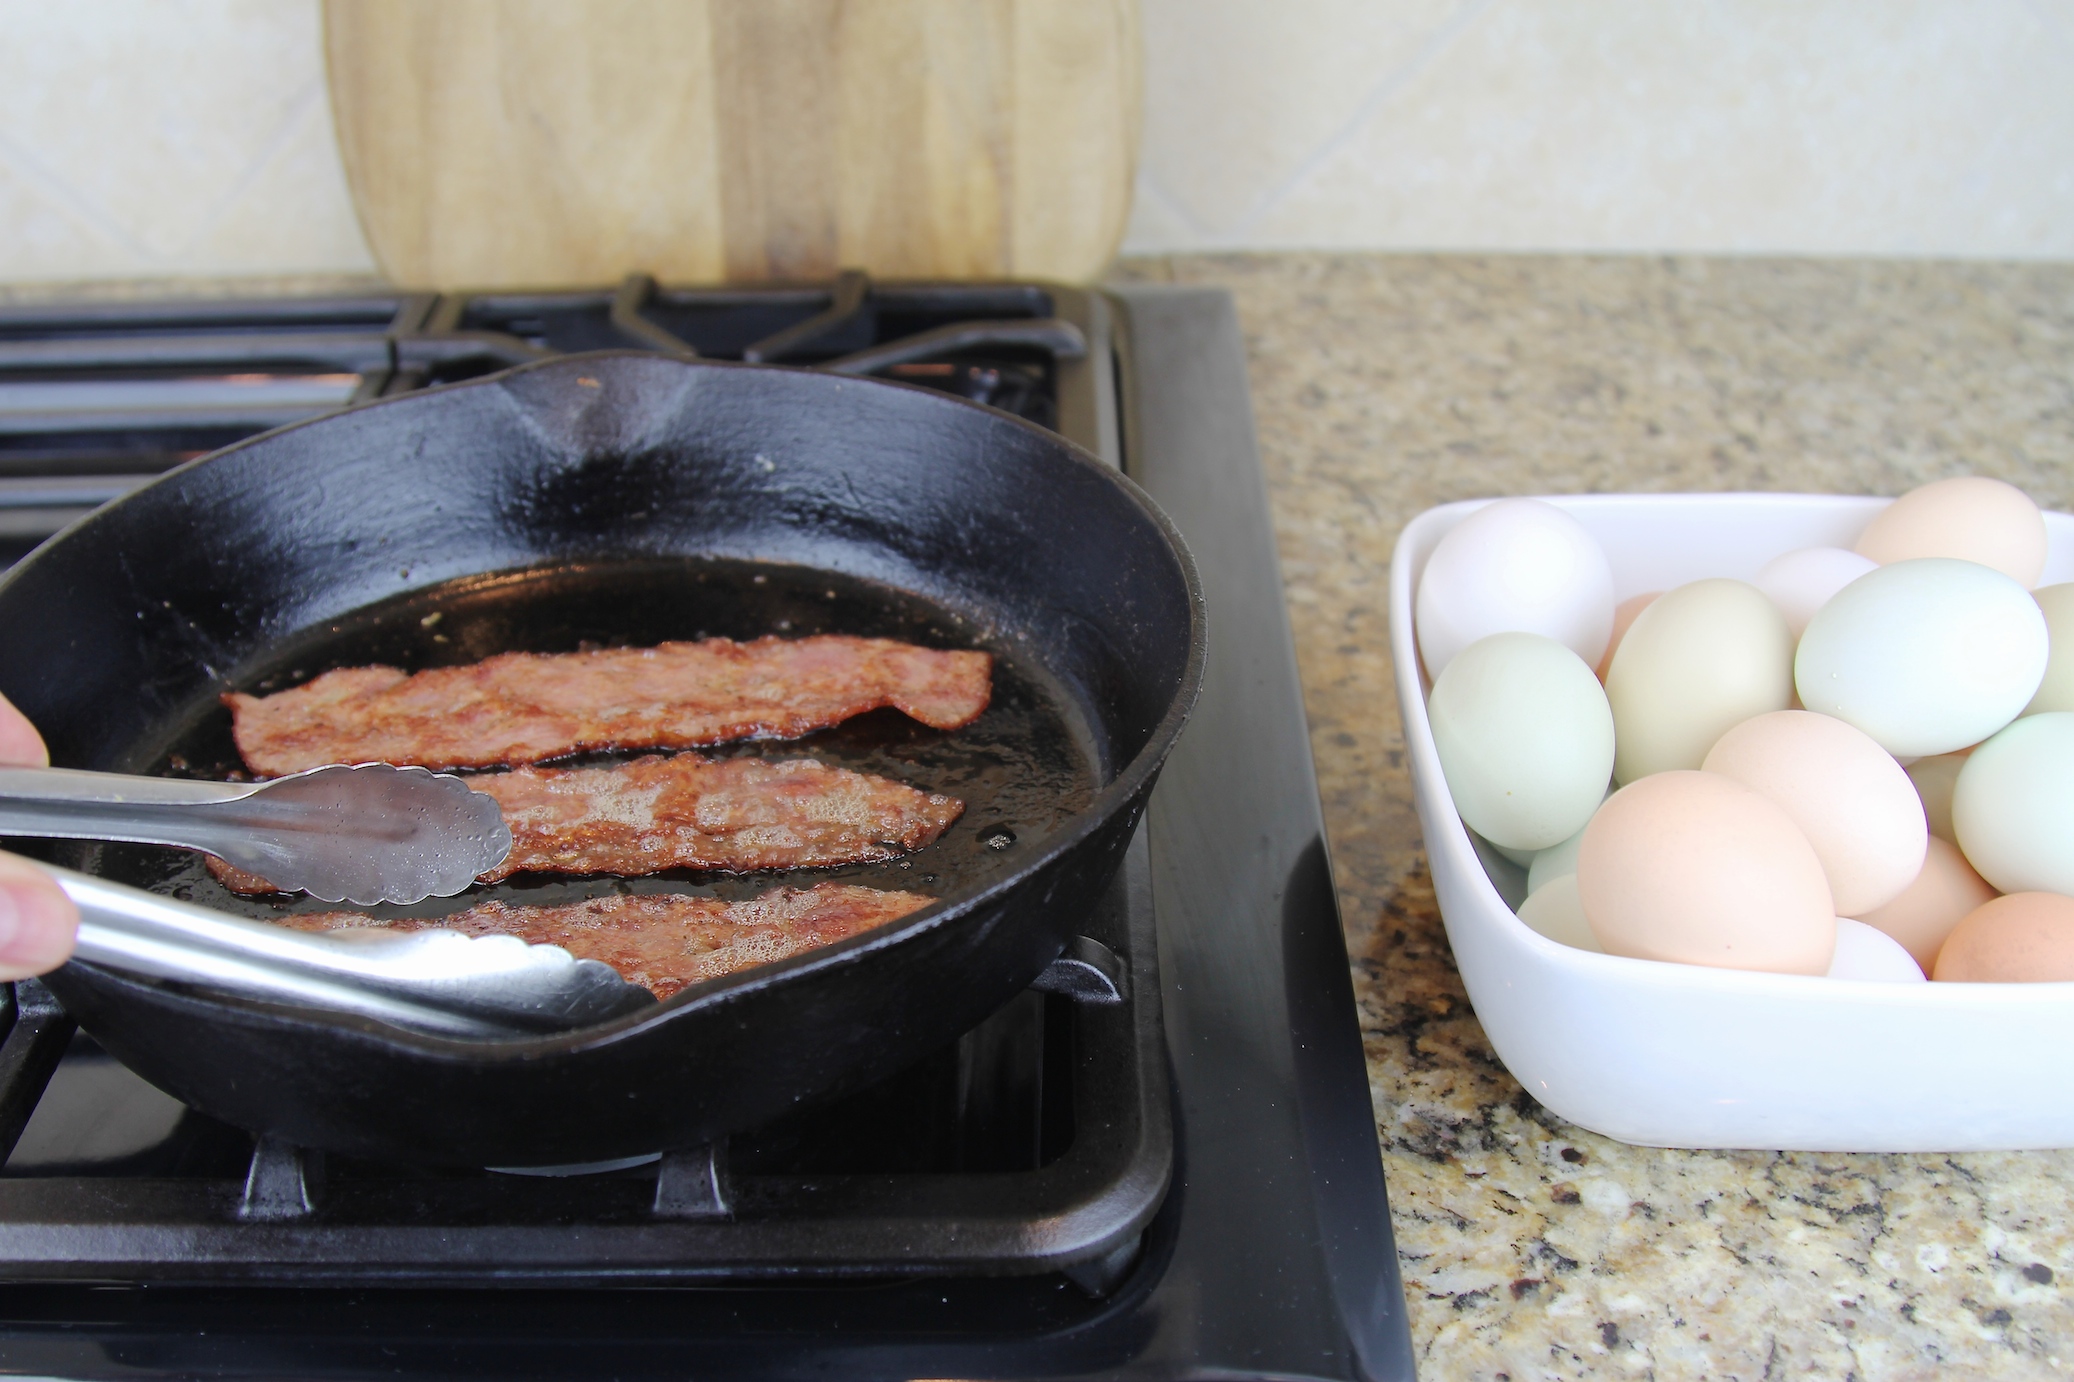
When photographing food, I love natural light. Actually, I love lots of natural light when photographing anything!


 By
By