
You all probably know by now that I am not “a cooker”. It’s just not my thing. I tend to think of myself as more of an “eater.”
Yet, I have a slight obsession with cookbooks full of gorgeous images of food. Flipping through the pages of a pretty cookbook takes me to my happy place. {My husband would say that his happy place would include a meal from one of the aforementioned cookbooks. Bless him}.
I tell you all of this to explain why I chuckled when I received an email from Debbie with the subject line: Foodie Friday Guest Post. I thought she was being sarcastic.
Yet, alas, here I am hoping to shed some light {no pun intended} on taking better photos of the delicious meals you all are whipping up. {In return, can you make a few extra servings and drop them by house around 4? I’ll heat ‘em up and pretend I actually made something edible for dinner. I’m kidding. Or am I??}?
Alright, I’ll stop rambling and get to it.
Top 5 Photo Tips for Food Bloggers {or mommas or I-phone photographers…}:
1. Read your manual.
I know. I know. No one in the history of time has ever read a camera manual from cover to cover. {Yes, I made that up but it sounds about right}. But I’m telling you, there really is valuable information buried in those pages. At the very least, use it as a reference tool. {You can also get a “cliff notes” version with Magic Lantern Guides, guides are available for most camera models}.
2. Find the light.
Make every effort to shoot in natural light whenever possible. I also prefer shooting with backlight (where the light source is behind the subject).
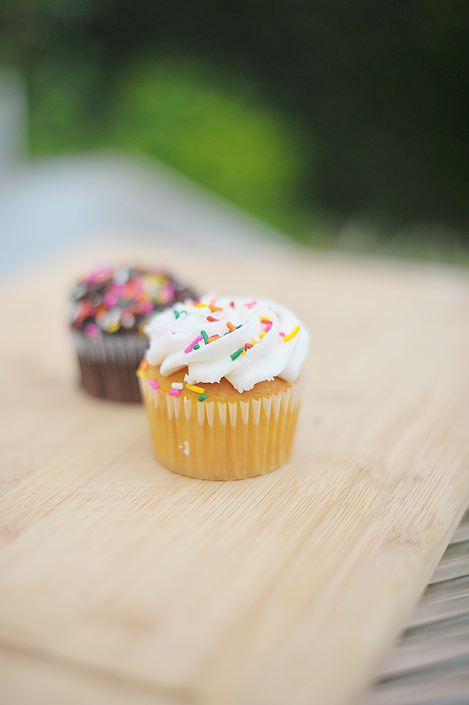
Natural light is flattering and creates soft, beautiful images {as opposed to the harsh light created with an on-camera flash}. Give it a try. You’ll see a difference, I promise.
One simple trick for finding natural light when shooting images of food is to move your workspace, or your finished product, to a window. Another great spot for natural light is – and you’re going to think I’m crazy but go with it – inside a garage with the garage door opened. And, bonus, the concrete will also act as a natural reflector for the outdoor light.
Get creative and move furniture around. Open curtains and blinds. Open the front door. Ask for a table near the window if you will be capturing images in a restaurant.
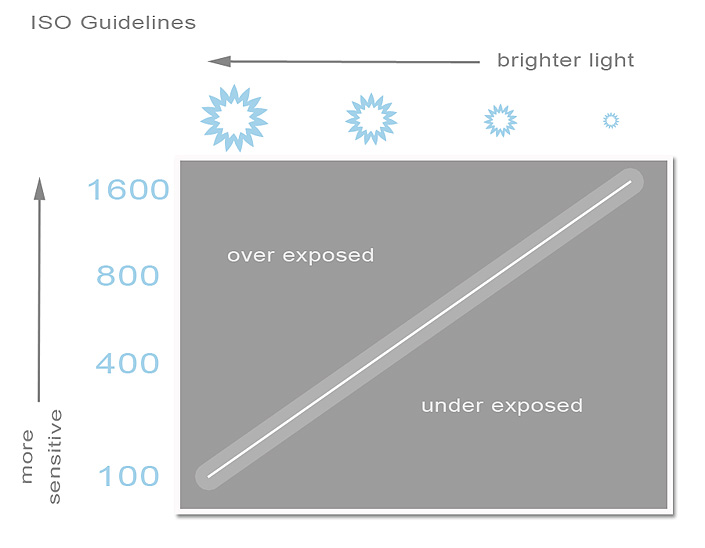
Most importantly, turn off your flash whenever possible. Learn about the basic elements of exposure and how to bump up your ISO in low-light situations to compensate for the lack of flash. {Ooh, I bet your manual can help. See Tip #1}.
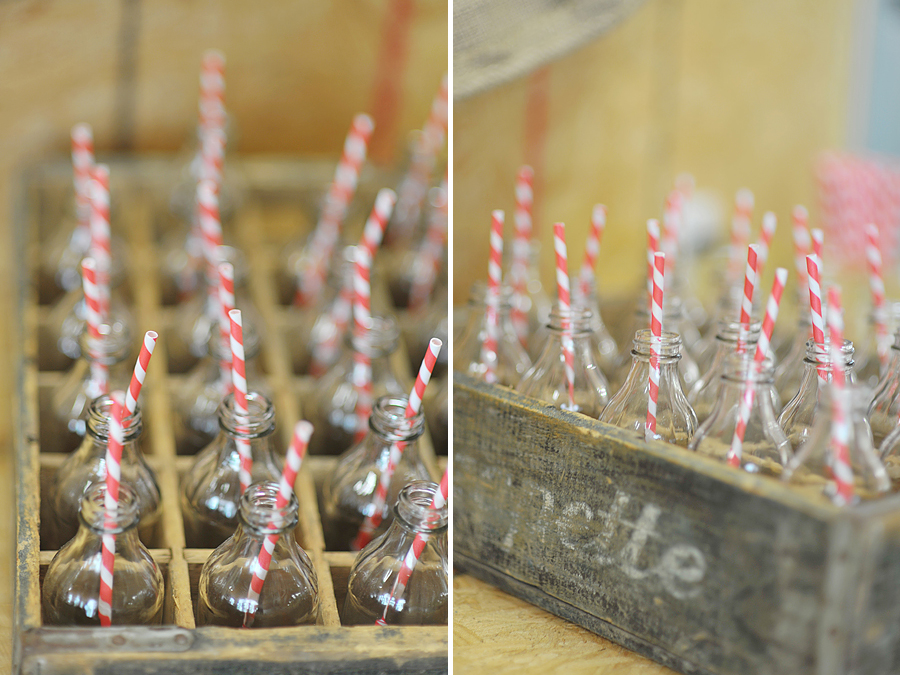
3. Look for different angles.
Hop up on a chair or lay on the floor. Varying angles create interesting photos. Again, get creative with composition in your shots. The emotion of an image will change completely with new angles.
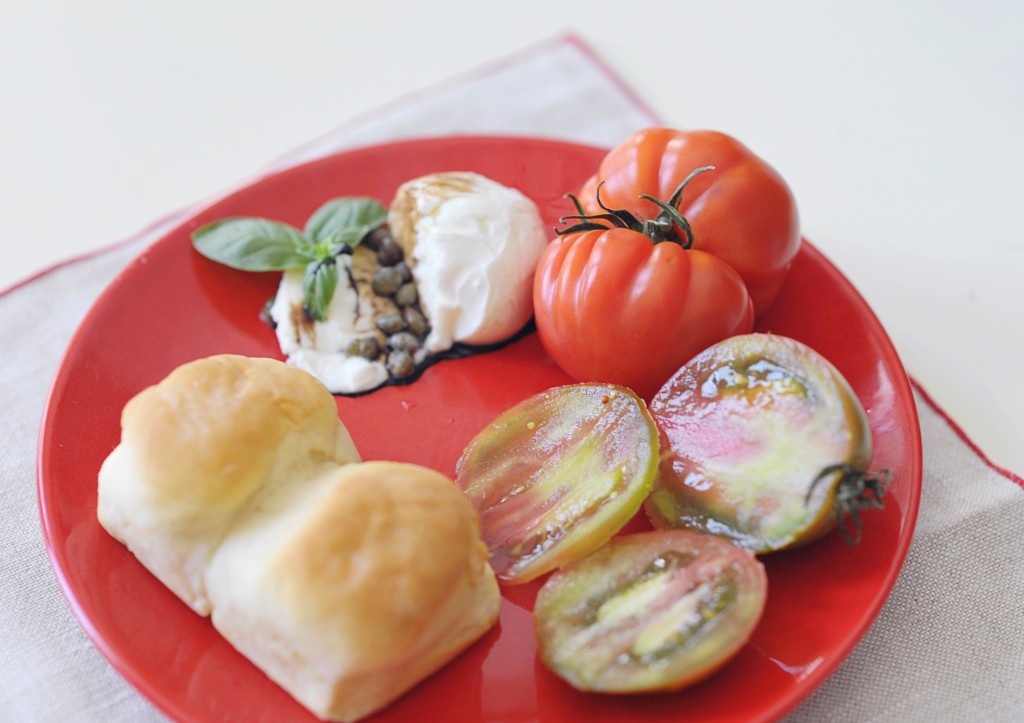
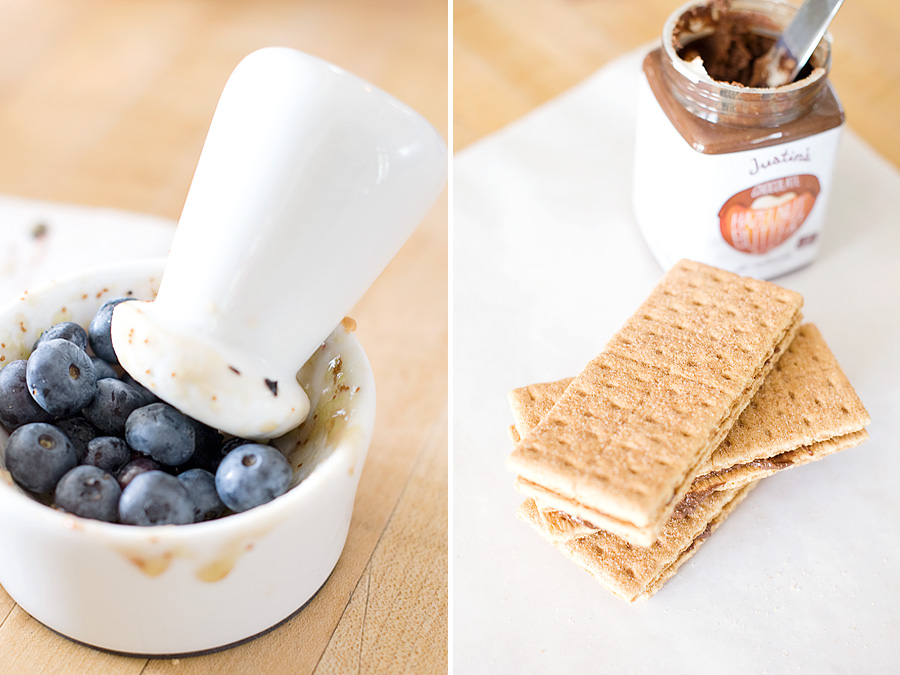
4. Add interesting textures.
This is just as true for food photography as it is for photographing your kiddos. Textures, vibrant colors and close-up shots create striking images.
Lyndi and Beth’s posts on food styling included helpful and creative ideas for styling your food photography sessions. {A-hem. Thank you, Lyndi, for that flattering image of me stuffing my face. * That, my friends, is sarcasm* You weren’t supposed to see that}.
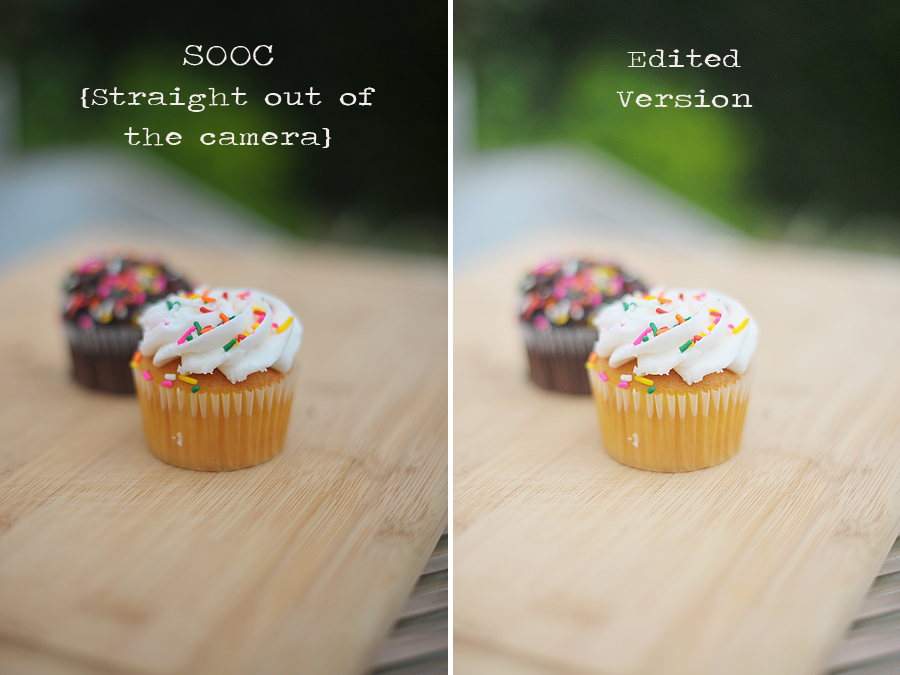
5. “Shooting is always more fun than editing.”
A friend once said “shooting is always more fun than editing” after returning home from a trip with a memory card full of images ready to be uploaded and edited. I couldn’t agree more with that statement. Even though editing isn’t exactly fun, it is an important step in the process.
Editing is like icing on a cake. You can eat a cake without it, but it isn’t going to be nearly as tasty or beautiful.
The multitude of choices for simple editing software can be overwhelming. A couple places to start: Photoshop Lightroom { an excellent resource for beginners} or Picmonkey.com {a free online editing tool that is fun and easy to use}.
And, some of my favorite photo editing apps include: Afterlight , SnapSeed, PhotoForge, VSCO, A Beautiful Mess, PicTapGo
So there you have it. A few insider tips on food blogging photography from a PB&J aficionado.
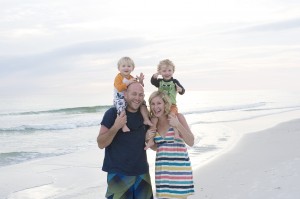
Jenny Marrs is a family lifestyle photographer in Northwest Arkansas. She also offers beginner’s photography workshops for anyone looking to learn how to get their camera off “auto” and get more from their DSLR. In her spare time, she documents the chaos involved in raising twin toddlers, as well as the ups and downs of their family’s adoption journey from the DRC on her personal blog.
Wow. So very helpful! Thanks for this, Jenny!
I’m glad this was helpful for you! 🙂
Gorgeous pictures! Thanks for the photo editing information. I use Picasa and usually edit the lighting. I liked your tip of using the garage for great lighting also! 🙂
Thanks, Sara! Yes, as strange as it sounds, the garage is a perfect spot for pretty photos :)!
Love these tips Jenny!
Thanks, Lenette:)!
XOXOXO thank you so much. Thanks for all of these practical reminders:). Now to put them to use!
I learned so much last year from your tips. Thanks for the great reminders!
sweet! i am dreadful at taking pictures of food. looking forward to trying some of these tips.