
By Miss June 2014, Laurie Marshall of Junque Rethunque and See Laurie Write
Summer is here, and many of you may be planning memorable vacations, but I’m betting a whole bunch of you are desperately trying to think of ways to keep kids busy over the next couple of months without the help of Mickey & Minnie or a white-sand beach. I have gathered a few project ideas that use road maps and atlases that I hope will appeal to all of you!
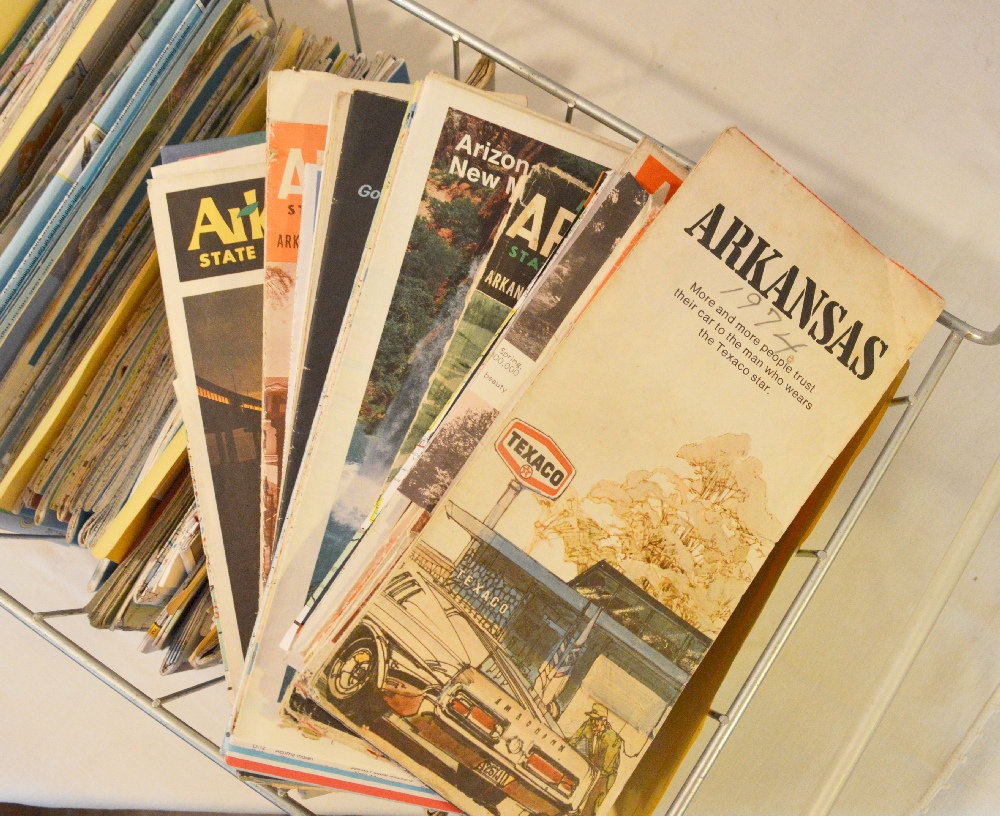
Old road maps and atlases are something of an addiction for me, and I had begun to amass a pretty substantial collection when I realized that I was going to have to find a way to use them if I was going to avoid the “hoarder” label. There’s just something kind of lovely about the dream of travel that is evoked by a map, or the way that maps change with the times… cities appear and disappear, roads are paved, lakes are formed where once there were only rolling hills. If I see them, I usually buy them.
The first thing I did with my stash was cover a wall in my entryway. I had seen similar projects online, but those required pasting the maps to the walls. I didn’t want to lose them completely, and wanted to be able to remove them easily if I redecorated or moved, so I simply used thumbtacks. (I may also be way too impatient to deal with the pasting part…)
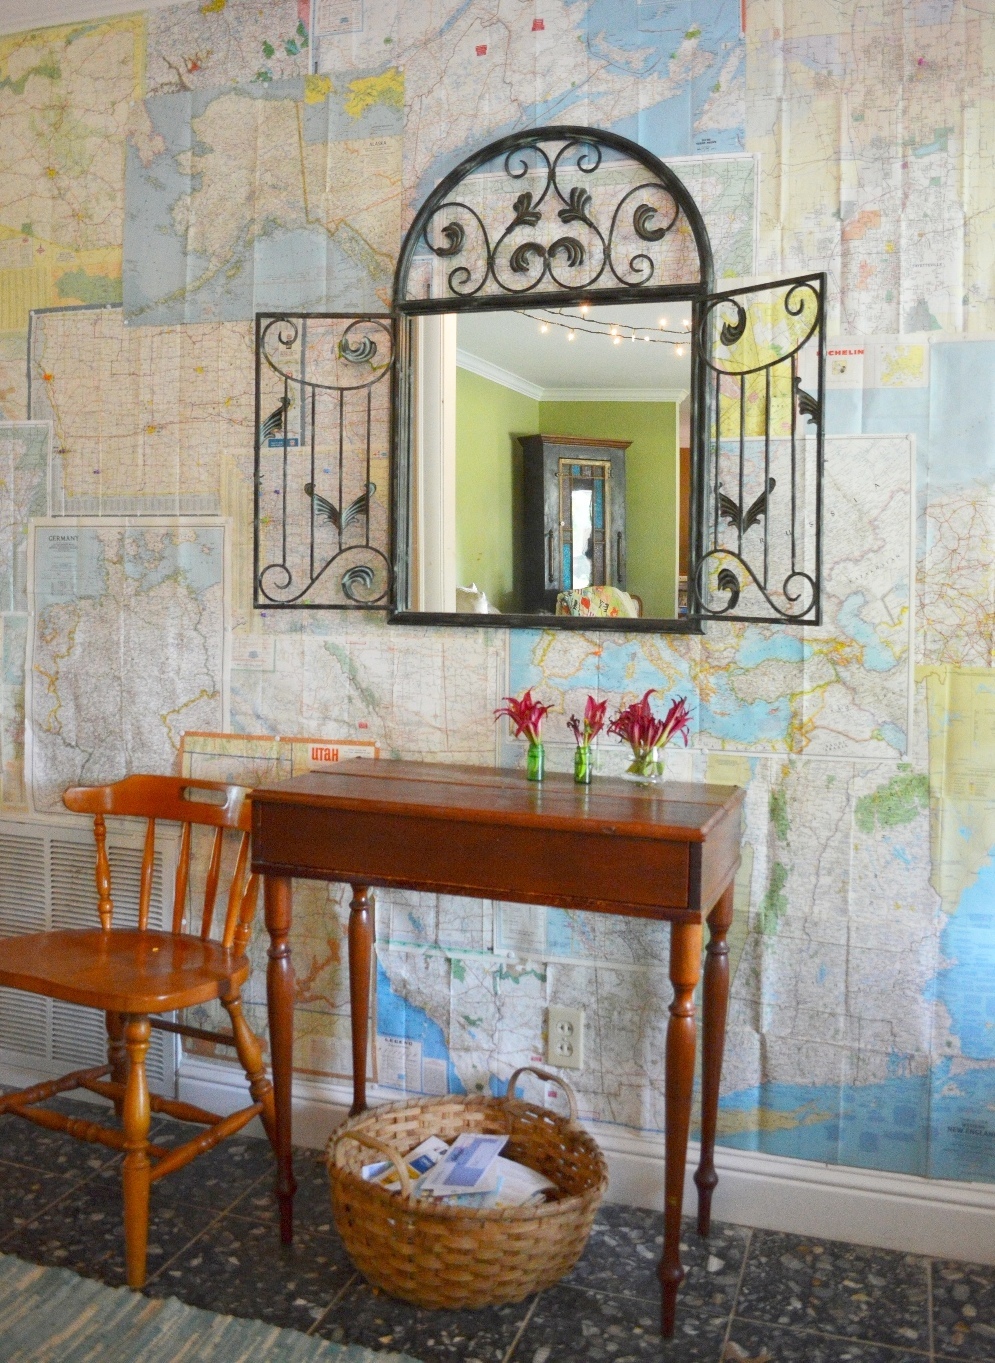
Once they were up, we marked cities we have visited with colored tacks. You can use maps of states or cities you visit often and let the kids help locate grandma’s house or your favorite park or campsite. You could use thumbtacks of one color for places you’ve been and another for places you want to go. Aside from being fun to look at, map walls can teach kids about cardinal direction and measuring distance, and provide reading practice.
If you have taken some memorable trips you can also use maps to create one-of-a-kind photo frames to keep those memories on your desk or bookshelf. These would also be sweet gifts for newlyweds planning a destination wedding, or your favorite high school graduate headed off to college.
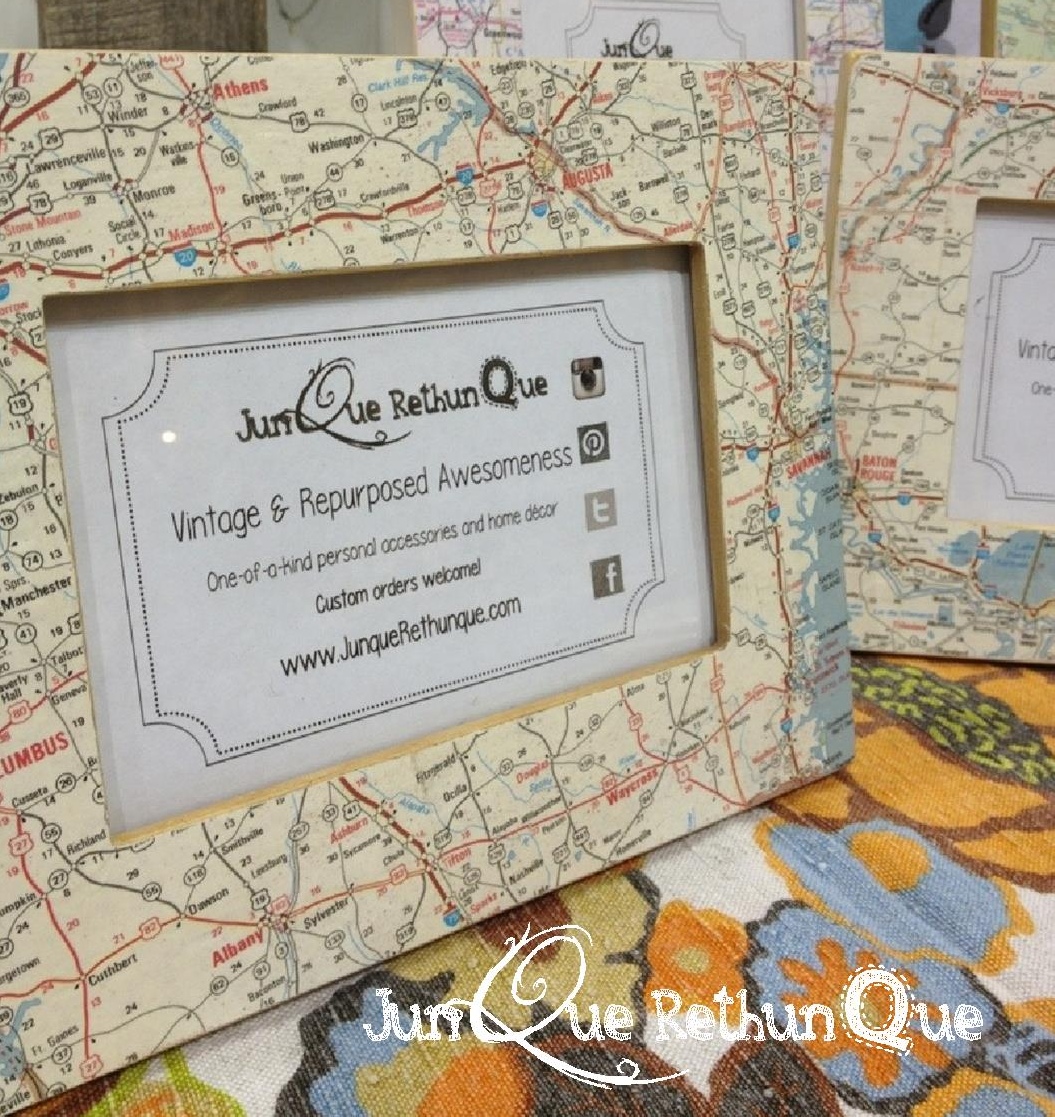
For this project I love the look and feel of old maps, but newer ones are often easier to find in decent shape. Thrift stores are my favorite source for picture frames. I buy frames that are completely flat on the front – the more space around the frame, the better (more space = more map). You can paint the frame or not.
Remove the glass and backing and lay the frame face down on the map. Adjust it carefully to be sure that the cities or landmarks you want to see on the frame are not in the space that will be cut out over the photo. Lightly trace the edges of the frame with a pencil and double check the location when you lift the frame. Cut out the part of the map that will go on the frame, and use a craft knife to trim the center out where the photo will be.
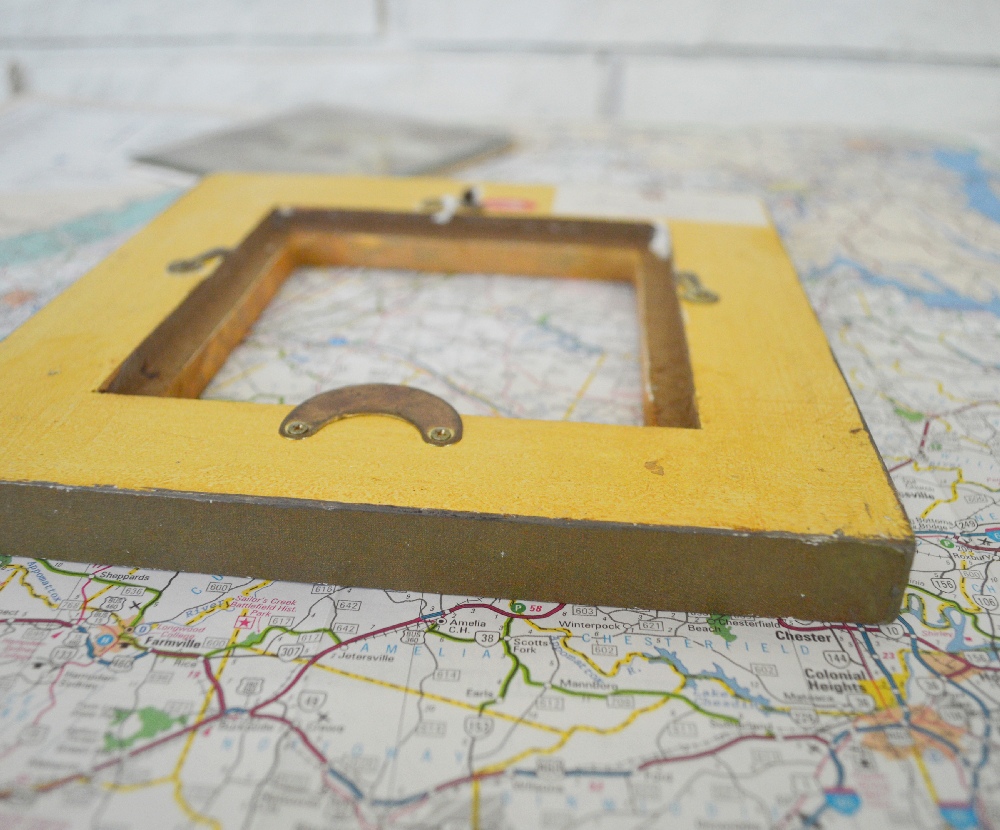
Using a craft glue like Mod Podge, brush a thin coat on the surface of the frame and on the back of your cut out map. Lay the map on the frame, taking care to check orientation of your frame so you don’t glue the map on upside down. Gently flatten the map onto the surface of the frame using a cloth. If you get a crease you can’t get rid of, just rub it down until it’s flattened out, it will create an interesting texture in the end.
Let the glue dry for 30 minutes or so, then lightly sand the frame and the surface of the map with fine sandpaper. This will create a little distressing that will make a newer map look worn, and helps you trim any uneven edges of the map on the frame. Once you’ve sanded it to the look you want, brush another coat (or two) of glue over the top and edges of the frame to seal it.
For more ideas for using maps during your Staycation this summer, check out my All the Maps! Pinterest board. Have fun – and be sure to share pictures of the projects you create!
“Congratulations!
Today is your day.
You’re off to Great Places!
You’re off and away!” — Dr. Seuss, Oh, the Places You’ll Go!
Great ideas, Laurie!
I LOVE the map covered wall. I don’t feel quite so weird now for having a giant framed AHTD map from the 80’s on my wall in the den. What can I say – I love Arkansas!
I am IN LOVE with map walls!! When we get around to finally start putting up sheet rock around here (currently have horrid paneling) our back entrance hall will be a vintage map wall-I can’t wait.
What a great idea! I love the idea of getting kids involved and the idea of using different tacks for places been vs want to go. If someone wanted to use maps for scrapbooking, any tips for that? The issue is for scrapbooking the paper needs to be acid and lignin free. Also…for the maps on the wall, how do you avoid sun damage?
Thanks ladies!
Great questions Jamie – as I mentioned, I’m a terrible scrapbooker, so maybe someone else would have good suggestions for using maps. My only thought would be to use “safe” paper and make a color copy of the map you’d like to use for that craft.
Sun damage could definitely happen when maps are exposed to intense sun. I am fortunate with this entryway in that we have a large tree and a pretty significant overhanging roof over our front door stoop. I would say, however, that if you want to use a map that is a valuable antique you might be better off investing in a color copy instead of using the original.
While I hate the idea of cutting into the maps I put on my wall, if they faded in the sun I wouldn’t be heartsick over it. If I have learned anything over the years as I have frequented thrift stores and estate sales, it’s THERE ARE ALWAYS MORE MAPS! 🙂
I can’t even talk about how much I love this idea – gorgeous! Decorating with maps is one of my favorite things!
Birds of a feather, right? 🙂
I love the picture frame idea!
Thanks Courtney – they’re so easy to make!