Category: Foodie Friday

Snickerdoodle Cupcakes {Foodie Friday}

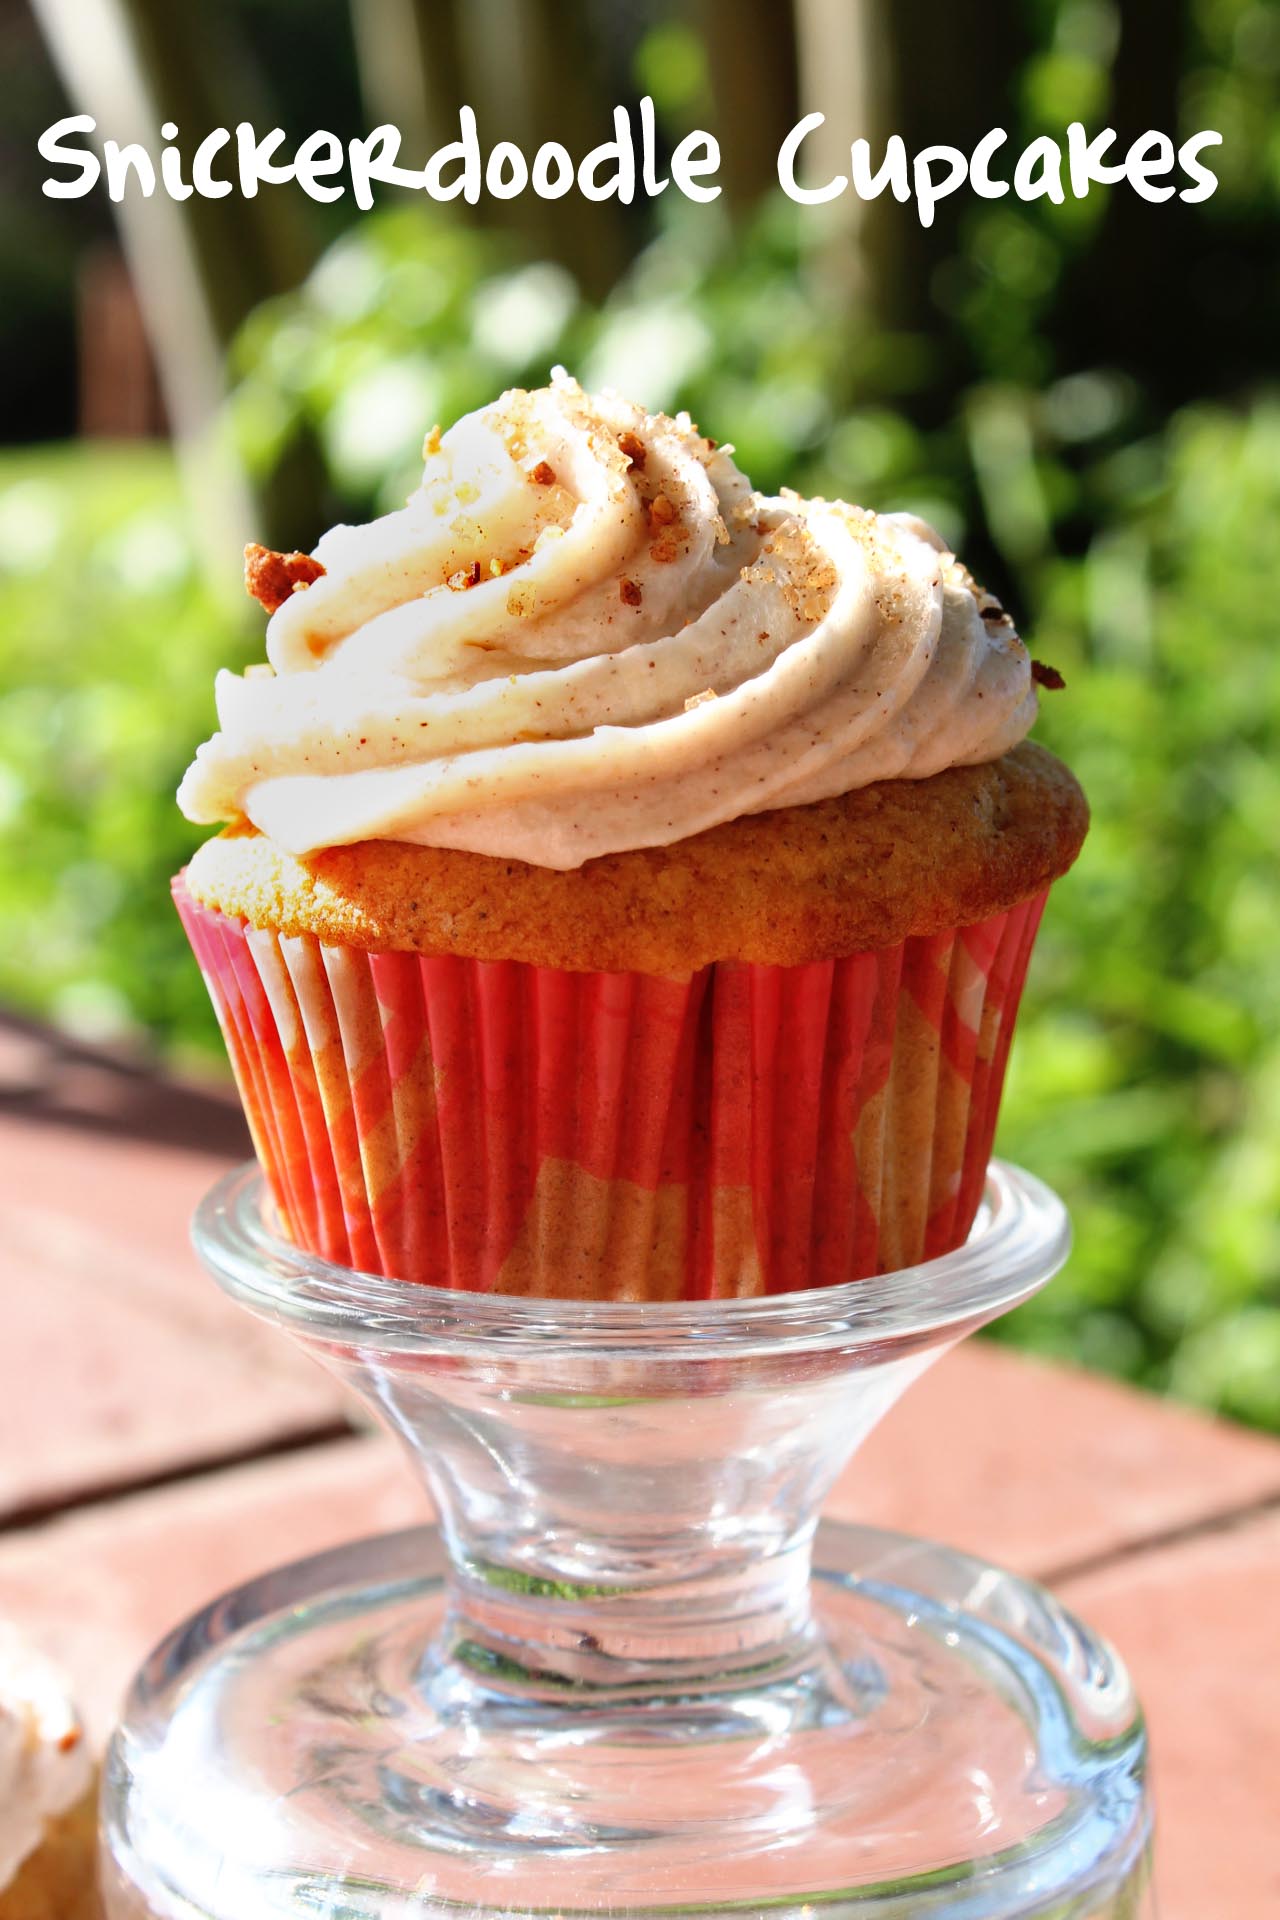
Snickerdoodle Cupcakes
Written by Jennifer Martin of Imitation by Design

If you’re like most folks, you have certain foods or flavors that instantly transport you back to your mother’s or grandmother’s kitchen table. Because I love to eat, I have a long list of these magical foods, but one in particular came to mind this weekend… snickerdoodles.

We ate a lot of these growing up because they were one of those cookies you nearly always had the ingredients in your pantry to make. I remember helping to roll the dough into balls and dredging them in cinnamon and sugar, sneaking little bites of cookie dough during the process.

As much as I LOVE cinnamon, I always forget to make these. Luckily, these incredible Snickerdoodle Cupcakes evoke the same memories of baking cookies with my mom and grandma.

Snickerdoodle Cupcakes are like crack for cinnamon lovers. Seriously.

This recipe starts with a plain white or yellow cake mix that gets a boost of flavor with the addition of butter, vanilla and cinnamon to the batter. You’d be surprised at how changing a few of the ingredients in your cake mix’s recipe can fool friends and family into thinking you‘ve baked it from scratch.

This delectable cupcake is topped off with a simple, homemade cinnamon buttercream icing. Decorate them quickly by using a decorator’s bag and a large star tip or by filling a ziploc bag and snipping off the end to make speedy swirls on each cupcake.

Even if these Snickerdoodle Cupcakes don’t transport you home to mom’s kitchen, I hope they’ll tickle your taste buds.

Recipe

Cake:

1 plain white or yellow cake mix
1 c whole milk
½ c melted butter (1 stick)
3 large eggs
1 tsp vanilla extract
2 tsp cinnamon

1. Preheat oven to 350° and line two 12 cup muffin pans with cupcake liners or dust and flour them.

2. In a large bowl combine all of the cake ingredients. Beat on low for one minute and then scrape down the sides. Increase the mixer speed to medium and beat an additional 2 minutes, scraping down the sides occasionally.

3. Use an ice cream scoop or a ¼ cup measuring cup to divide batter into muffin tins. I only got 20 muffins by using the scoop, but if you use a ¼ cup measuring cup, you can get 24.

4. Bake 20-24 minutes or until a toothpick inserted comes out clean.

5. Remove from tins and cool completely on a wire rack.

6. Frost with recipe below.

Icing:

1 ½ sticks salted butter (not margarine) at room temperature
5-6 Tbsp milk
1 ½ tsp vanilla
1 ½ tsp cinnamon
5 ½ c powdered sugar

1. In a large bowl, beat the butter on medium speed until fluffy.

2. With the mixer on low, add 4 tablespoons of milk, vanilla and cinnamon. Add powdered sugar 1 cup at a time, allowing each cup of sugar to be fairly well incorporated before adding another. (You could dump it in all at once, but you’ll be cleaning powdered sugar out of every nook and cranny in your kitchen for days. Just trust me on this one. ;))

3. Once the powdered sugar is fully incorporated, increase your mixer’s speed to medium and whip for 2-3 minutes, until light and fluffy. Add more milk if needed to achieve desired consistency.


Jennifer lives in Hope, AR and is a wife and stay at home mom. She enjoys cooking, decorating, gardening and spending time with her family. Her blog Imitation by Design is her way of keeping track of her family’s favorite recipes and meals and sharing them with others.

Recipe Review {Foodie Friday}

Written by ARWB February 2012 Blogger of the Month, Gina Knuppenburg of Desperately Seeking {Gina}.
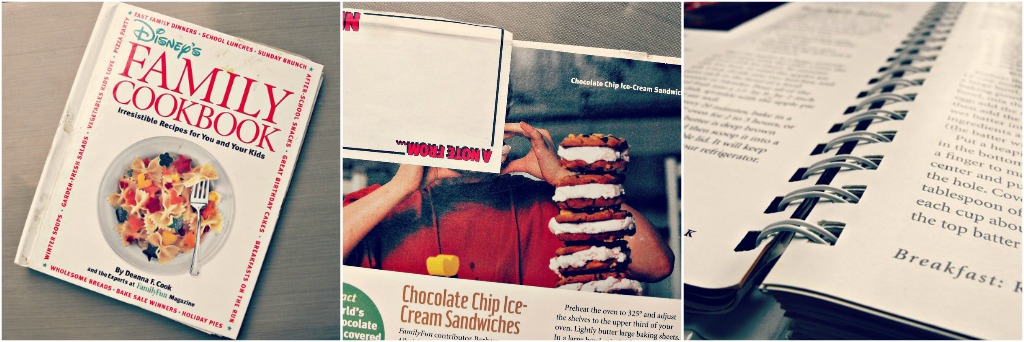
 

Perusing my collection of cookbooks you’d probably find it interesting seeing Disney’s Family Cookbook {link: http://www.amazon.com/Disneys-Family-Cookbook-Irresistible-Recipes/dp/078686382X } amongst all the other more grown-up cookbooks.  I bought it fifteen or sixteen years ago when I was a nanny.  I loved cooking and baking for my charges and this particular cookbook was fabulous for baking with kids.

It’s filled with simple, tasty recipes easy enough for kids to help with, whether it’s scooping flour, mixing batters, or even just licking the spoon.  The book is filled with large, colorful photographs, easy-to-read recipes, and comes spiral bound for easy maneuvering.  The outside cover is durable enough to stand up to sticky hands {as evidenced by my much used copy} and splatters wipe off easily.


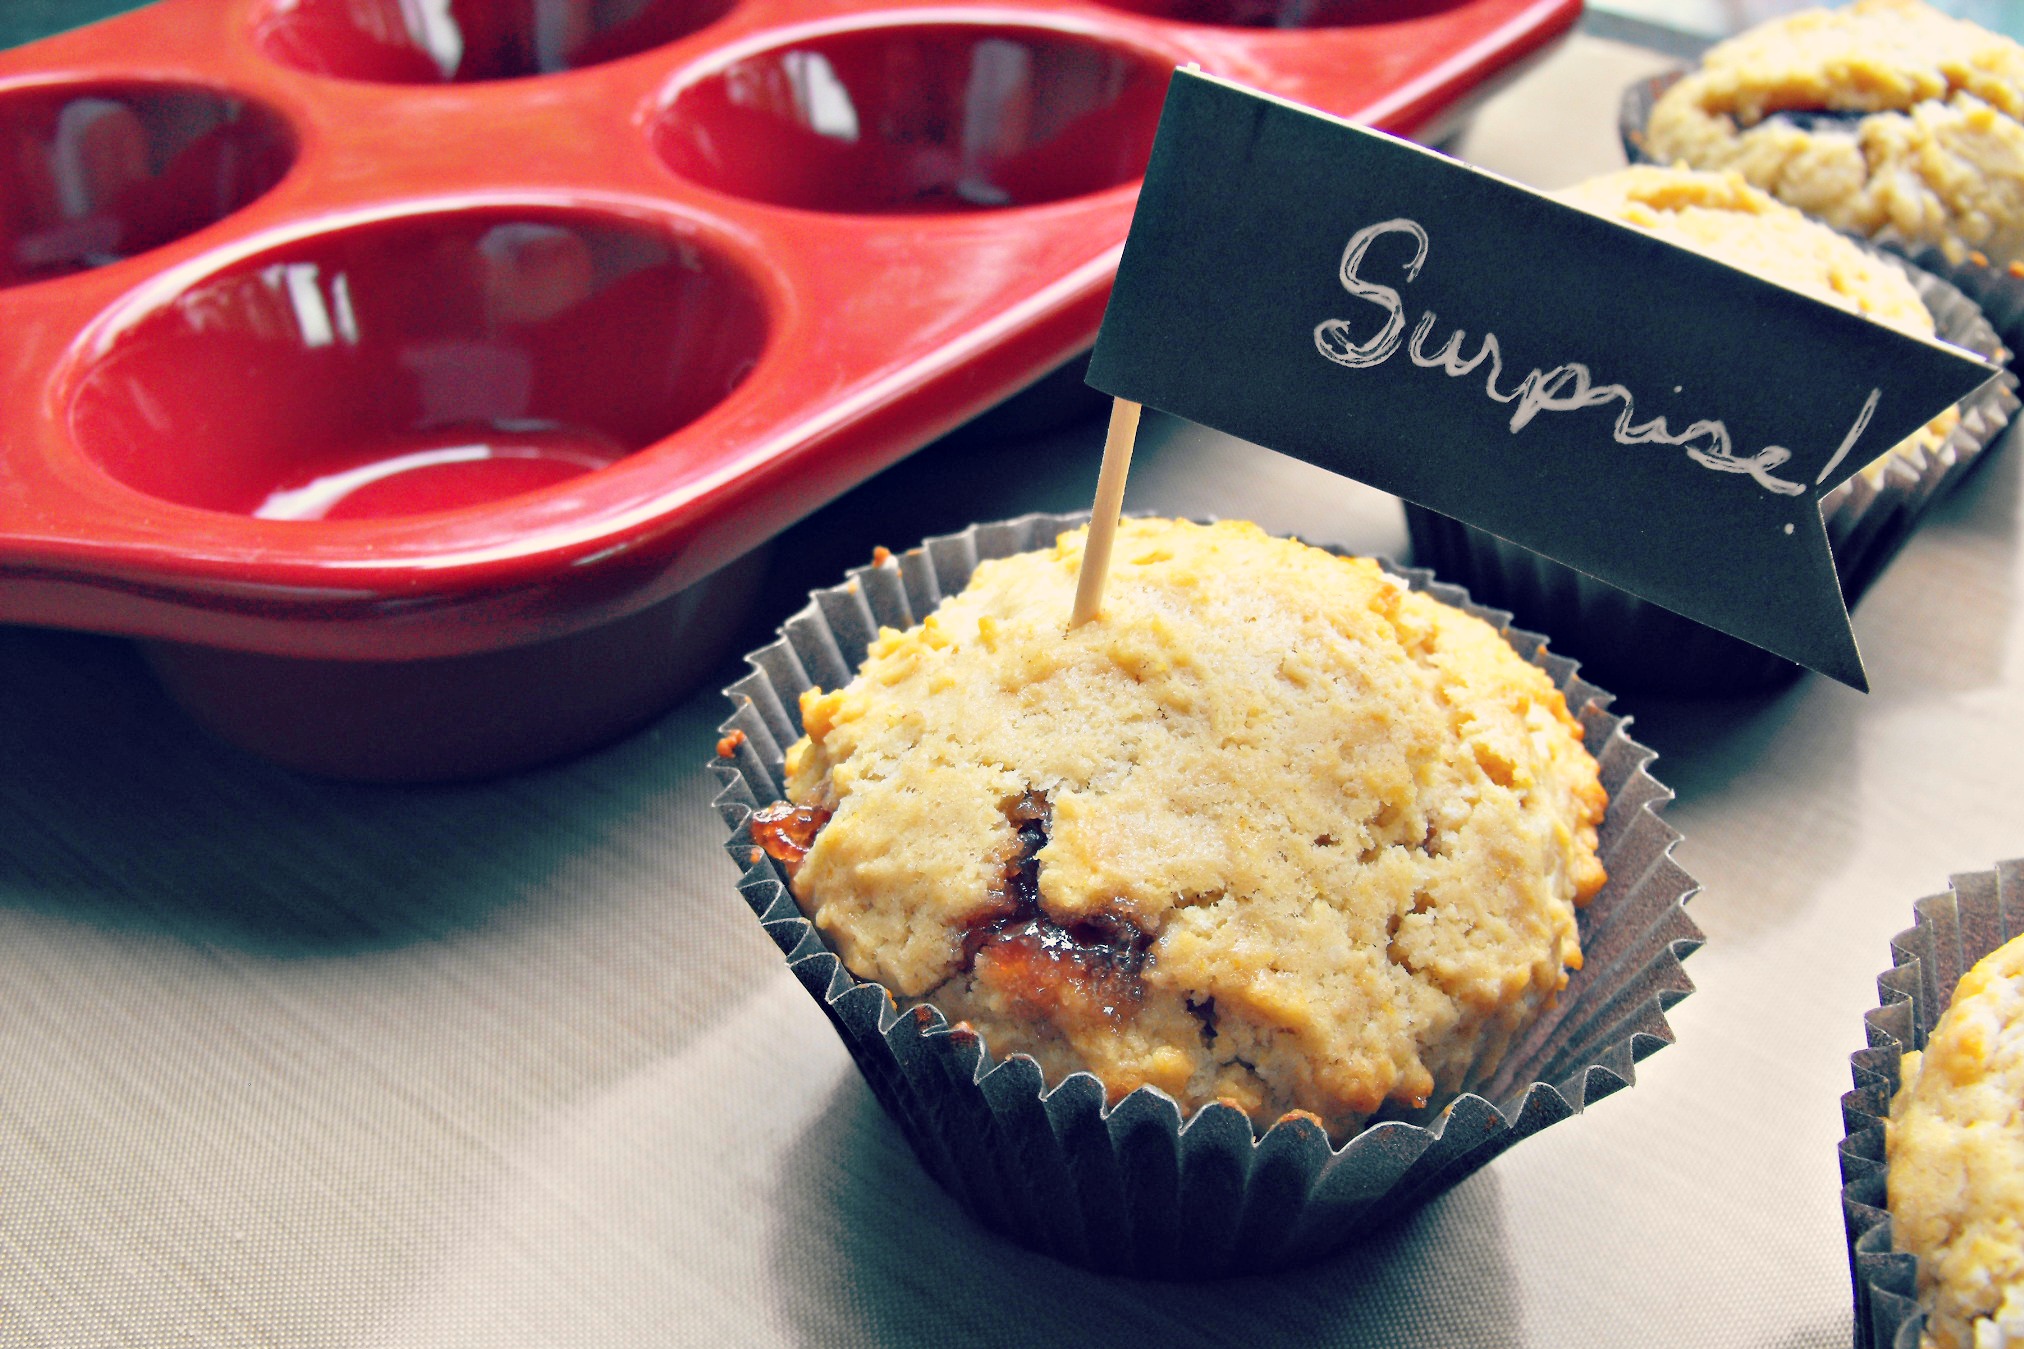
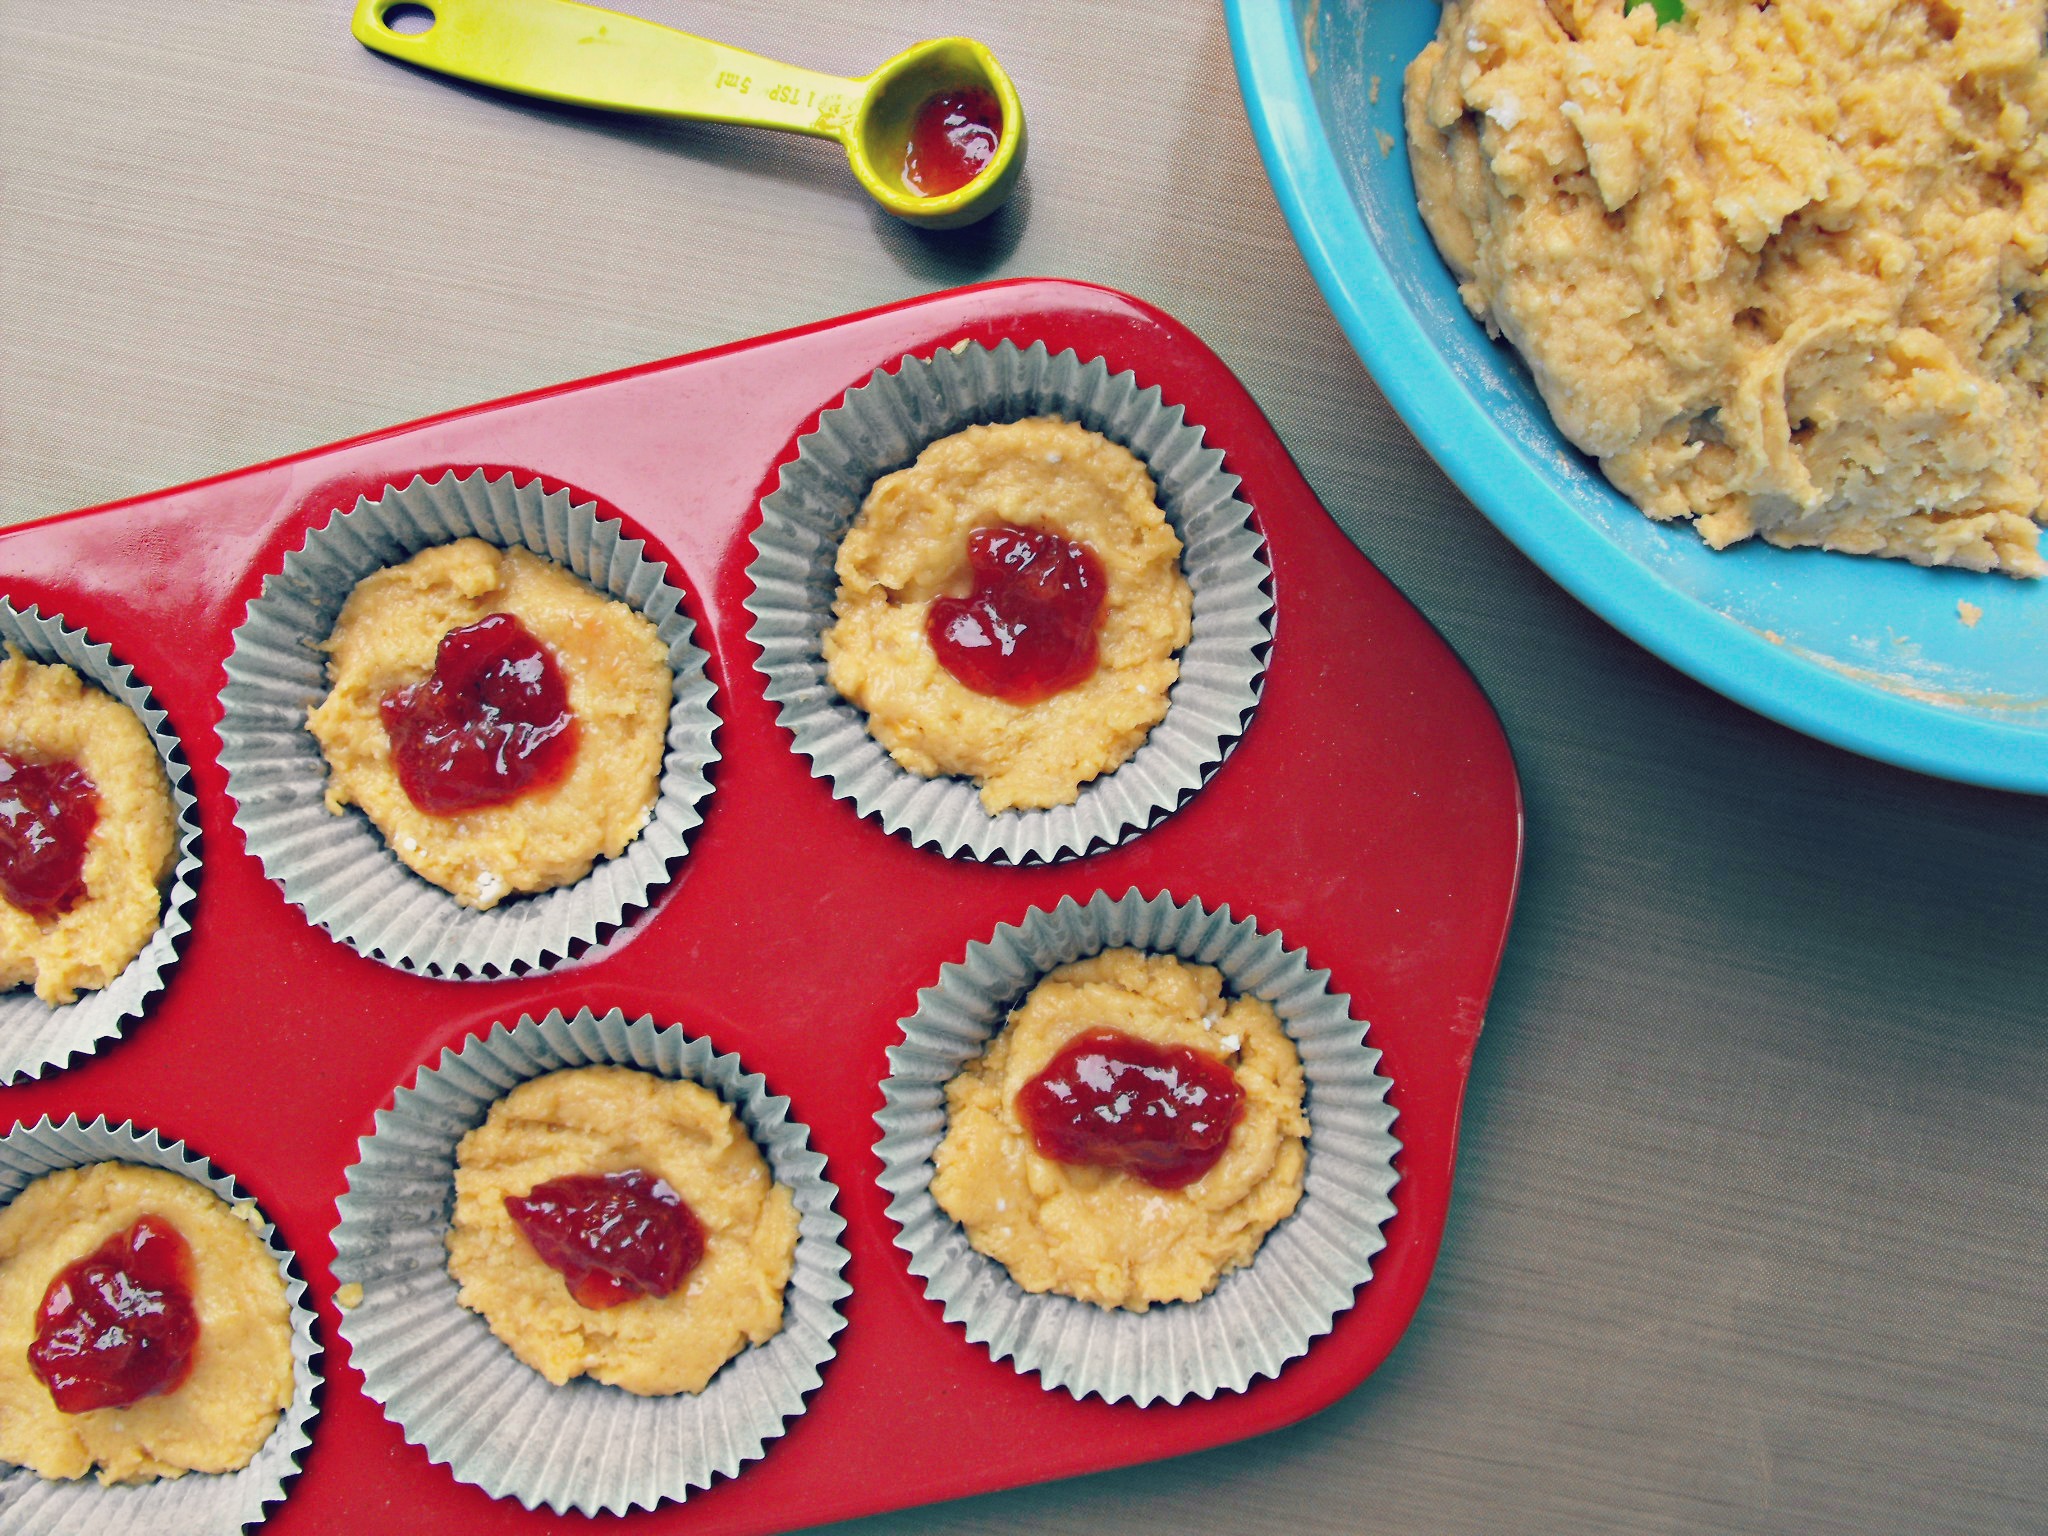
One of my old favorite recipes to make with my two charges was PB & J Surprise Muffins {you can find the recipe here}. {<~~~link: http://familyfun.go.com/recipes/peanut-butter-jelly-surprise-muffins-676593/ }


I remember making these multiple times and enjoying them every time.  With this batch, however, I received only mediocre results.  The muffins were better eaten immediately after baking, but seemed dry after  a few hours.  Reheating didn’t seem to help. Also, I would definitely recommend adding 2 teaspoons of jam instead of the as-written one teaspoon.


I was slightly disappointed that they just didn’t taste the way I remembered them!  So, I asked myself how I could make them better and this is what I heard:


“Self, what goes with peanut butter better than anything??”  And, I answered!  Chocolate.


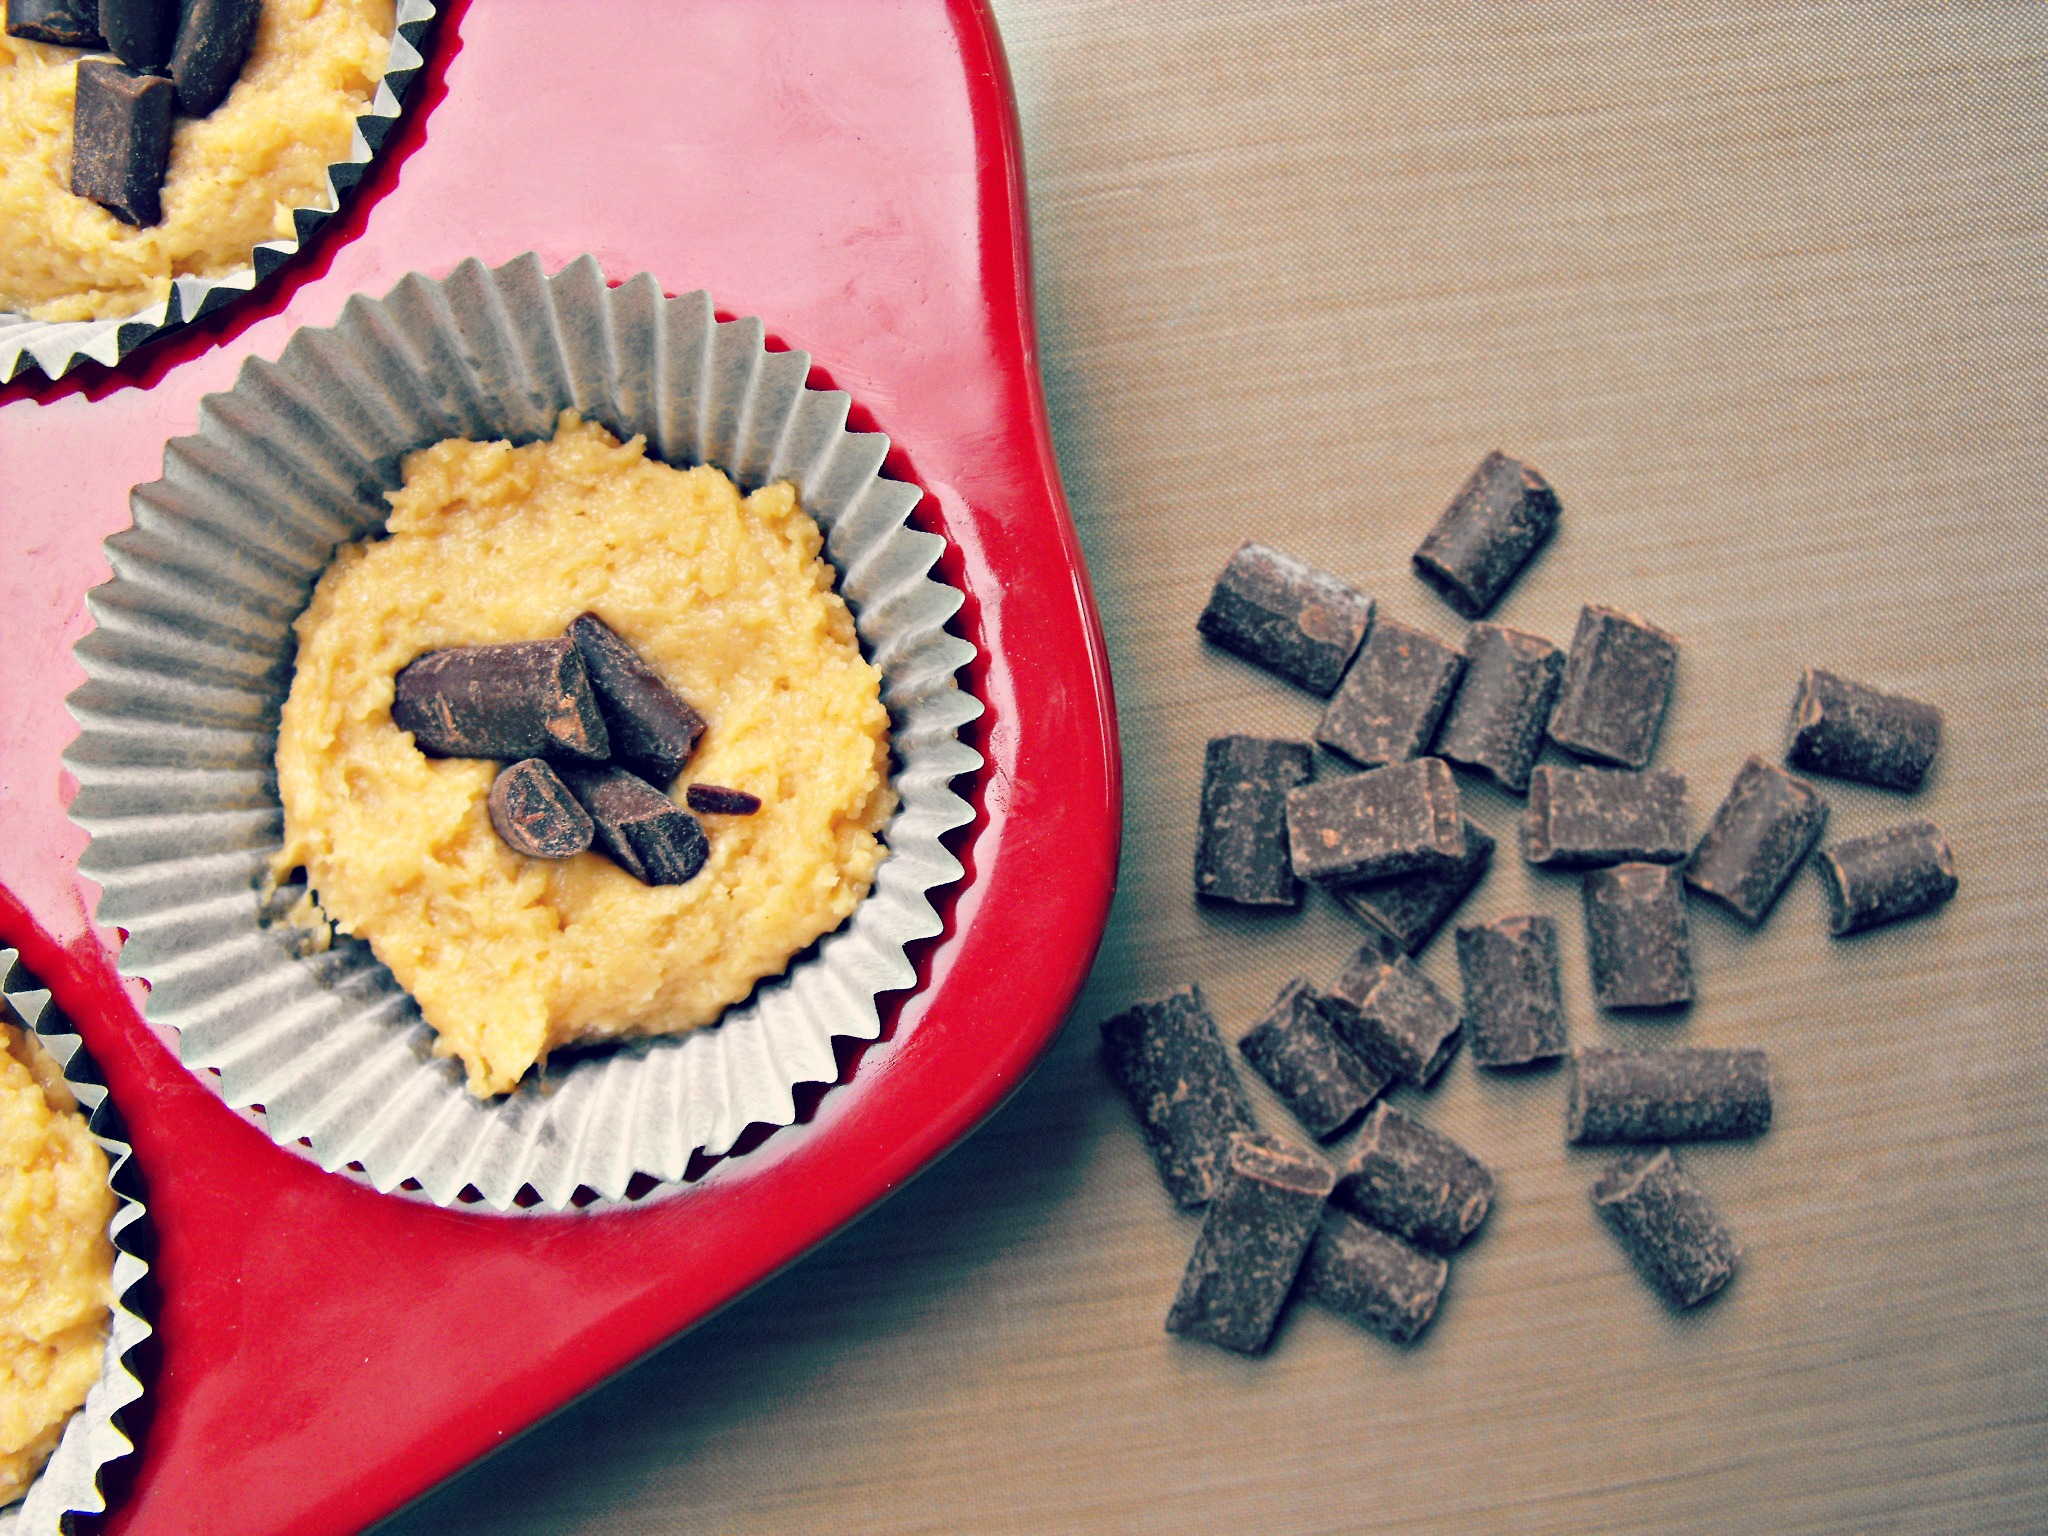
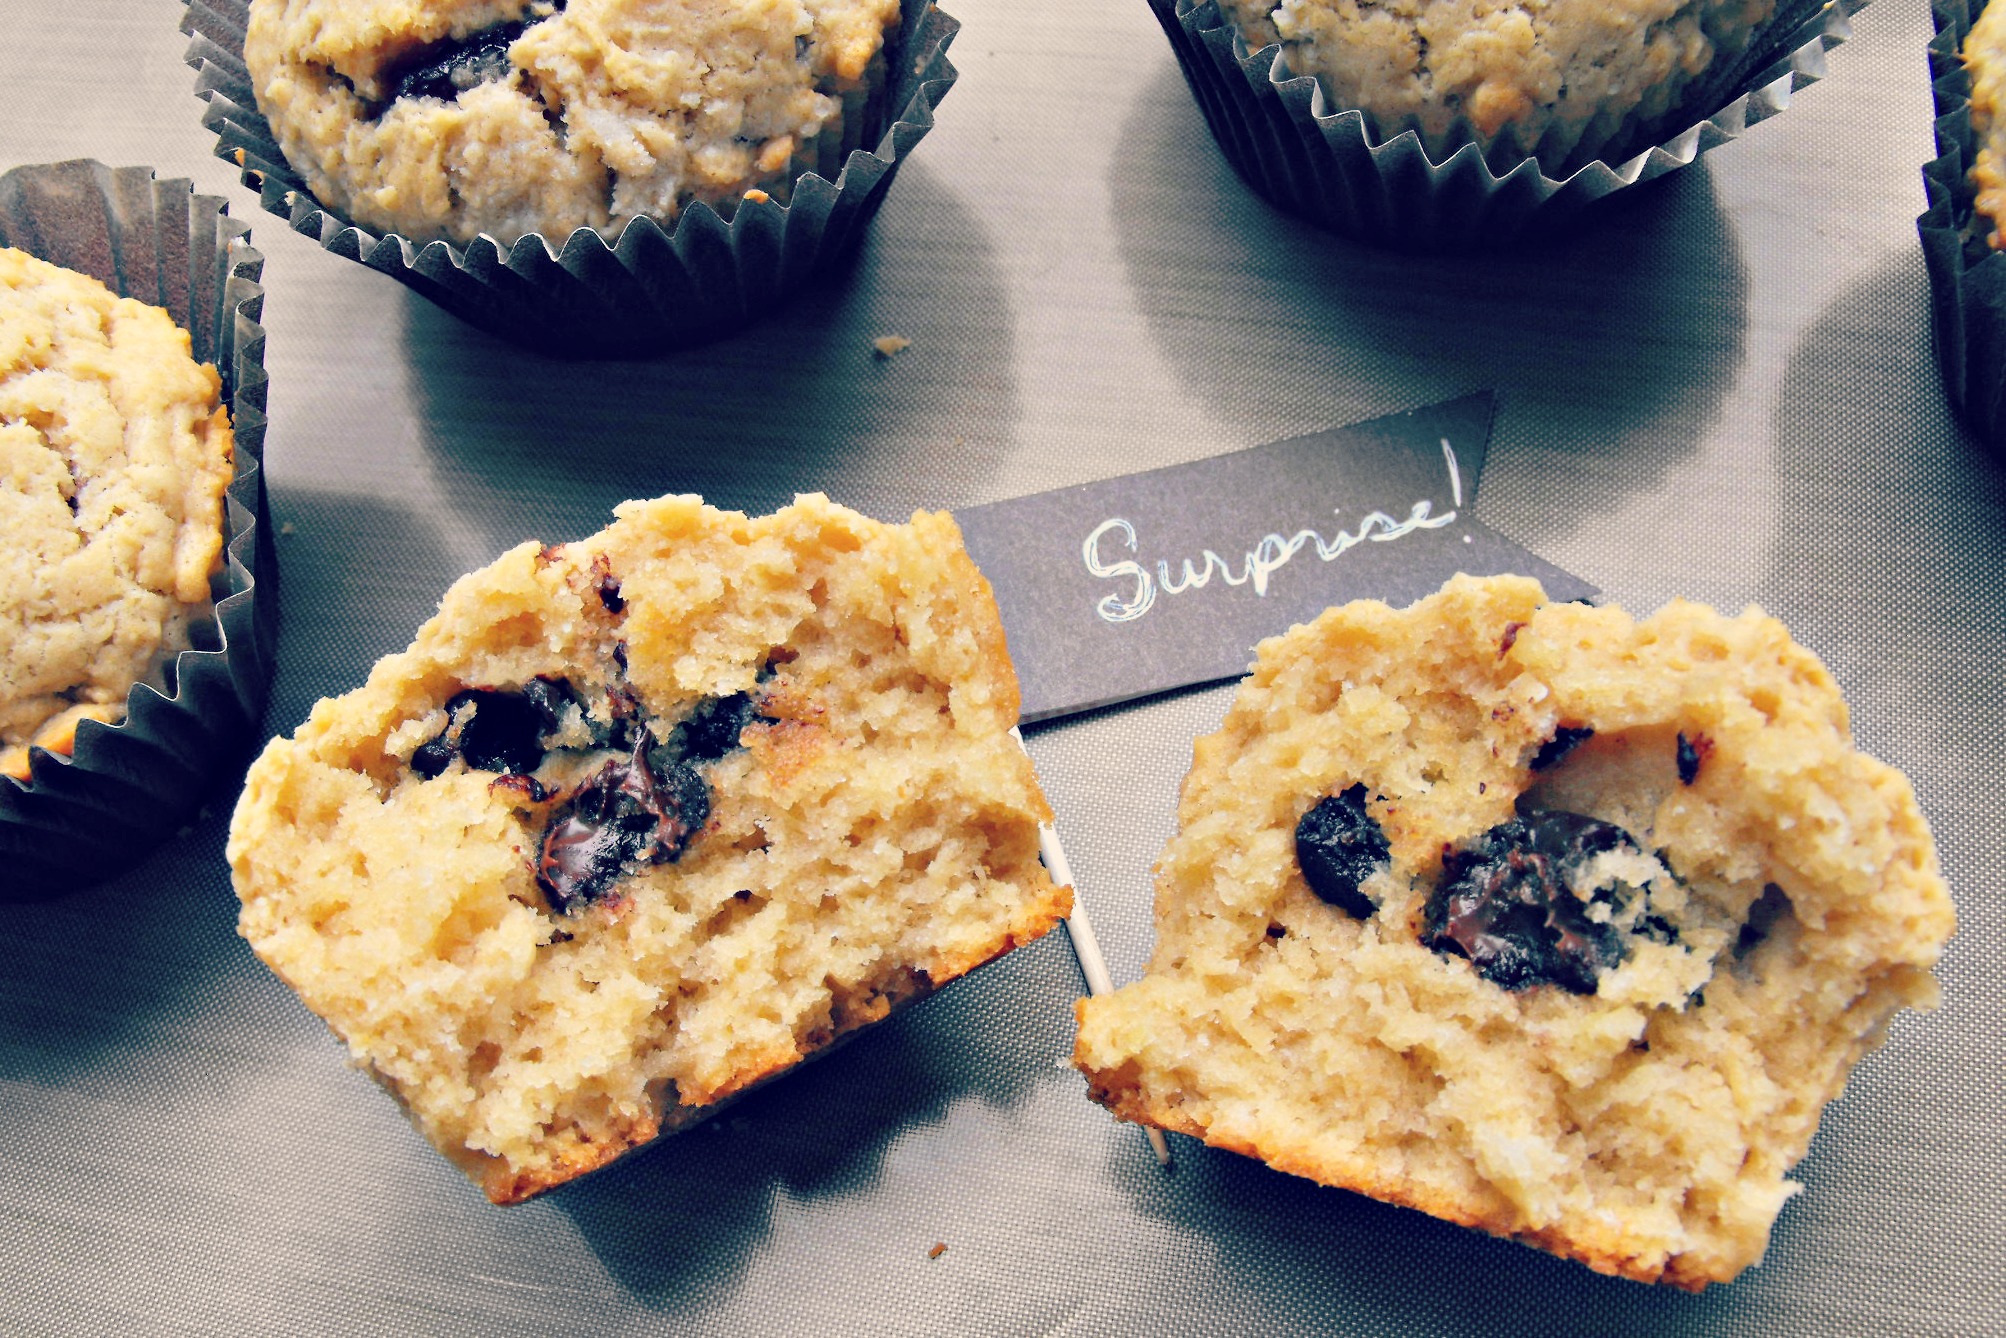
I added five “chunks” of Nestle Tollhouse Chunks per muffin.  In retrospect, I could have added at least five more.


I liked the chocolate better, but sadly, they were still a tad too dry for my liking.  Any foodies out there have any suggestions how to improve this recipe?

You can learn more about Gina by reading her blog Desperately Seeking {Gina} or by checking out her Blogger of the Month Page.

In an effort to eat more veggies, today I shall have carrot cake {Foodie Friday}

 written by Shannon of Still Seeking Martha 

In an effort to eat more veggies, today I shall have carrot cake!

I love a good carrot cake. Honestly, I love cake PERIOD! There is just something about a carrot cake that makes me feel like a kid again.

In a single bite it takes me right back to the “pie” auctions the Cattlemens Association used to have.

I loved going to the auction with my Godfather. What little kid wouldn’t want to go bid on cakes and pies?!? Plus, everyone always said things like “Oh, I see you brought the boss with you.” Me? The boss? Alright I could handle that.

My Godmother, in what I chose to believe was an effort to make me smile throughout the year, but was more likely an effort to keep her husband’s wallet a little thicker, started making me carrot cake any time I asked.

Yes, I was that spoiled by them.

You’re going to need:

  •  A couple large mixing bowls
  • A mixer (unless you’re crazy and want to do this by hand)
  • A large spoon
  • An oven heated at 350 degrees
  • Either a 13X9  cake pan
  • OR two 8 or 9 inch round pans
  • A little bit of shortening
  • A tiny bit of flour

As well as:

  • 1 1/2 cups granulated sugar1 cup vegetable oil
  • 3 eggs
  • 2 cups all-purpose flour
  • 2 teaspoons ground cinnamon
  • 1 teaspoon baking soda
  • 1 teaspoon vanilla
  • 1/2 teaspoon salt
  • 3 cups shredded carrots
  • 1 cup chopped pecans or walnuts

and to frost it you’ll need

  • 1 package (8 oz) cream cheese, softened
  • 1/4 cup butter or margarine, softened
  • 2 to 3 teaspoons milk
  • 1 teaspoon vanilla
  • 4 cups powdered sugar

 Now that you have everything needed, I’ll tell you just want to do with it.

If you read this from the start, your oven should already be preheating to 350 degrees. If not, do that now.

Grease the bottom and sides of the pan(s) with shortening and lightly flour them.

Get one of those large bowls and your mixer and beat the granulated sugar, oil and eggs on low for about 30 seconds or until its well blended.

To that, add the flour, cinnamon, baking soda, 1 teaspoon vanilla and the salt; beat on low 1 minute.

Stir in the carrots and the nuts. STIR, with the large spoon I mentioned earlier.

Pour your batter into the pan(s).

If you used a 13×9-inch pan you’ll want to bake it 40 to 45 minutes.

If you used the round pans, bake them 30 to 35 minutes

Either way, you want to bake them till a toothpick inserted in the center comes out clean.

Once baked, let them cool completely. You can cool the 13X9 in the pan or on a cooling rack. Cool the rounds about 10 minutes in the pan then remove them and let them finish cooling on a rack. It should take about an hour.

While that’s cooling you should probably make the icing so get the other mixing bowl and your mixer back out, or cleaned off.

You’ll want to beat the cream cheese, butter, milk and vanilla on low until its smooth. Gradually mix in the powdered sugar. Gradually… like 1 cup at a time. Your mixer should still be on low so just keep it going till its smooth and spreadable.

Since that didn’t take an hour let your cake(s) finish cooling.

Now you can frost the 13X9 or fill and frost the rounds.

 If by chance you have leftovers, store them in your fridge or invite me over.

Shannon is a 30-something Mom to 5 beautiful children. Yes, 5! You could call it a modern day version of yours, mine, and ours. Her blended family of 7 keeps her on her toes and on the go. Add in working from home as a legal secretary and quickly you’ll see her life is crazy and often chaotic, but she wouldn’t trade one sarcastic moment of it. Her blog, Still Seeking Martha is just a place she goes to share the ups & downs of blended mommyhood, like mowing what feels like 127 acres with a push mower, favorite foods and recipes, mostly cake, and sometimes some DIY projects like great teaching tools. You can stalk Shannon at http://stillseekingmartha.blogspot.com, on Facebook, Twitter, or just email her at seekingmartha@gmail.com.

Bananaza Bread {Foodie Friday}

Bananaza Bread {Foodie Friday}
Written by Grace Pennington of Fruitful

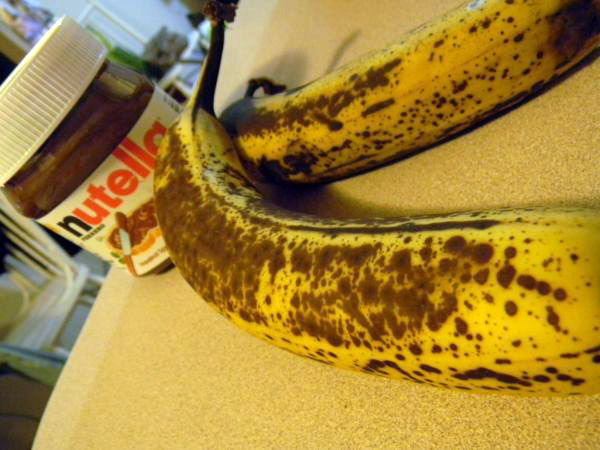
It’s pretty amazing how spotty, blackening, forgotten bananas still have a use. Can you think of another fruit that can make something taste so good when it’s gone bad?

I love the fact that when I buy a bunch of bananas, I won’t have to beat myself up when I forgot to eat them during the week. I won’t feel like I abandoned a beautiful fruit and wasted money.

I’ll just know that these bananas were meant for something greater!

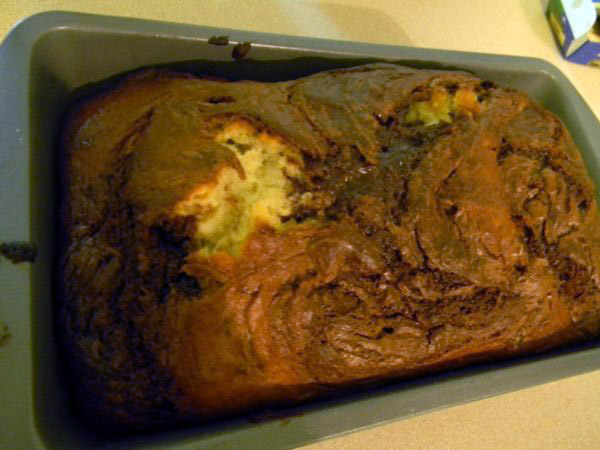
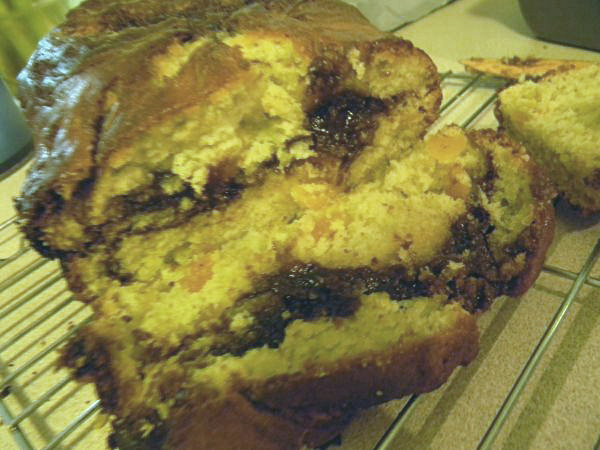
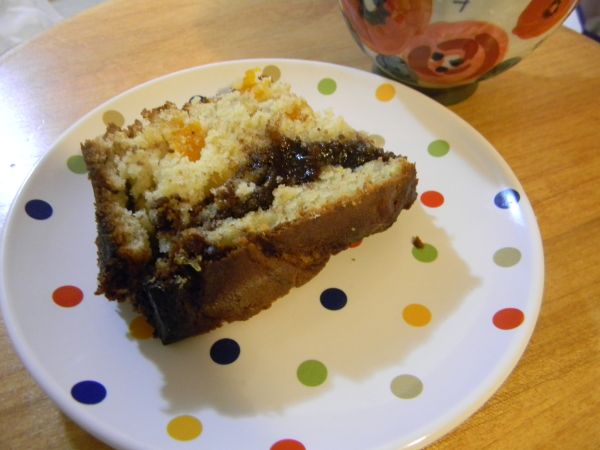
This time, I used my aging bananas to make a loaf of Bananza Bread: banana bread with apricots and swirl of Nutella. I decided to spice up the old banana bread recipe with a different kind of nut flavor, hazelnuts, a sweet swirl of chocolate and a few bites of tangy apricot.

The bread turned out wonderfully. It’s super moist and has such a unique flavor. What goes together better than bananas and chocolate? And who can say no to Nutella bread?

I found this exciting spin on the classic banana bread to be a wonderful change.

It’s kind of amazing how a few mushy, rotten bananas turned into something with such complex flavor and sweetness.

And if you’re like me and have ever been frustrated when your banana bread gets too brown on the top and is still gooey inside, this recipe has a great tip for you!

Bananza Bread (Adapted from Recipe Girl)

Yield: 1 loaf (12 slices)
Prep Time: 15 minutes
Cook Time: 50 minutes

Ingredients:
2 cups all-purpose flour
¾ teaspoon baking soda
½ teaspoon salt
¼ cup unsalted butter, at room temperature
1 cup granulated white sugar
2 large eggs
1 cup mashed ripe banana
1/3 cup plain low fat yogurt
1 teaspoon vanilla extract
¾ Nutella (chocolate-hazlenut spread)

Directions:
1. Preheat oven to 350 degrees. Spray 8×4-inch loaf pan with nonstick spray.

2. In a medium bowl, whisk together flour, baking soda and salt.

3. In a separate large bowl, beat sugar and butter with an electric mixer at medium speed until well blended. Add eggs, on at a time, beating well
after each addition. Add banana, yogurt and vanilla; beat until blended. Add flour mixture and apricots, beat at low speed just until flour is incorporated (don’t over mix).

4. Spoon Nutella into a medium dish and soften in the microwave for about 15 seconds. Add 1 cup of the banana bread batter to the Nutella and stir until blended well. Spoon Nutella batter alternately with plain banana bread batter into the prepared pan. Swirl batters together with a knife.

5. Bake 50 to 60 minutes, or until toothpick inserted into the center comes out clean. Check the oven at 40 minutes to check the top of the bread for browning. If it’s browning too quickly, cover lightly with foil for the remainder of the baking. Cool for at least 15 minutes in the pan and then turn out onto a wire rack to cool completely.


Blueberry Banana Oatmeal Bake {Foodie Friday}

Blueberry Banana Oatmeal Bake {Foodie Friday}
Written by Ashten Adamson at Barefoot ‘N Running

I don’t know about you, but I tend to be pretty wishy-washy with my breakfast habits. It’s not something I’m proud of, but at least I’m aware of it. Since breakfast is the most important meal of the day and starts your metabolism, I’ve been making conscious effort to eat breakfast every morning.

I’m sure you’re wondering why this is a problem. But I like to get up and lounge around drinking coffee before I want to eat breakfast. Are you like that, too? This is a problem for me because I’m living a very active lifestyle. I’m currently training for my second 10K, and I take yoga three times a week. And I have my hopes set on the St. Jude’s Half-marathon in December. So I need a good, healthy breakfast that keeps me full.

Enter Blueberry Banana Oatmeal Bake, a recipe I adapted from Fit Foodie Finds.

What you will need:

2 bananas
1 pint of fresh blueberries (or 1 C. frozen blueberries)
2 C. Old Fashioned Oats
1 egg, beaten
2 C. almond milk (I used original but I’m sure Vanilla would be delicious)
¼ C. honey
1 teaspoon baking powder
1 teaspoon of chia seeds
A few shakes of cinnamon
A splash of vanilla

In the bottom of a baking dish, slice the bananas and for a nice layer. Add half of the pint of blueberries on top of the bananas.

In a separate bowl, mix oats, baking powder, chia seeds and cinnamon. Add almond milk, honey, vanilla and the beaten egg.

Pour oat mixture on top of bananas and blueberries. Top the oats with the remaining fresh blueberries.

Bake at 350 degrees for 25 – 35 minutes. The top should be nice and toasty brown, and there should be very little liquid in the center.

Spoon out a nice portion and top with your favorite nut butter, Greek yogurt, honey or all three.


The possibilities for a breakfast dish like this are endless. It would also be nice dish to serve at a brunch because it can be made in large batches.

You can use whatever ingredients you have on hand, and I feel quite positive that it will be delicious. And trust me, it’s the perfect breakfast to fuel a long day.


A tribute to running, eating, graduate school woes, healthy living and story-telling, Ashten writes a slice of life blog at Barefoot ‘N Running. You will find eclectic posts and a conversational writing style that will draw you into her crazy life.


When Bloggers Take Over the Universe – Food Blogger Bake Sale

On Saturday, April 28, bloggers will take over the universe!

Well, not really. But at least Arkansas. Sort of.

On that day, Arkansas Women Bloggers will hold their Spring Meetup at Historic Arkansas Museum in Little Rock. At the exact same time, bloggers across the United States will be taking part in the third annual Food Blogger Bake Sale, benefiting Share Our Strength in their fight against childhood hunger.

Christie Ison of Fancy Pants Foodie is chairing the event for Arkansas, which will be held from 9 a.m. to 2 p.m. at 6th and Main Streets in North Little Rock, adjacent to the Argenta Certified Arkansas Farmers Market.

Organized in 2010 by Gaby Dalkin of WhatsGabyCooking.com, the national Food Blogger Bake Sale features food bloggers from across the country who unite to support the cause by holding bake sales in their states on the same day.

Last year, the Arkansas team raised over $1,000 with our first sale ever, and every dime went to support awesome Share Our Strength programs such as No Kid Hungry and Cooking Matters.

“Oh, no,” you say, “I’ll be at the AWB conference all morning and can’t participate.”

Au contraire, I say! You can double your blogger prowess that day by doing one or more of the following:

  • Bring some baked goods (smaller, individually-wrapped items work best) to the conference. We’ll have a runner bring them to the sale. No, a runner in a car, silly. Contact me  (christie@fancypantsfoodie.com) first so I can add you to the list and give you some tips on labeling and such.
  • Stop by after the conference and buy some goodies. You can take the Blue Line River Rail trolley from the museum ($1 if under 65, 50 cents if over) and get off at Stop #1 in the Argenta area of North Little Rock. Have lunch at Argenta Market or Starving Artist Cafe, then come by and see us.
  • Post something on your blog about the Food Blogger Bake Sale. I can provide copy and/or badges to help you promote this important event.

You don’t have to be a food blogger to participate. If I get your food donation confirmed by April 2, your blog name will be included in news releases about the event.

Thanks so much, and happy world-ruling on April 28!

Donation Packaging Instructions:

Donations need to be individually wrapped, preferably smallish things like cookies or cupcakes, or smaller cakes. Full size cakes are OK but don’t sell as well, and are harder to wrap. Packaging should be clear and ready to go with the buyer.

Pretty tags, labels, ribbons, etc. are encouraged. We may even do a get-together sometime before to make pretties.

Computer labels are the easiest. Label needs to have what it is, who made it, and any blog address. It can link to the recipe if it’s on the blog.

Additionally, there is no need to price your items.  They will take care of that for you!

Don’t forget to email christie@fancypantsfoodie.com to let her know to expect your donation.


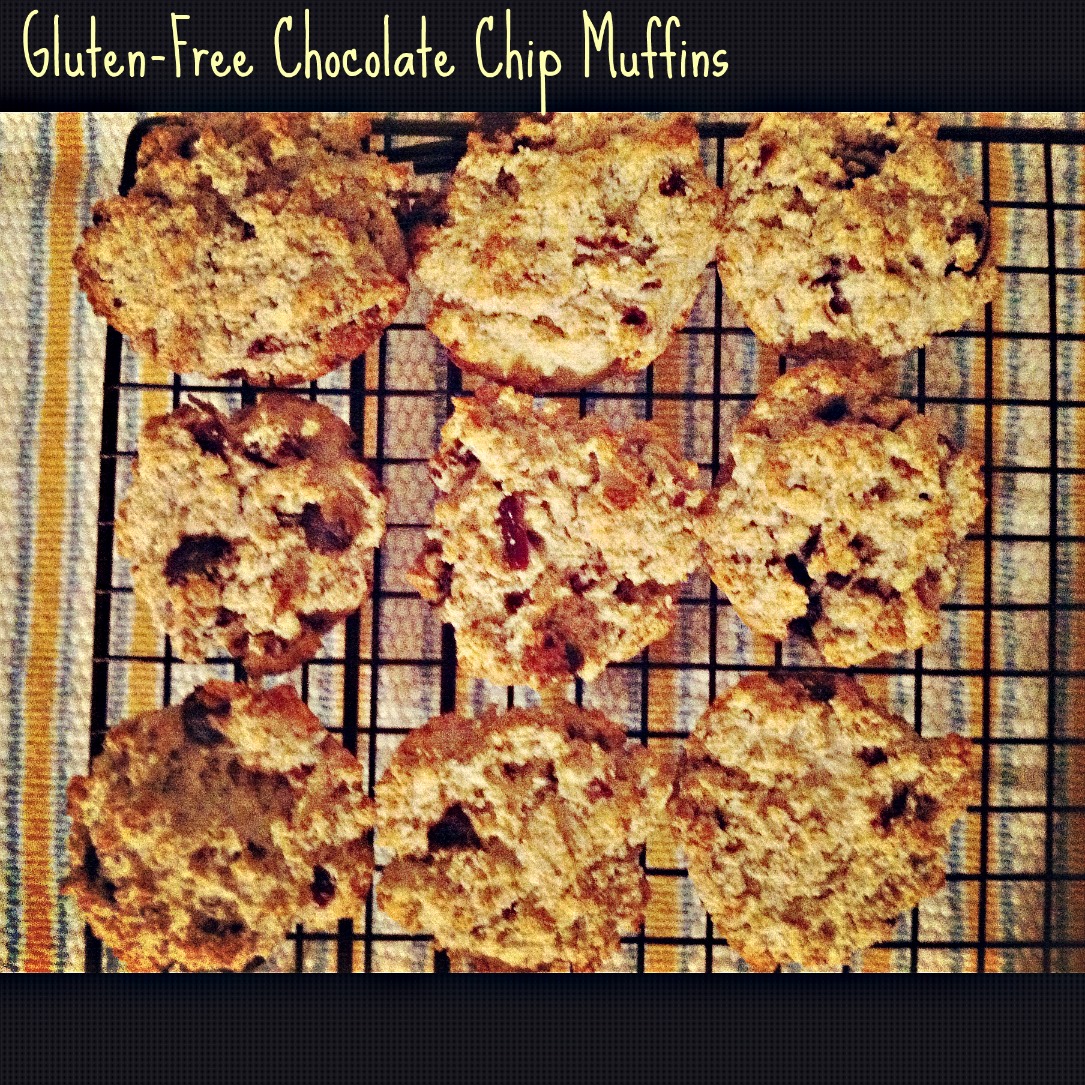
Gluten-Free Chocolate Chip Muffins {Foodie Friday}

Gluten-Free Chocolate Chip Muffins {Foodie Friday}
Written by Kelly Peterson of Kelly’s Pink Bicycle.  


 I’m not a gluten-free expert. In fact, if there was a level below novice, I’d be in that category. But we have recently found that my husband appears to be somewhat gluten-intolerant, and since I love him very much I am learning to cook with his needs in mind.

However, gluten-free baking is INTIMIDATING. I didn’t realize how many different types of flours existed until I began scanning through gluten-free recipes for bread, donuts, pastries, and cakes. I’ve been sticking to lots of rice and vegetable dishes because they’re healthy and easy to make, but this past weekend I decided to venture outside my comfort zone and bake.

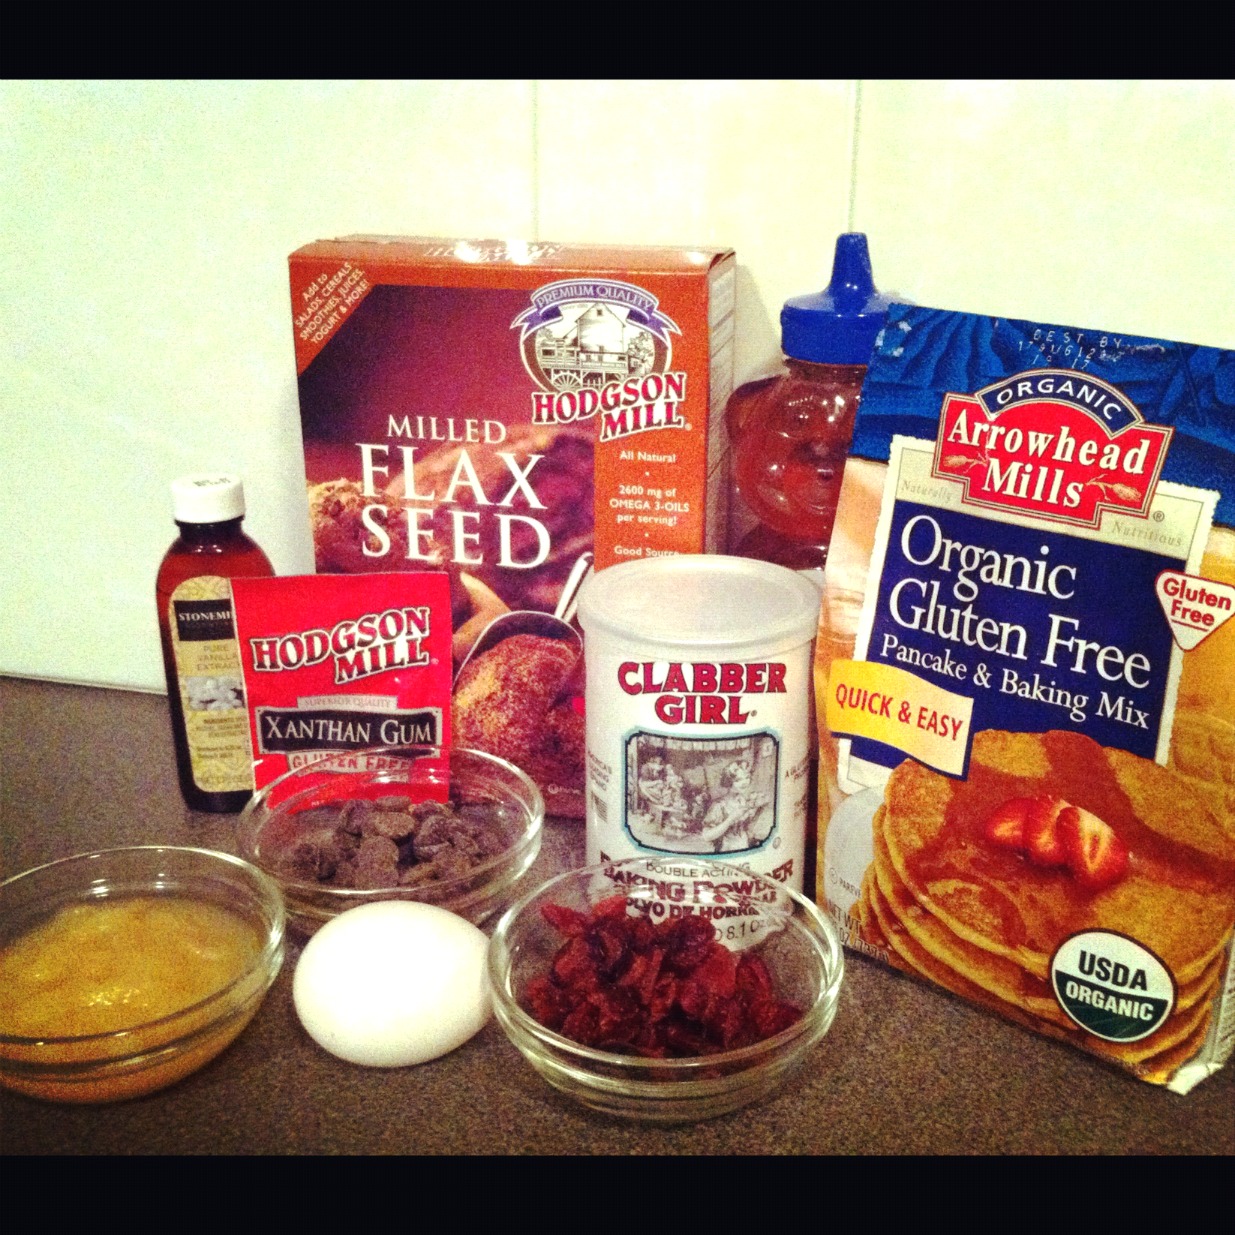
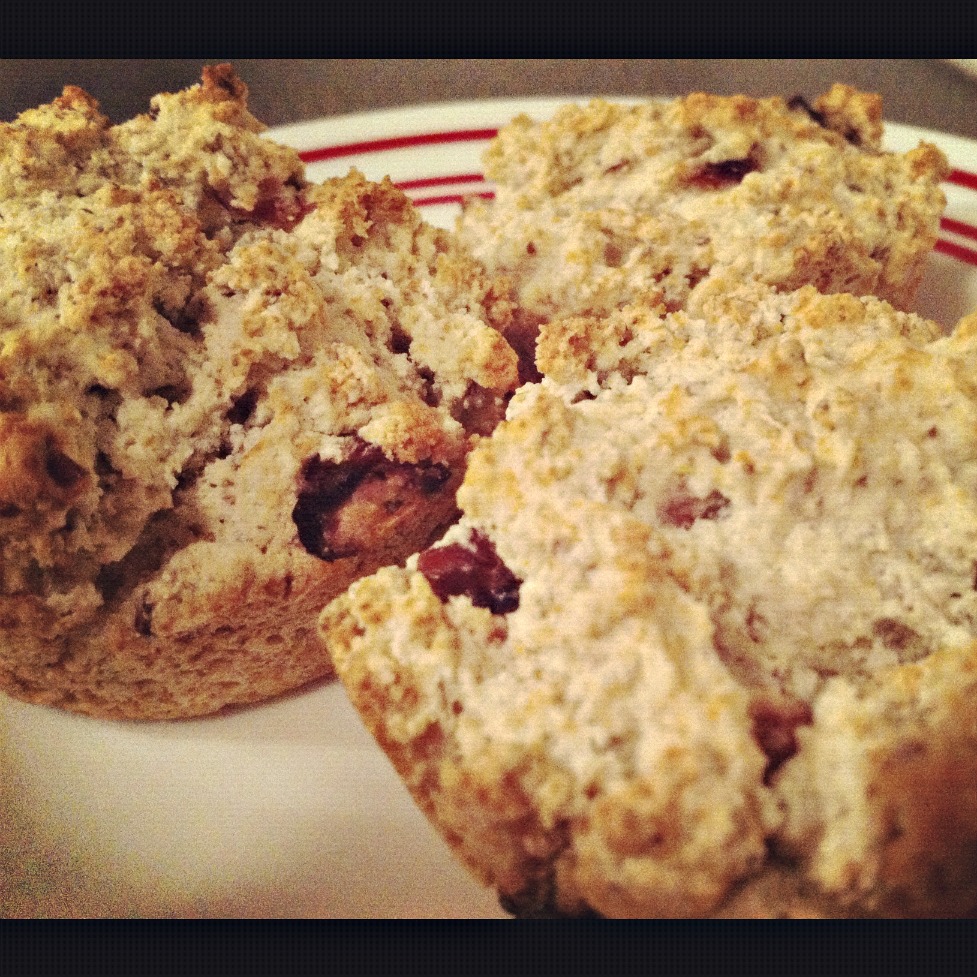
I decided to start small with my version of gluten-free chocolate chip muffins, adapted from a recipe from Arrowhead Mills. You could easily make them bigger (they’re pretty small) by filling the muffin tins all the way to the top, and lengthening the oven time to 25 minutes or so. You could also do all kinds of fillings – I used chocolate chips and dried cranberries, but I bet they’d be amazing with blueberries, chopped apples, shredded coconut, or even crunchy peanut butter!

My husband gave them a thumbs up, and he’s a pretty picky eater. I hope you like them!


Gluten-Free Chocolate Chip Muffins (makes 15)

Ingredients

  • 2 cups gluten-free baking mix (I used Arrowhead Mills Gluten-Free Pancake & Baking Mix)
  • 1 tsp baking powder
  • 1 tsp xantham gum
  • 3 Tbsp milled flax seed
  • 1 egg
  • ¼ cup honey
  • ¾ cup water
  • ¼ cup unsweetened applesauce
  • 1 tsp vanilla
  • ¼ cup gluten-free chocolate chips
  • ¼ cup chopped dried cranberries

Directions

  1. Preheat oven to 350 degrees.
  2. In a medium-sized bowl, mix together the first 4 ingredients.
  3. In a small bowl, mix together all wet ingredients (egg, honey, water, applesauce, and vanilla)
  4. Pour liquid mixture into bowl with dry ingredients and mix only until lumps are gone.
  5. Mix in the chocolate chips and cranberries (don’t over mix!).
  6. Fill oiled muffin tins ¾ full with muffin mixture. The mixture will be thick.
  7. Bake for 17-20 minutes, or until the tops are golden brown.


Nutritional Information (per muffin)

Calories: 123; Carbs: 26g; Fat: 2g; Sugars: 8g; Sodium: 181mg; Protein: 3g; Fiber: 1g; Calcium: 11%

Kelly is in love with her husband, her cookbooks, and her bread machine. When she’s not reading The Hunger Games or trying to sprout her own lentils, she can typically be found spending way too much time on Facebook and Twitter. You can read more at Kelly’s Pink Bicycle.

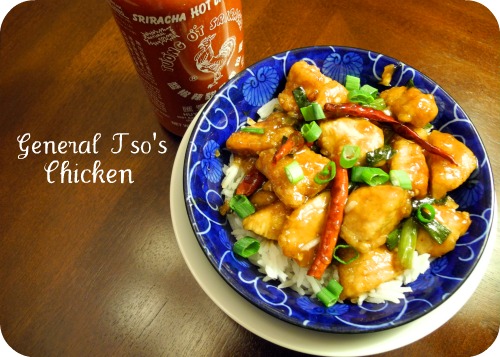
General Tso’s Chicken {Foodie Friday}

General Tso’s Chicken {Foodie Friday}
Written by Sarah of East9thStreet.

This weekend my step-son is visiting from Tulsa.  He’s a typical teenage boy and typically eats burgers and fries.  Recently he’s become a huge fan of Asian food so we decided this would be the perfect weekend to try out some new recipes.

Browsing some of the foodie blogs, I came across a recipe from Far Away.  Having the majority of the ingredients on hand, I decided it was time to attempt General Tso’s Chicken.

This version of General Tso’s Chicken is sure to challenge even your favorite take-out restaurants versions.  The ingredients merry well together and there is just the right amount of heat.  My only deviation from this recipe was not using the dry, white sherry to marinate the chicken.  Instead I used rice wine vinegar only because I couldn’t find white sherry.  I hope you enjoy this and it becomes a regular in your dinner rotation.

General Tso’s Chicken

Ingredients

  • ¼ cup chicken stock
  • 1 tbsp soy sauce
  • 1 tbsp rice wine vinegar
  • 2 tbsp hoison sauce
  • 2 tsp Sriracha sauce (I’m not a huge fan of spicy and I could have easily added another tsp)
  • 2 tsp sesame oil
  • 3 tbsp sugar
  • 1/3 cup + 2 tsp cornstarch, divided
  • 1 lb boneless, skinless chicken breasts cut in 1-in pieces
  • 2 tbsp dry white sherry (or substitute rice wine vinegar like I did)
  • 1 tsp fresh ginger, grated
  • 6 dried red chilis
  • 3 green onions, white and green parts cut into ½” pieces

Directions

  1. In a medium bowl, combine all the ingredients up to the cornstarch.  Add the 2 tsp of cornstarch and whisk until well blended.
  2. In a large bowl, marinate your chicken for 15 minutes in the dry white sherry or rice wine vinegar.  Add a sprinkle of salt.
  3. This step is important.  Because you want your cornstarch mixture to be a dry coating on the chicken, put the chicken in a colander and drain any excess liquid.
  4. Using the 1/3 cup of cornstarch (use more if your chicken seems wet), coat the chicken.  In a large skillet, warm the peanut oil over medium heat (my oil wasn’t very deep, just enough to cover the surface of the pan) and once hot, add chicken and brown the chicken on all sides.  Once the chicken is done, remove it from the pan and set aside.
  5. Drain any leftover oil out of the skillet and add garlic and ginger, cooking for 20 seconds or so.  Add chilis, chicken and green onions, mix gently.  Add the sauce mixture and stir frequently until the sauce thickens and coats the chicken.  Because of the cornstarch in your sauce mixture, this happens fairly quickly so watch your food!
  6. Top with sliced green onions and serve over a bed of rice.


When not chasing toddlers, planning playdates or studying to be the most awesome healthcare administrator in the world, Sarah runs the family blog, East9thStreet.  There you’ll find amazing recipes, tips and tricks on surviving parenthood and an occasional random rant.


Dining with Lincoln and Washington {Foodie Friday}

Dining with Lincoln and Washington {Foodie Friday}.
Written by Lyndi Fultz of NWA Foodie

On Tuesday everyone got allllll worked-up and excited about Valentines Day when clearly their focus was in the wrong place.

C’mon people… you missed Lincoln’s birthday last weekend!

Thankfully you STILL HAVE TIME for Washington’s birthday next Wednesday.  Shew!  I almost felt sorry for you if you had missed that one, too.

Let’s get real.

Does anyone really go all-out for President’s Day weekend?

Where are ads for that day?  The gifts?  The lavish family meals?

Since the powers-that-be determined that both Lincoln and Washington should have their own day, let’s dig a little deeper into the fetishes of two of our founding fathers.

Food fetishes, that is.

A quick google search reveals a surprising amount of juicy gossip when it comes to their habits and desires.   “Juicy” and “gossip” may be stretching it just a bit, I realize.  Although, I must admit, I am curious about the dining delights during that day and age.  Aren’t you curious, too?


President George Washington

According to foodtimeline.org. [insert link: http://www.foodtimeline.org/presidents.html#washington] “George Washington’s own eating habits were relatively simple. One observer of the time said that he “took what came with philosophy”; certainly no one could accuse our first President of having been a gourmet. Custis, Martha Washington’s grandson, described Washington’s food preferences: “He ate heartily, but was not particular in his diet, with the exception of fish, of which he was excessively fond. He partook sparingly of dessert, drank a home-made beverage, and from four to five glasses of Madeira wine”…A special passion of the President’s was nuts. He would buy hazelnuts and shellbacks by the barrel.”

There you have it.  He ate simply and heartily and was excessively fond of fish and nuts.  If it is true, Madeira may have been his best friend.  Or at least got him across the Delaware River more comfortably.

Here’s an idea.  Perhaps Monday should be called Madeira-Monday instead of President’s Day?

Let’s move on.


President Abraham Lincoln

Let’s learn what foodtimeline.org’s [insert link: http://www.foodtimeline.org/presidents.html#lincoln]  has to say about the man who instituted my personal favorite holiday, Thanksgiving.  “Lincoln relied on food to feed the furnace. He ate well when served a tasty meal, but was usually so preoccupied with problems of politics and power that he gave little thought to food unless faced with it. Then he could enjoy a delicious meal as well as the next one…”Family meals at the Lincolns’ were routine. Early in the morning the President liked a “good hot cup of coffee.” But often he would forget about breakfast until 9 or 10A.M. John Hay, one of Lincoln’s privage secretaries, occasionally ate with the President. He noted that the frugal repast might consist of “an egg, a piece of toast, coffee, etc.” On occasion breakfast was a single egg. For lunch, Hay reported, Lincoln “took a little lunch–a biscuit, a glass of milk in winter, some fruit or grapes in summer…He ate less than anyone I know.” Lunch was usually eaten irregularly…”

Boring.

If given the opportunity, I would skip dinner with Lincoln and accept that invitation with Washington.

Here is what I suggest…

This weekend, in honor of President’s Day Weekend, take a few minutes and do a google search on “favorite foods of presidents” and review the culinary delights, passions, and good-old-fashioned-yarns about our forty-four presidents.

At the very least, pick up a bottle of Madeira.  That is what I’m going to do.

It’s only right.

Eat well, my friends.  Eat well.

Lyndi


Blogging With Your Senses

Blogging with your senses.
Written by ARWB January 2012 Blogger of the Month, Lyndi Fultz of NWAFoodie.


You don’t have to be a food writer to engage your senses when you write.

As bloggers, we often work in the deeply heartfelt emotional realm when writing our posts.  Have you ever stopped to think about writing from the see, smell, hear, touch, and taste perspective?

As we entered into the new year, I took a perspective on where I am with my blog and where I want it to mature.  One missing aspect became VERY apparent.  Many of my posts exclude the “taste” element.

As a foodie, that warrants a citizen’s arrest. 

Instead of booking myself into the county jail, I am challenging myself to improve specifically in this area.

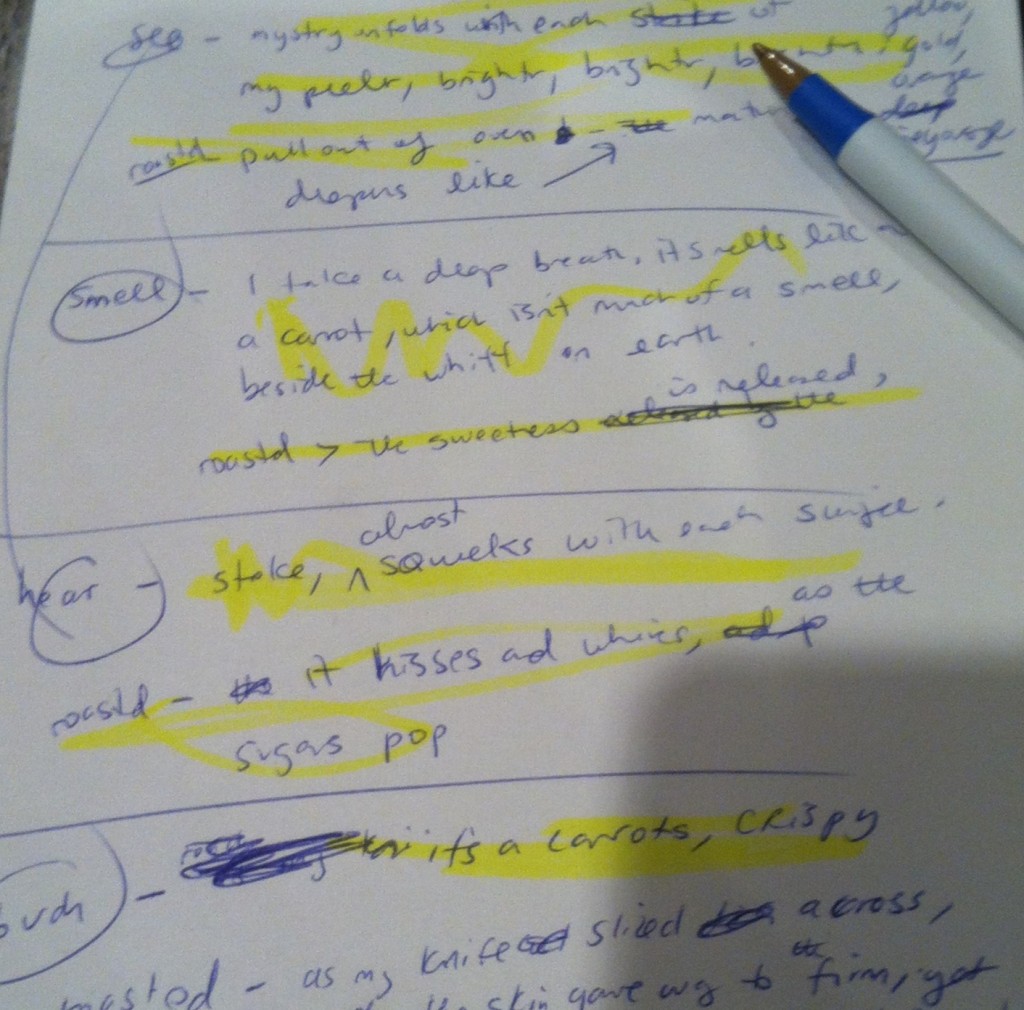
Yesterday as I sat down to write a post about the humble carrot, I tried something different.  I took out a sheet of paper and on the left hand side of the pad I wrote all the senses:  see, smell, hear, touch, and taste.

Free-flowing scribble emerged next to each category as I pondered the experience pre and post roasting.


The post  oozed mental color.

Let’s try this together.  Take a look at this jar of pickled rainbow carrots.


At first glance we could describe it as:  colorful, cloudy, inviting. 


Now, let me engage the senses:

See:  colorful, cloudy, inviting, a nostalgic nod to a day when women canned and preserved for a future event instead of simply running to the closest Walmart

Smell: as I prepped the pickling juices, the pungent, acrid smell attacked my nose and caused me to pause and ask, “ do I really want to finish this?”

Hear: my husband, walking into the house with panic in his voice “what is the smell?  did something happen?”  (again I question myself “do I really want to finish this?”)

Touch:  crisp, snap, crunch

Taste: think pickled okra, only crispier, I imagine how it will add the perfect touch minced up in egg salad or adding as a pop of shredded color to the humble coleslaw
Better?

The blog challenge for all of us is to try this with our next post (include a link in the comments so we can all read it).  Start off with something ordinary, like your daily walk, playtime with your kid, or movie night with your significant other.  Or something as simple as sipping your morning coffee.

Describe how you feel within.

It’s not just coffee, it is the carrier of life on a chilly January morning as the first sting of heat slips past your tongue, the heady aroma wafting up your nostrils, begging you to wake up and face the day ahead.

Now it’s your turn.

How are you engaging your senses when you write?

Eat well, my friends.  Eat well.

Lyndi

Lyndi of NWAFoodie is a girl who just happens to live in beautiful Northwest Arkansas. Much of her blogging inspiration comes from this gem of a place which she refers to as the proverbial land of milk-and-honey.