Creating a watermark to add to your blog photos is quick and easy and totally accessible for those who don’t own fancy photo editing software. I’ll show you how in just 8 steps using Picmonkey.
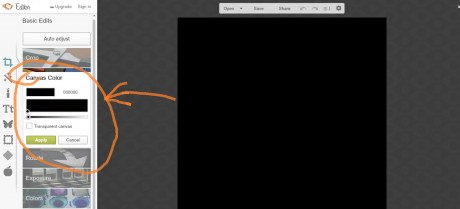
2. Change the canvas color to black for the purpose of editing; we’ll be able to see our design while we work. We’ll change the background again, later.
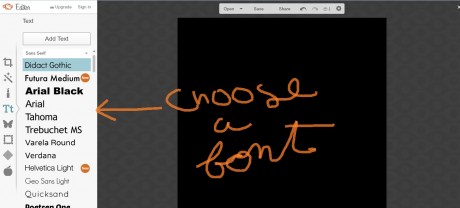
3. For this tutorial I’m showing you how to use text as your watermark. Hit the “T.” Choose your font. Type your text.
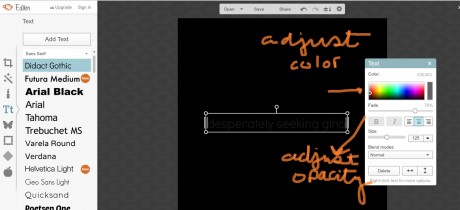
4. Adjust the color and opacity of your watermark text. I suggest using a grey or white. You can adjust here. You’ll also be able to adjust a bit more when you add the watermark to the photo.
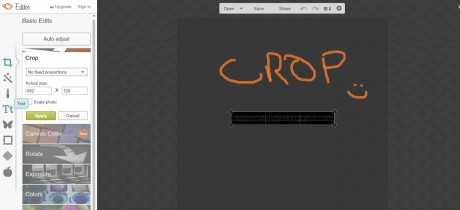
5. Now that you have the text the way you’d like it to appear, crop the image.
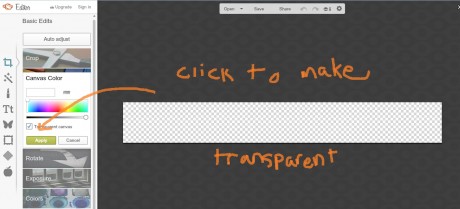
6. Now we’ll turn the canvas color to transparent so that only your image will appear. Your watermark text will most likely disappear so be sure to have it exactly the way you want before you complete this step. Hit the “Canvas Color” option on the editing menu. Click “transparent canvas.”
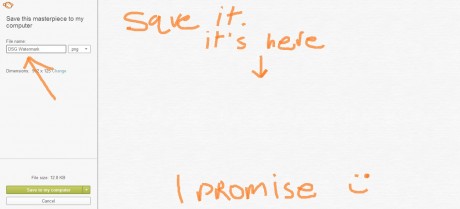
7. We’re ready to save this watermark! Don’t worry, you probably can’t see your image but it’s there, I promise! Be sure to name your watermark and save as a .PNG file. This will ensure that only the text youcreated will appear on your photos.
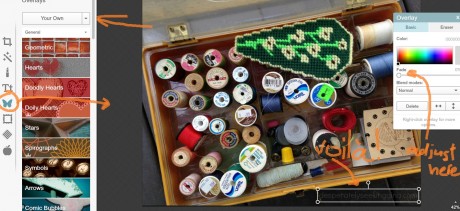
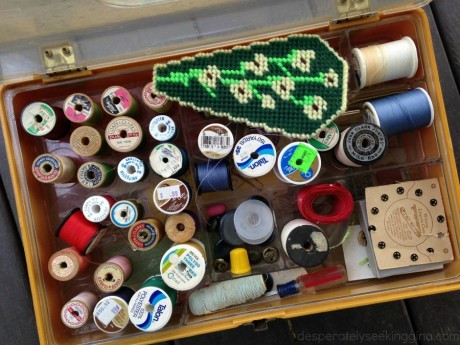
8. Great! Now open the photo you’d like to watermark. Hit the “Overlay” button on the editing menu; it looks like a butterfly. Click the “Choose Your Own” option, find the watermark you saved and there it is! Yay!! Place the watermark anywhere you’d like. You can adjust the color/opacity as needed. Save your new photo and you’re finished!
Now you can easily add your pre-made watermark to all your photos.


Thanks Gina! Not only for the info, but also reminding me to do it. I am seeing my garden photos picked off left and right! You rock!
Isn’t that so frustrating? Happy watermarking 🙂
Great job Gina!
quick and easy tip. thanks
Anytime:)
Thanks for the instructions!
Thanks, Gina! I need to watermark about a hundred! Nice to know it’s a one-time creation.
It’s really convenient-I used to just add the text every time but found that I would get lazy and not do it. Having it already set is great.
Thank you Gina!
Thanks Gina! I need to do this.
Thanks for the info!