Dream boards are an amazing self-exploration tool. I have used these for years in my art classes as a way for students to begin thinking creatively and introspectively. Dream boards are meant to be a visual representation of the dreams and goals we have. They are meant to be more about who we want to be then stuff we want to have. They are not meant to be a wish-list or a to-do-list but are meant to visually remind us of the goals and dreams that we have for ourselves.
Time:
One or more hours (Uninterrupted would be the best so convince your husband to entertain the kids!)
Materials:
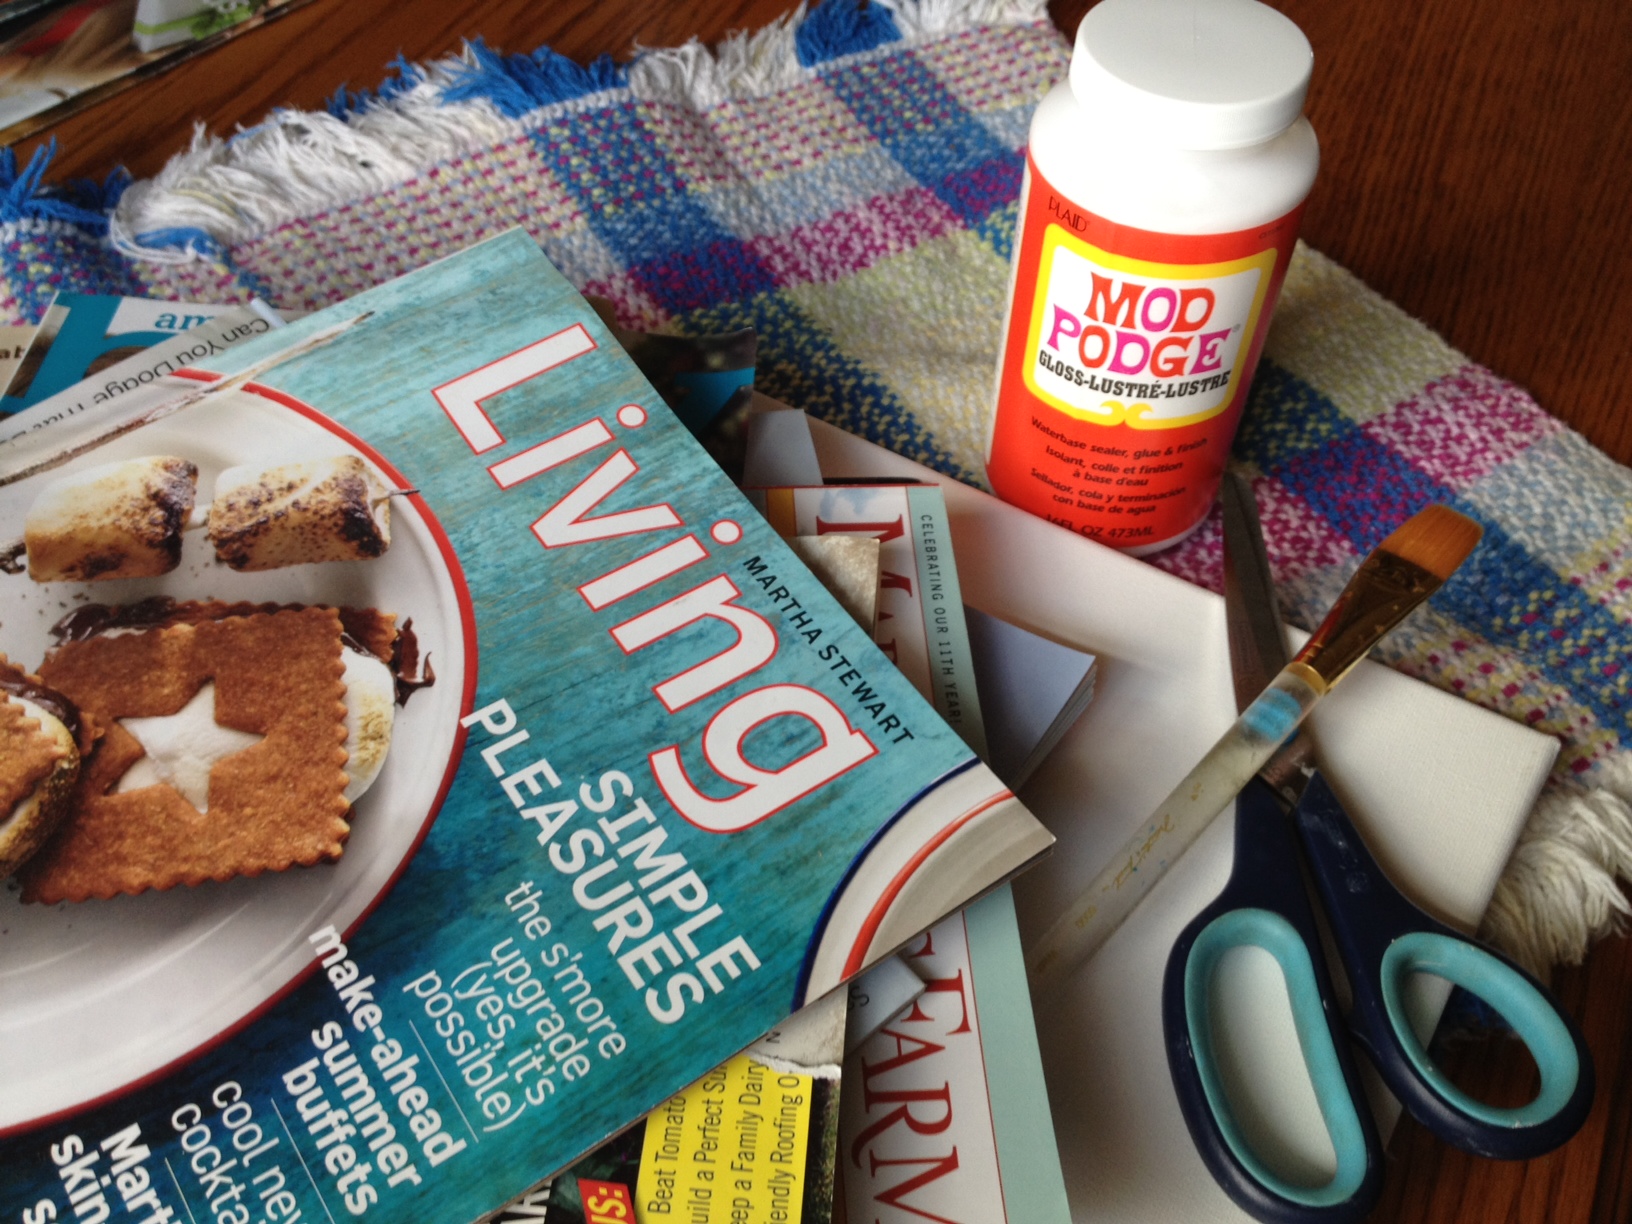
Magazines, photos, printed Pinterest images
Scissors
Glue (Such as Mod Podge or watered down Elmers glue)
Cheap Paintbrush
Paper, Poster board or Canvas
Your favorite music
A refreshing beverage
Step 1
RELAX! Take this next hour or so for yourself and only you. Put on your favorite music and grab a glass of wine or a refreshing soda. A comfortable pair of pants and your favorite t-shirt will also help you to relax and focus.
Step 2
Go through your magazines and pictures and begin collecting words and images that “speak” to you. You are just picking things you find appealing. You don’t necessarily have to have a theme although I have done themed dream boards in the past that turn out nice. There is however something appealing about selecting images and words organically and randomly.
Step 3
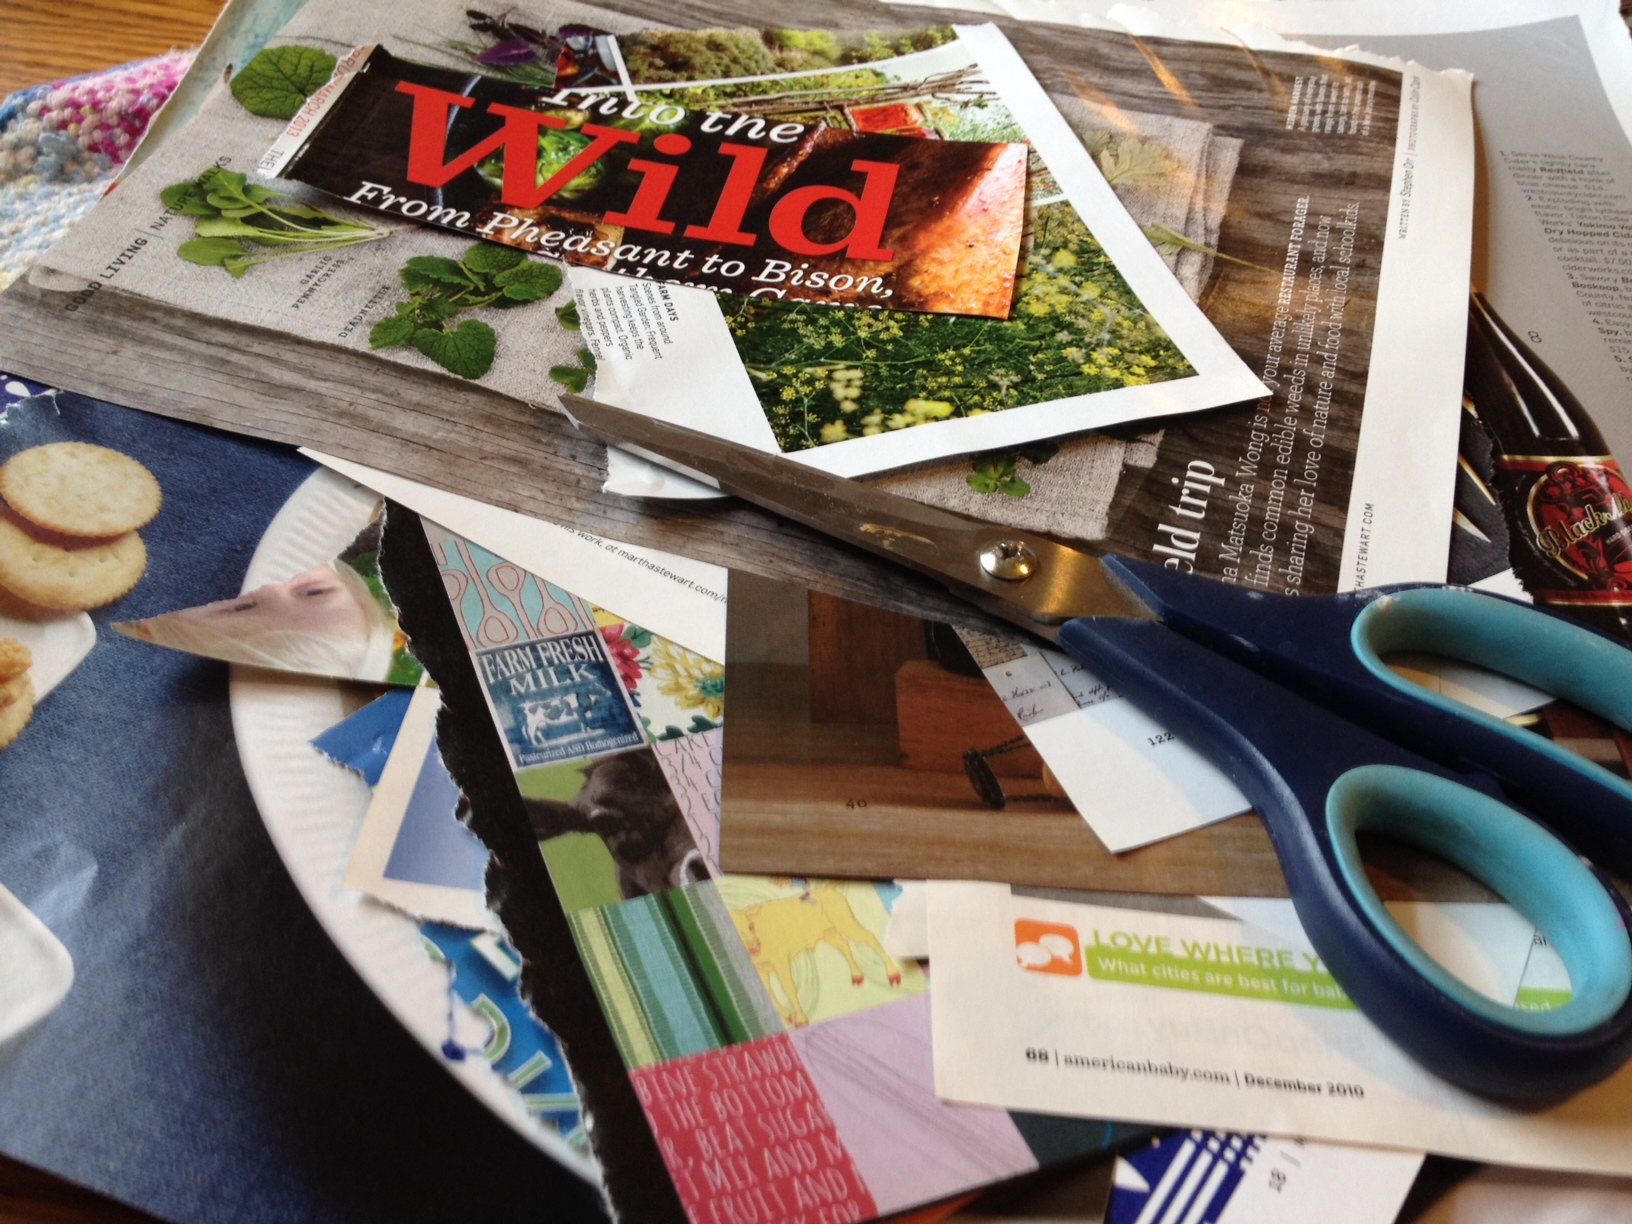
Weed out any images that you have decided not to use for this board and start trimming up the ones you plan to keep. (Note: Don’t discard the unused items as you may want to use them in another dream board later on.)
Step 4
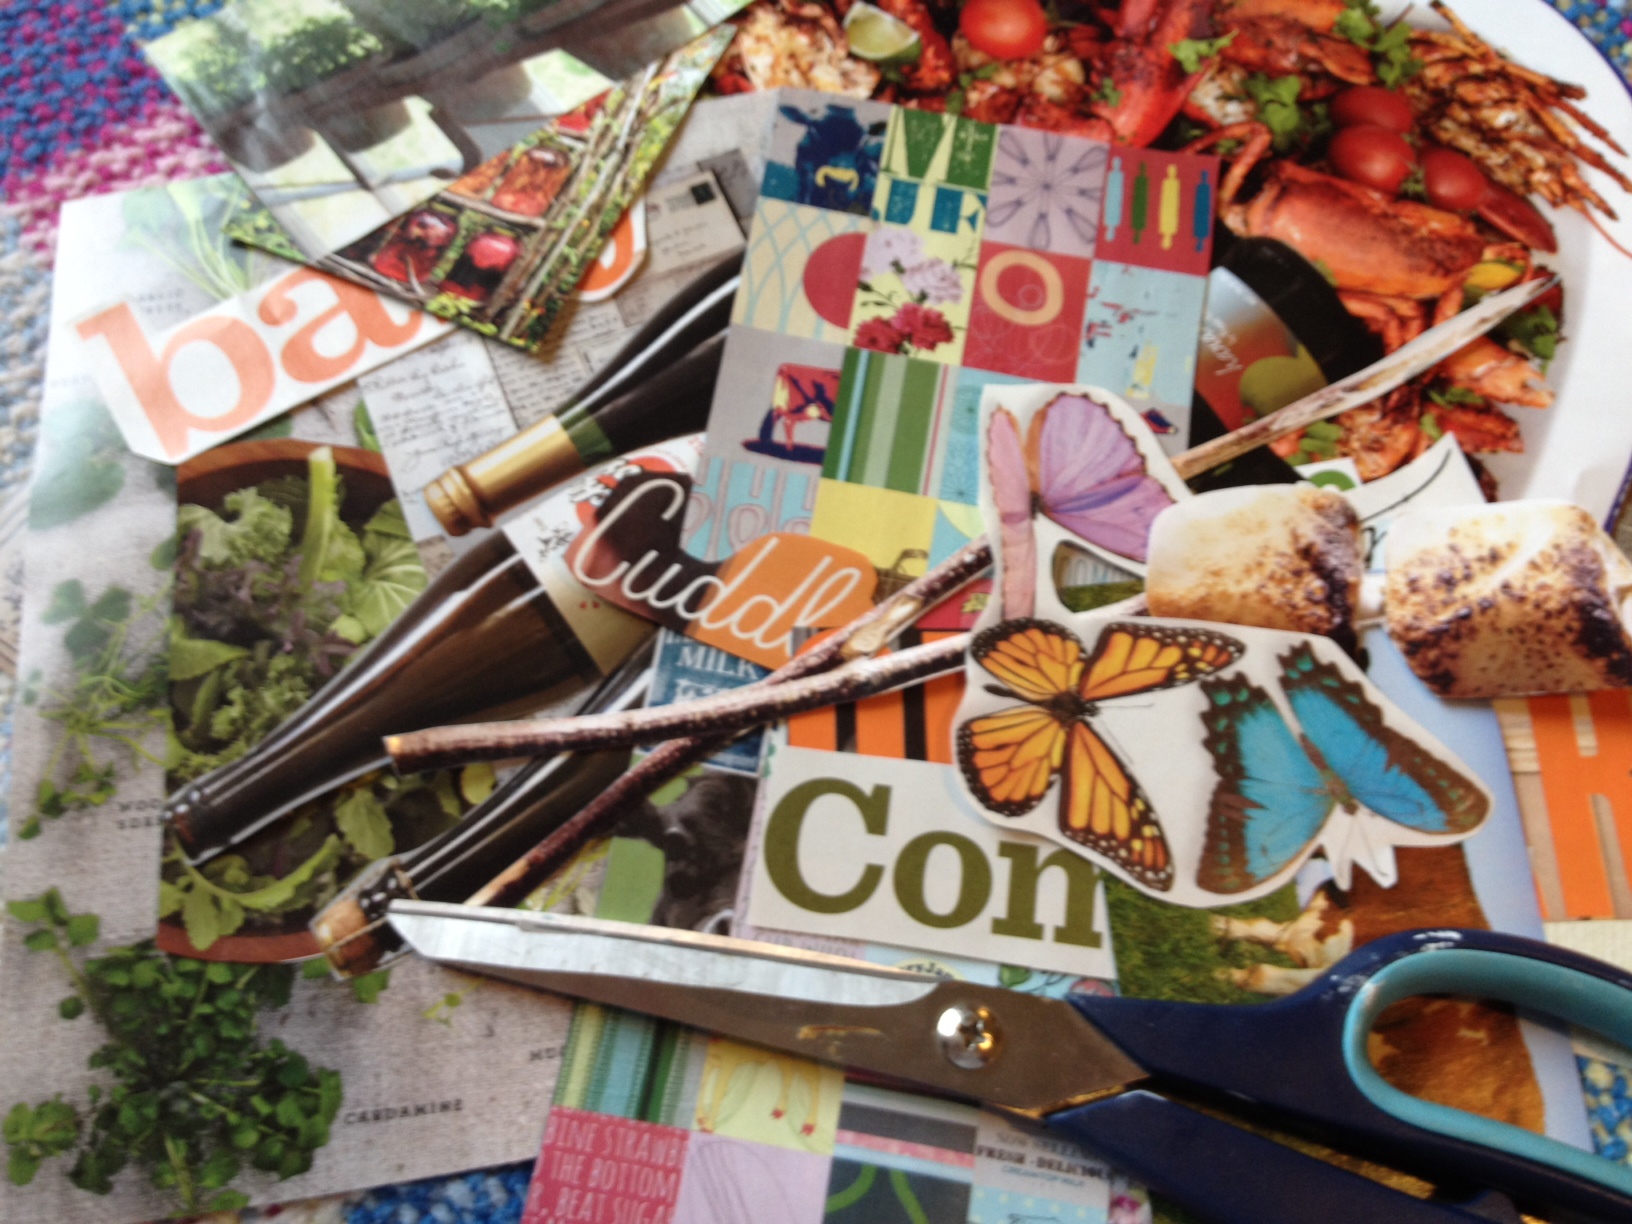
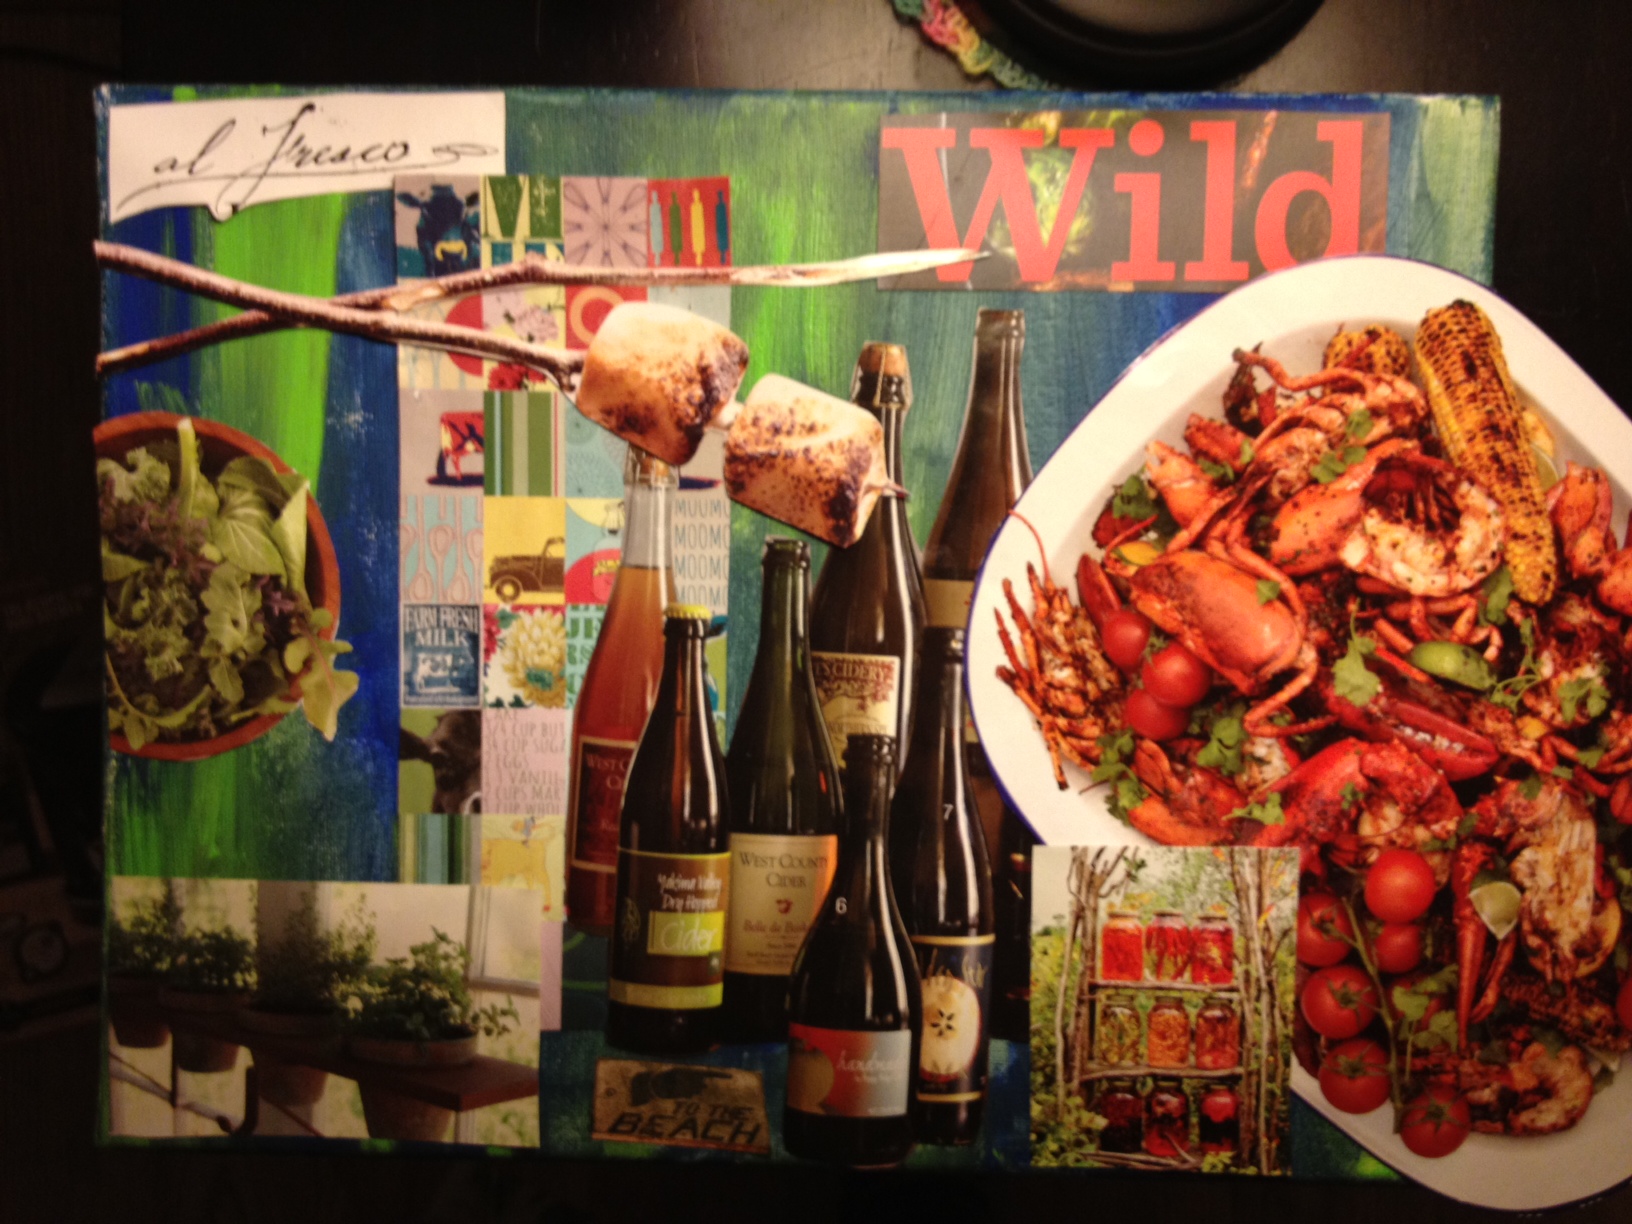
Begin laying your words and images on your canvas or paper. Don’t glue anything down yet! Right now just focus on finding an arrangement that is pleasing and meaningful to you.
Step 4a
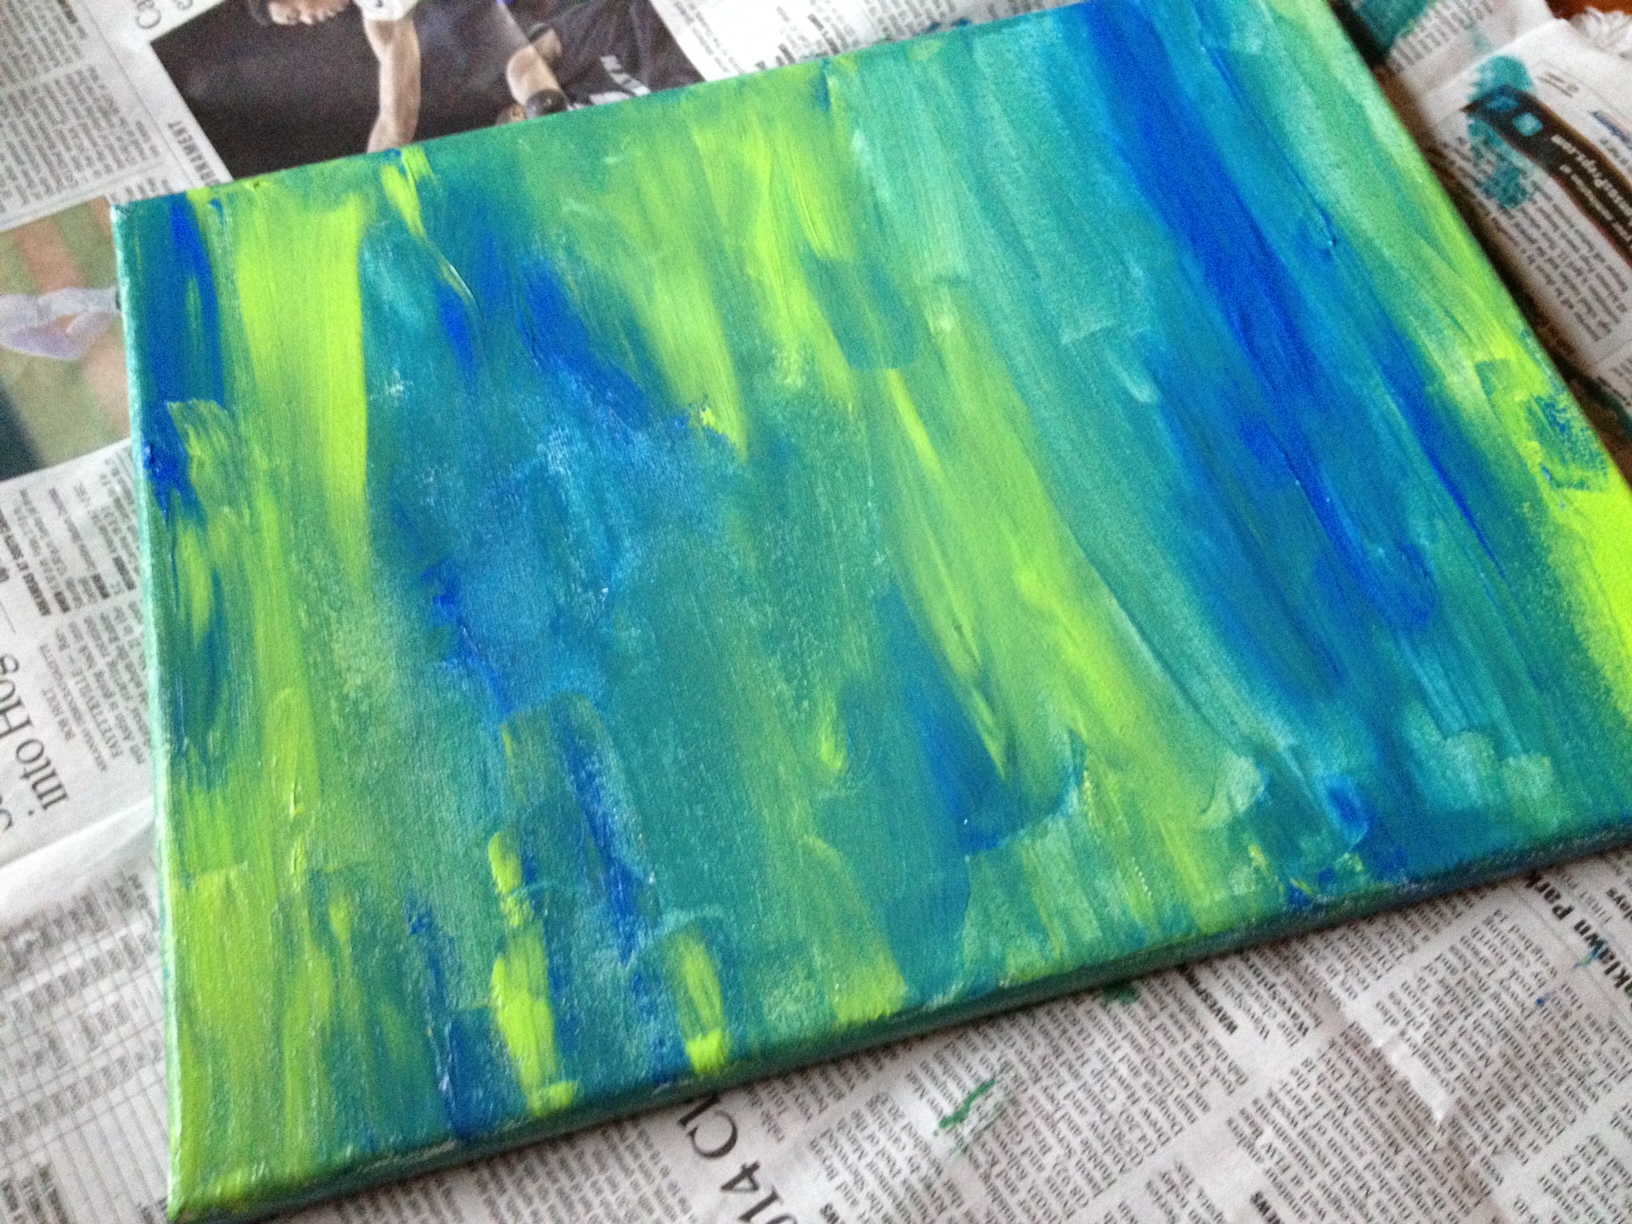
If you feel so inclined you might want to put some layers of paint down on your canvas or paper before moving to step 4
Step 5
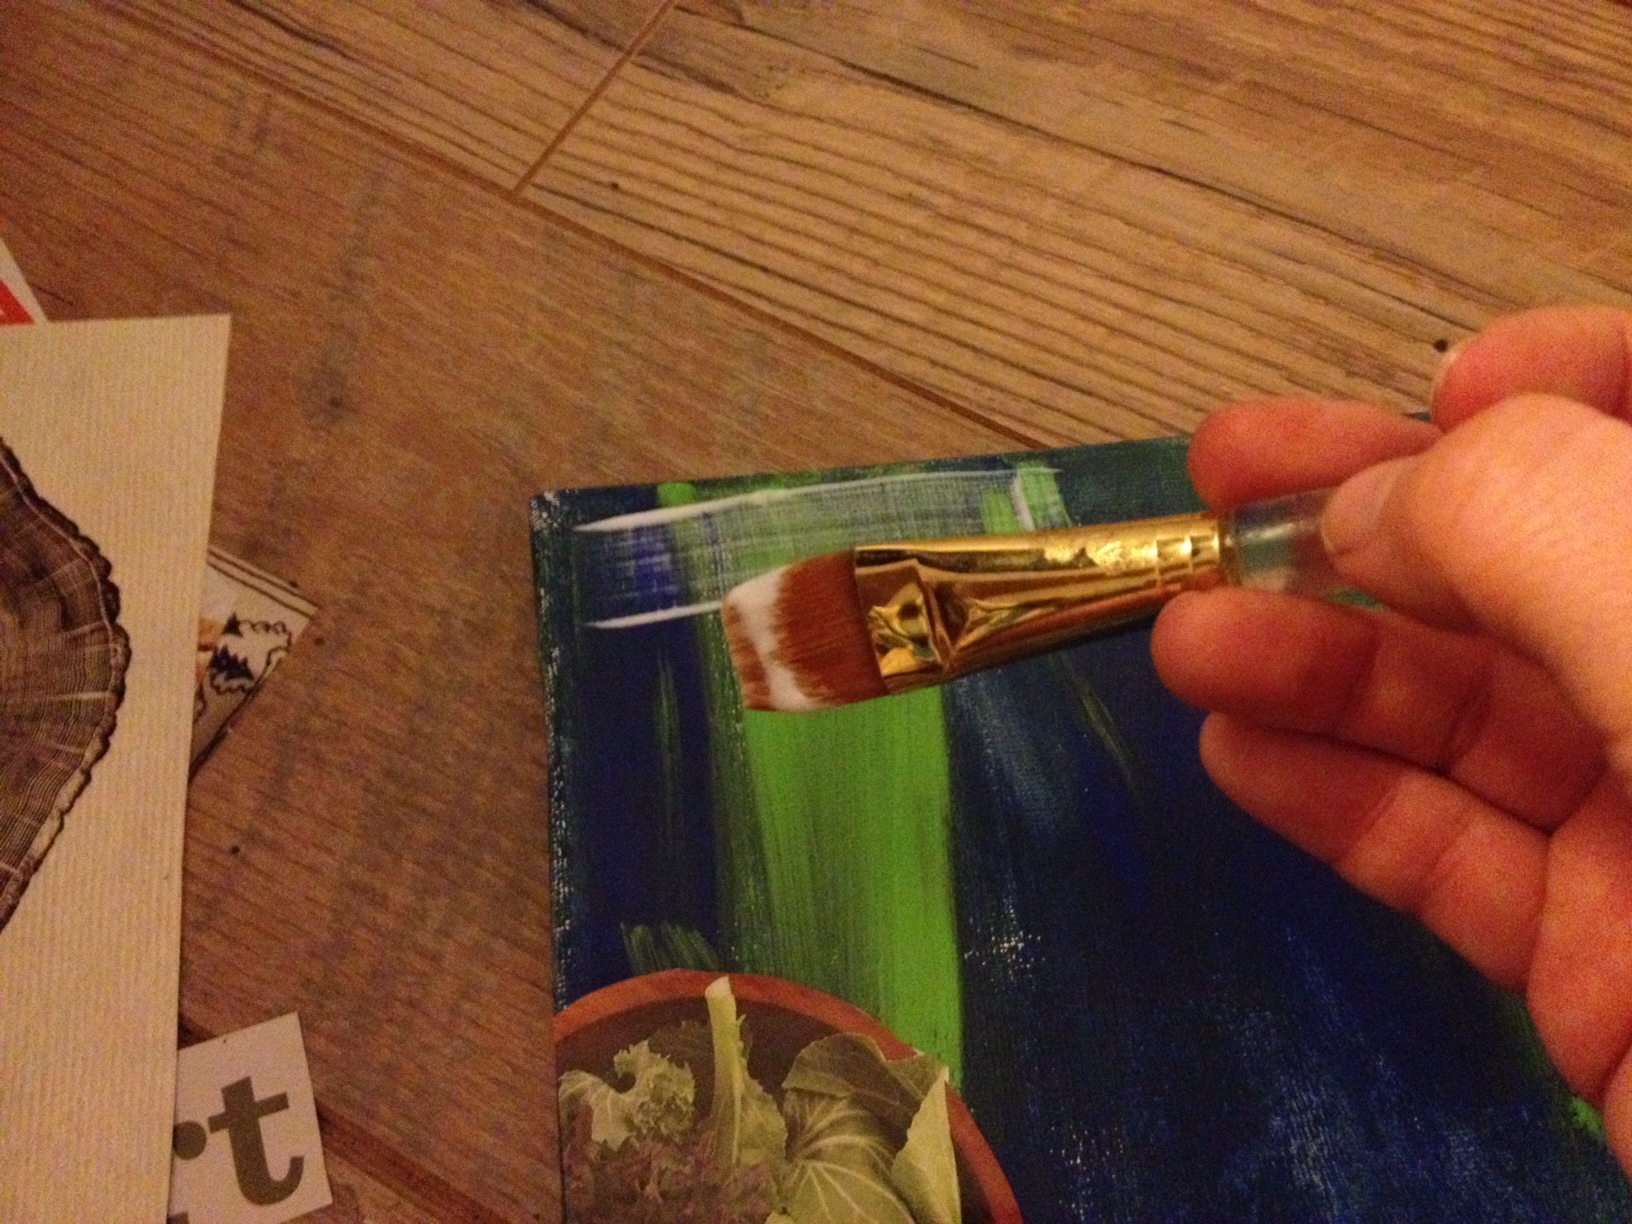
Glue down your items. I like Mod Podge but Elmers glue with a little water added to it works great too. I begin by brushing some glue onto my canvas. I then place down my objects and paint more glue over the top of them. Don’t worry if you get air bubbles…they just add to the beauty.
Step 6
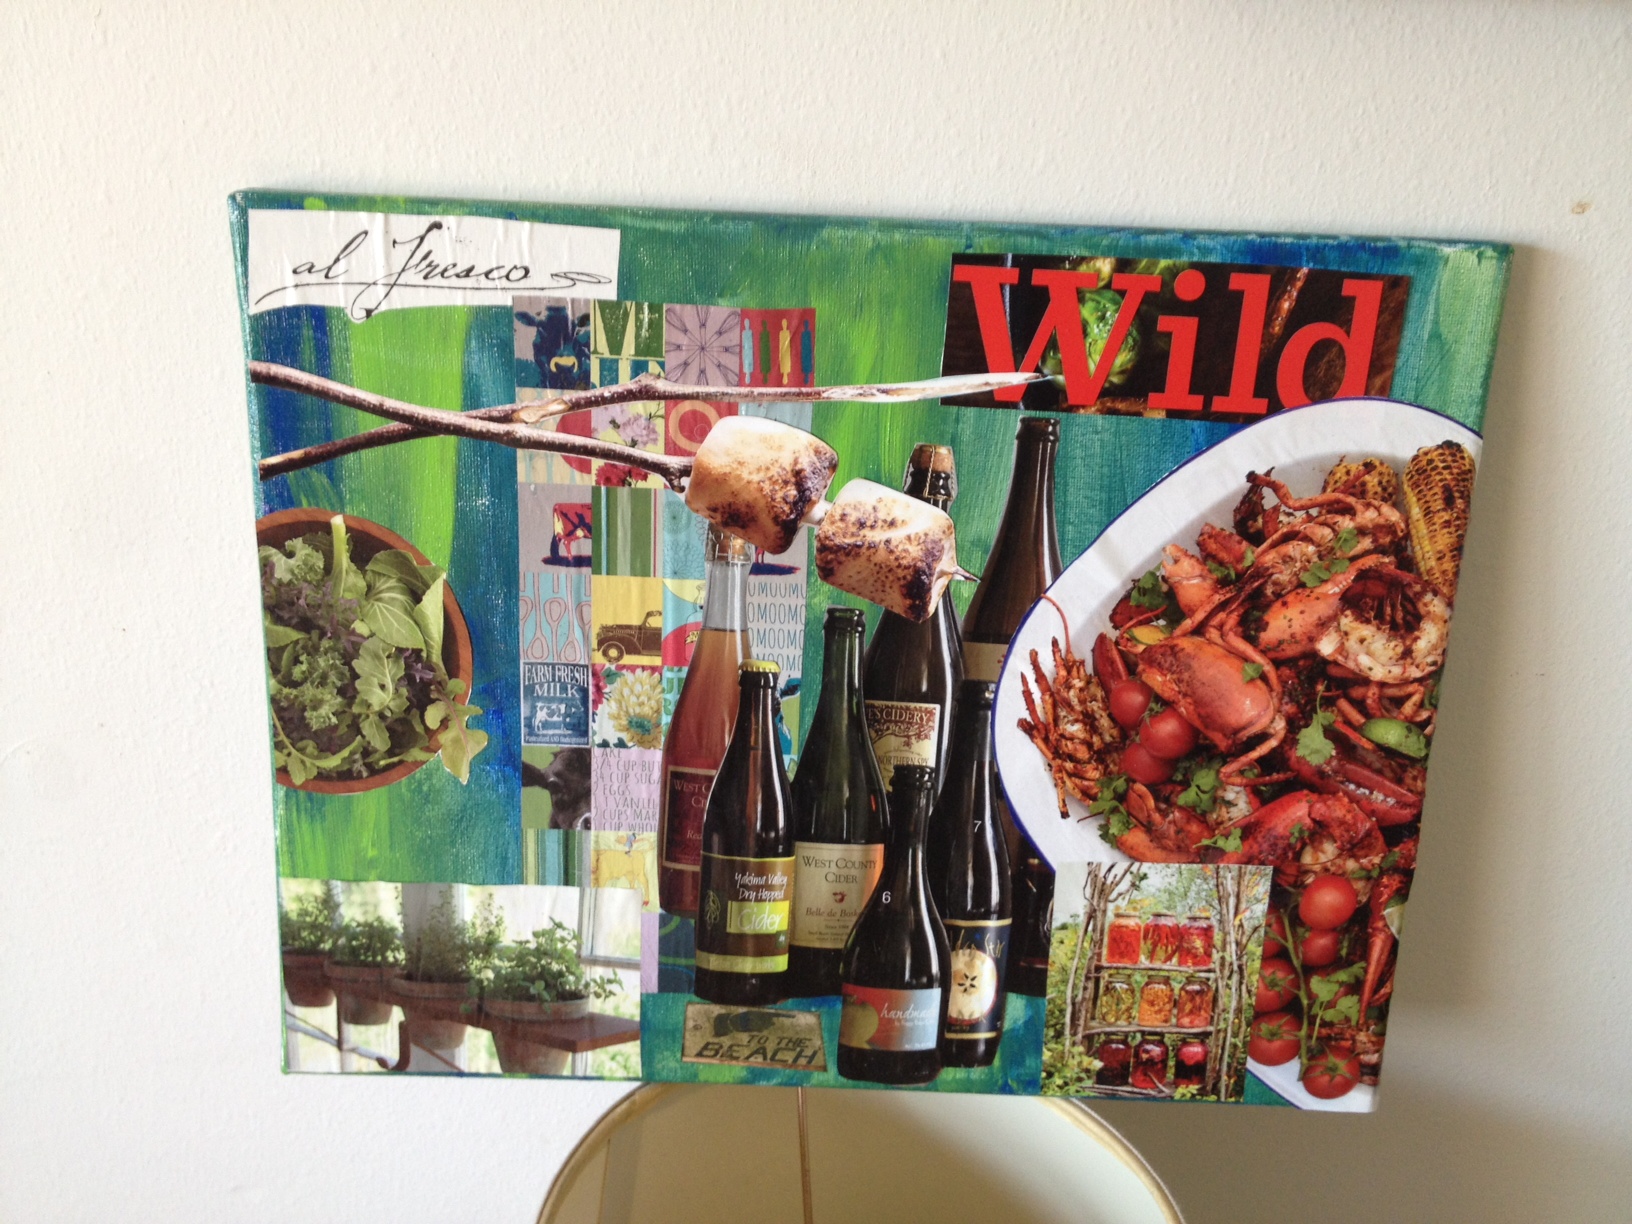
Hang up your beautiful work and admire your hard work.
Step 7
Reflect! Take some time to reflect and free write about your board. What do you see? What surprises you? Is there something your thought would be there that isn’t? What are you doing to achieve your goals? What should you be doing to achieve your goals? What does my husband (or children, or close friends) think my dream board says about me? We are bloggers after all so why not write a post about your dream board.
Post by Alison Chino of AlisonChino.com
