Written by Stephanie Hamling of the Proactive Bridesmaid.
We’ve experienced a paradigm shift in the blogging world over the past several years. When I began blogging, most of my peer sites read like personal journals, long blocks of text with little to break them up aside from an indention and a hard return. These days, if you don’t have an eye-catching photo to kick things off, you are likely to get passed over, no matter how good your writing.
Early in my experimentation in digital photography, a fellow blogger complemented me on my shots and lamented her lack of high-end photography equipment. I didn’t have the heart to tell her that I was using a basic point-and-shoot that set me back about a hundred bucks. Years later, I’m still using that little work horse, but I like to think I’ve progressed a bit and learned a few valuable tips.
Shoot a lot of photos.
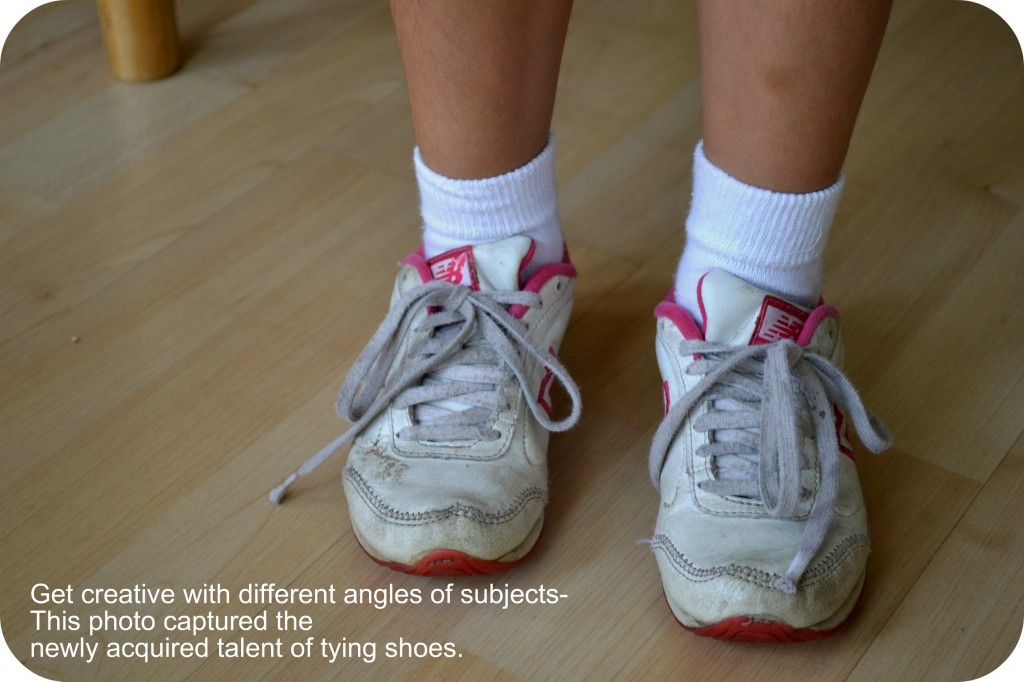
Seriously, go to the edge of ridiculous and then shoot a few more. Unless you are shooting on film (in which case you probably know far more about photography than I do) there really is no longer an excuse to be stingy with your shots. Few things are more frustrating than getting a photo that is almost perfect. Even the best of us occasionally lose focus or inadvertently crop out a bit of our subject. Additionally, you don’t want to end up with the perfect vertical shot only to realize in editing that what you need is the perfect horizontal. Finally, there are few exercises more valuable than looking at dozens of shots from slightly different angles and from varying distances to figure out a style you like, not just for that shot, but for future shots. With over six years in, I still take about thirty shots of any still life that I set up.
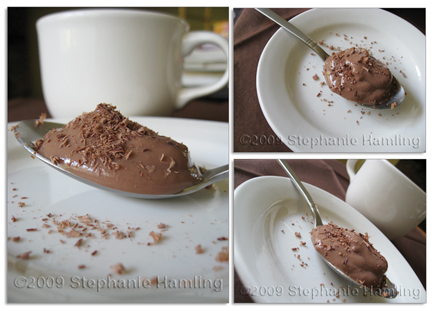
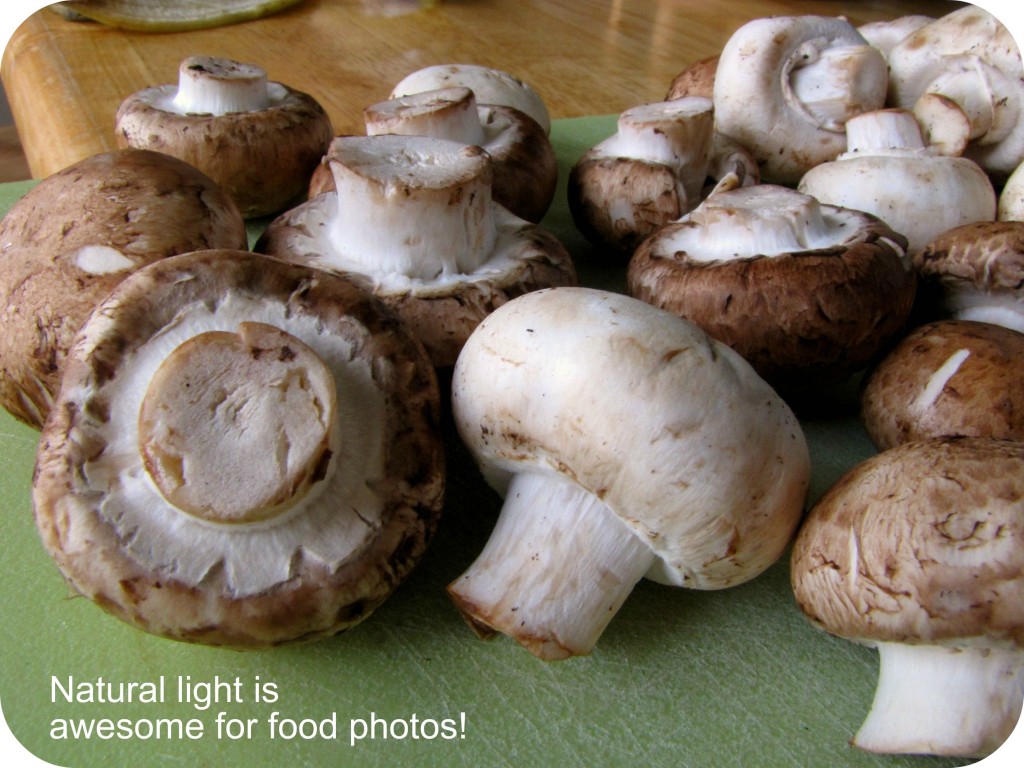
Natural light is your friend, and the in-camera flash is your last resort.
Mid-morning sunlight is a photographer’s dream, and mid-afternoon is a close second. Shoot during these slots whenever you can. Photos will have a natural depth of field and shadows will be soft and diffuse. Sunlight during the rest of the day will be sharper, but with screening and bounces, you can still use it for great shots. Whatever light you have to deal with, you can help it a bit with bounces and screens. The goal with these techniques is to even out your light, giving you fewer hot spots and shadows. About ninety-percent of the time, I’m shooting indoors in front of a large window. This gives me one major light source. Since I’m shooting a three-dimensional object, it stands to reason that I want to get light all around it. I do this by putting a bounce opposite the window and beyond the object I’m shooting.
Just about any large, flat expanse of white with work as a bounce. I have a fabric draped pvc frame I use for big projects, but I encourage you to use what you have. When I’m enjoying a meal out, the company and food come first and the photos come second, so I don’t like to carry lot of gear. That said, I don’t hesitate to use my water glass as and impromptu tripod or my white napkin or bread plate to bounce light. In a pinch and see someone in a white t-shirt? “Excuse me, sir!”
I use screens far less than bounces, but they are invaluable in particularly harsh light. Unlike a bounce, screens are placed between the light source and the subject. Screens will block some light, bounce some light, and let some light straight through. The overall effect is much softer light and less harsh shadows. I use a tulle covered pvc frame as my screen for most projects, adding layers of cheesecloth or thin cotton fabric if needed. A flour sack dish towel draped over the window works as well. I almost always use a bounce when using a screen.
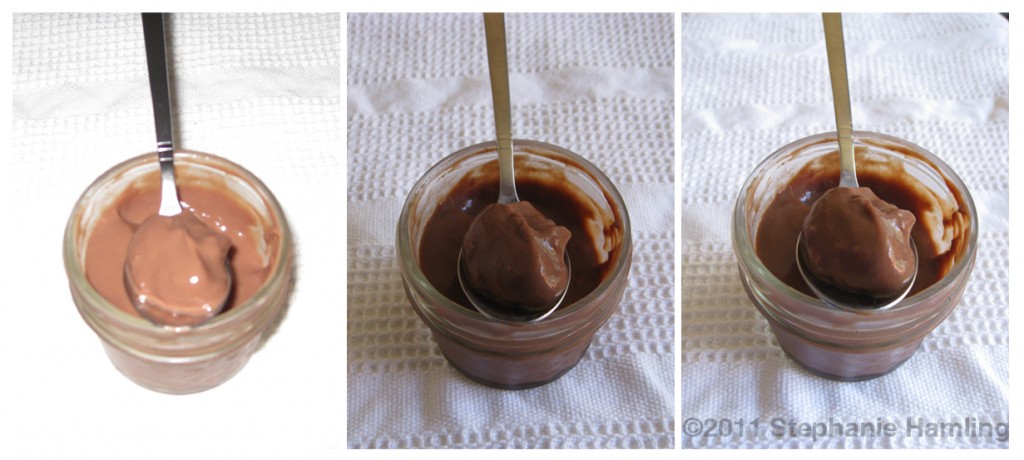
Explore and experiment with your camera’s settings.
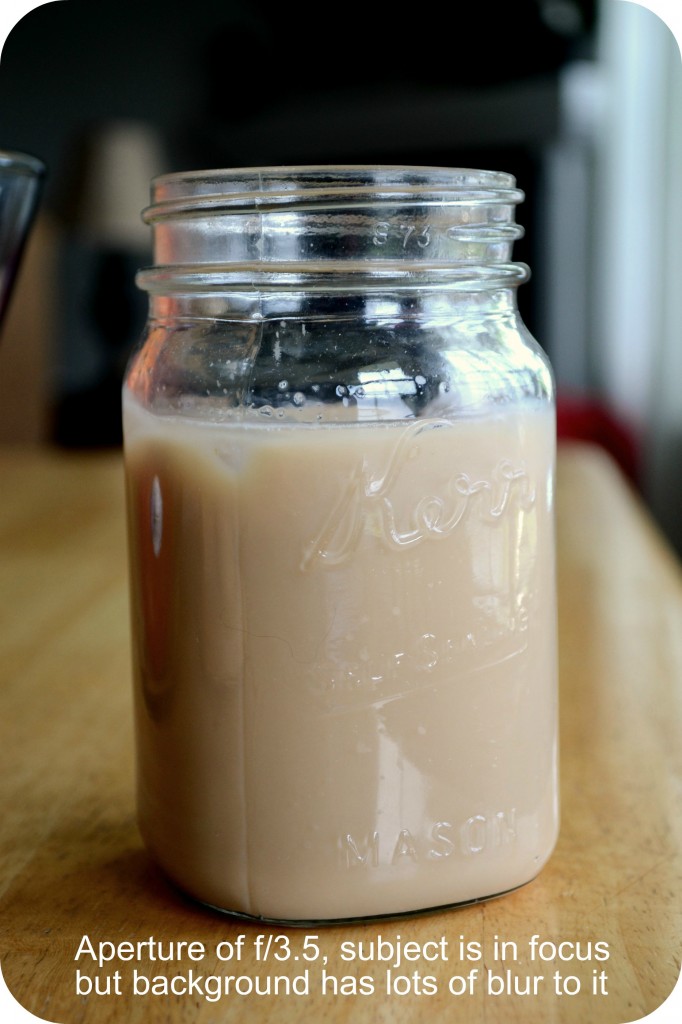
I love my camera’s macro setting. It is perfect for the many close-ups I shoot, allowing the camera to focus clearly on objects within a fraction of an inch from the lens. Although you have less control with this automatic feature than you would with a special lens, you can still create some great effects through a bit of trial and error. Most cameras will indicate which area of the frame will be in sharpest focus, so you can adjust as you shoot. Find your own favorite feature of your camera!

Photograph things you love.
Just as with writing, it will be obvious from your photos if you are passionate about your subject. If you are trying to copy others who have better equipment, more training, and a bigger budget, you doom yourself to failure and discontent. If you are creatively pushing your limits to capture a subject the means something to you, most likely you are enjoying life and getting good pictures.
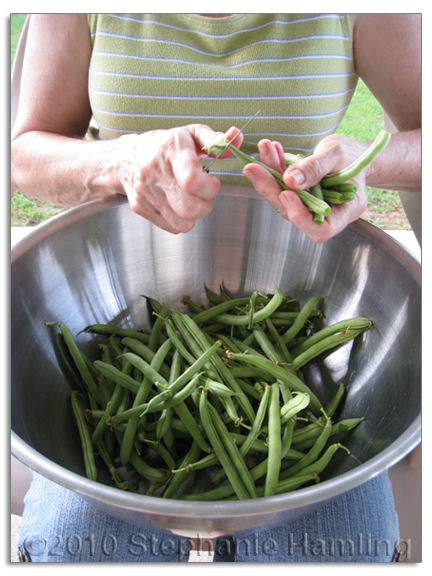
Play with your photography!
Take plenty of shots of anything that interests you and make use of natural light and the features of your camera. The more photos you take, the more you will begin to develop and eye for the kind of photos you want to take. What are your best photography tips?
Content © Stephanie Hamling 2011.
 Stephanie, originally from Wonderview, AR, now lives in our state’s capitol. A freelance graphic artist and a local-food
activist, she enjoys gardening, photography, and cooking. You can indulge in more of her musings by visiting her blog, Proactive Bridesmaid , which celebrated its sixth anniversary in June. Stephanie was Arkansas Women Blogger of the Month in December 2011.


