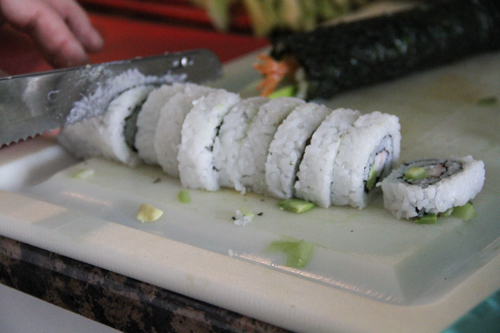
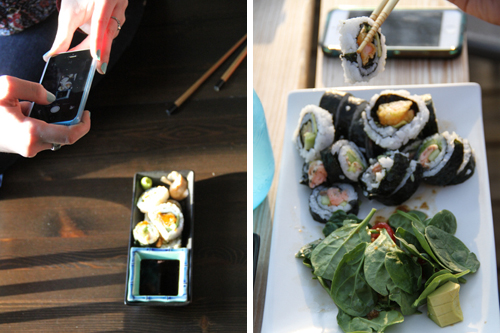
I love to eat sushi, and so do most of my friends. It’s tasty, exotic, beautiful…sadly, it’s also expensive. I remember feeling flabbergasted when I realized that there were actually people who made their own sushi at home, but friends, I have become a believer. While I will always enjoy eating sushi out, making it at home is less expensive and super fun to do with a group of people. In fact, it’s become one of my favorite things to do when I’m getting together with friends.
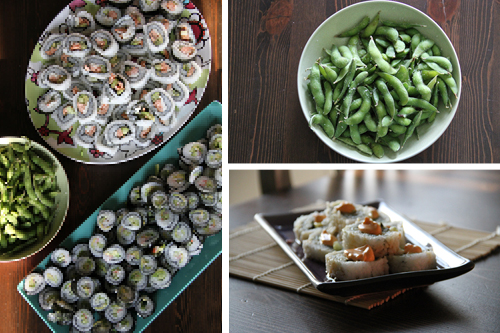
There are plenty of wonderful step-by-step tutorials out there on the internet (the Pioneer Woman, for instance), and there are also plenty that will make you feel like you can’t make sushi unless you’ve trained under a chef. I’m going to tell you what you need to get started on your own sushi adventure, and give you the best piece of advice I have: don’t be intimidated. You’re not trying to be a sushi master, just have some yummy fun at home. Get a group of friends and get going!
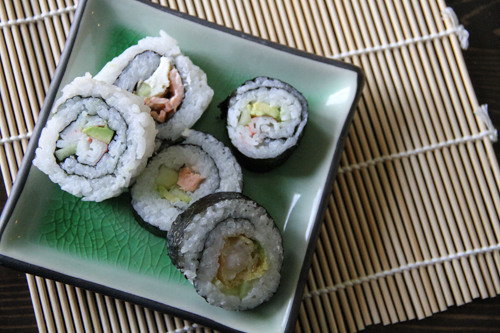
You need a few things to get started. Fortunately, most of them are inexpensive:
· Bamboo sushi mats
· Sushi rice paddles
· Chopsticks
· Optional: sushi dishes & a rice cooker
Now, some of you that know what you are doing in this department are already gasping at me. I can hear you, aghast that I would say a rice cooker is optional. Here’s really what I mean: rice cookers can get pricey and I don’t want you to run out and buy one just to try making sushi. You can make sushi rice in a regular old pot. Try that first, or better yet, find a friend with a rice cooker and invite them to the sushi party. I do think the rice is better out of a cooker, but I am not going to complain if someone hands me sushi with rice from a pot. My mouth will be too full.
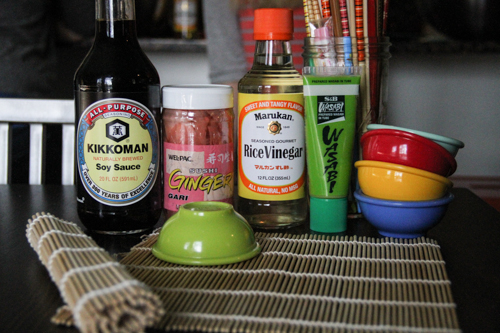
You will also need some condiments that you might not have in your pantry already:
· Rice vinegar
· Soy sauce
· Pickled ginger
· Wasabi
· Optional: Spicy mayo, Eel sauce
Wasabi is available as a paste or as a powder that you can mix yourself. You can buy pickled ginger and spicy mayo and eel sauce or you can make your own. You can get all of these things at an Asian market (they are usually cheaper here) or the international/Asian section of a larger grocery store.
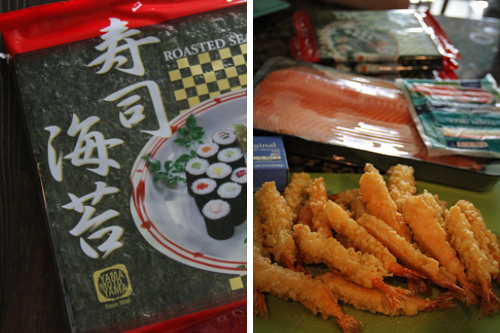
Finally, you need the sushi ingredients:
· Roasted seaweed sheets (or nori)
· Sushi rice
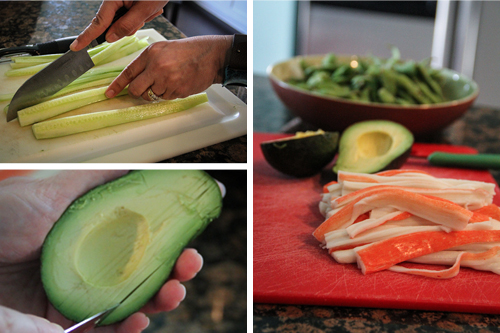
· English cucumber (the long skinny ones)
· Avocado
· Salmon, imitation crab, tuna, or tempura shrimp
Let’s pause here because I know this looks overwhelming. If you’re just starting out, get a couple of mats and paddles, and divvy up the ingredients/condiments with your group. Maybe you just want to make one type of roll the first time; I would suggest grilling some salmon with a little olive oil, salt, and pepper, and rolling it with avocado and cucumber. Do some with just salmon and rice if you have kids around.
If you want to go bigger, get a couple of different types of seafood. For my last sushi party, we had grilled salmon (about a 3 lb slab from Sam’s), a package of imitation crab, and 2 boxes of tempura shrimp (from the frozen fish section). We rolled those with a combination of avocado, cucumber, and cream cheese. We also cooked 9 cups of sushi rice, because that’s the most our cooker will hold, and used about 25 sheets of seaweed. We ran out of rice first, but I actually like that, since it leaves some extra salmon and shrimp for those who might not like rolls as much.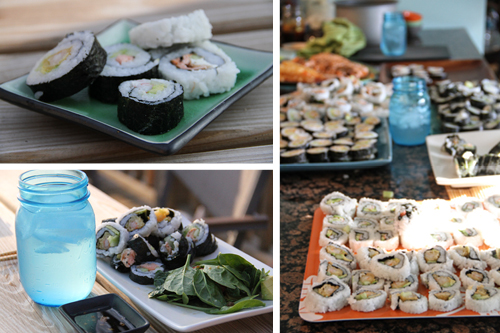
Now it’s time to make sushi!
Prepare the rice: well before you want to roll, cook your rice, dump it into a large bowl and sprinkle it generously with rice vinegar. As you roll, keep that vinegar handy. We usually sprinkle it several times – you just want to make sure your rice has that slightly sour taste.
Prepare the fillings: grill your salmon, heat your shrimp in the oven, etc. Slice avocado and cucumber very thinly. Remember how fun this is for a group? There’s a job for everybody!
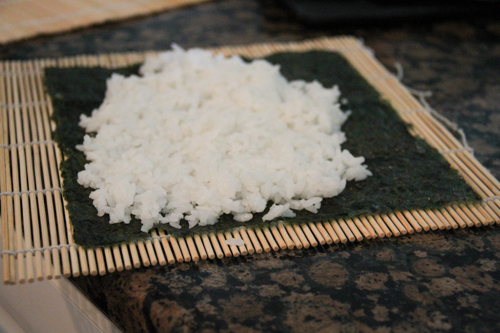
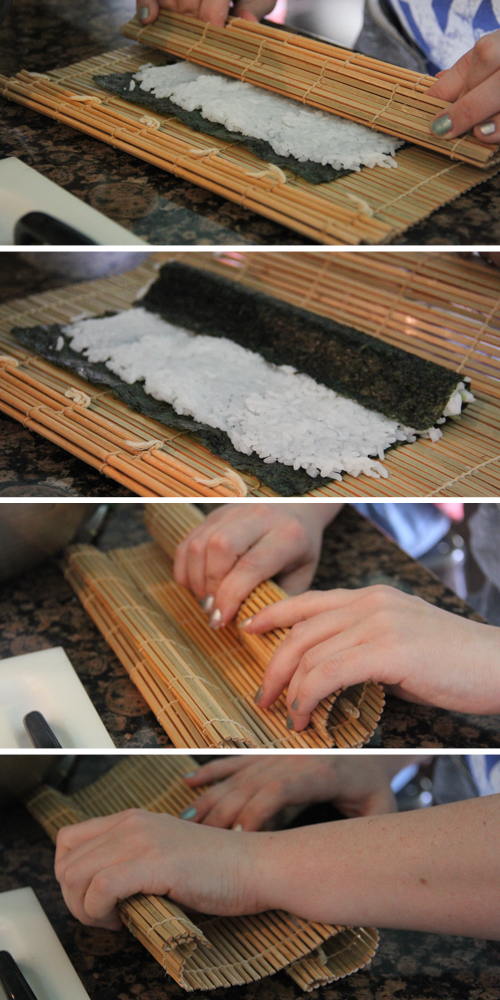
Roll: lay your seaweed on a mat, rough side up. Spread sushi rice on it with a paddle (or your fingers if you’d rather) and place your fillings in a line close to one side at the bottom of the mat. Then, bring the edge of the roll and mat up and over, and keep rolling the mat over the top of the sushi like this:
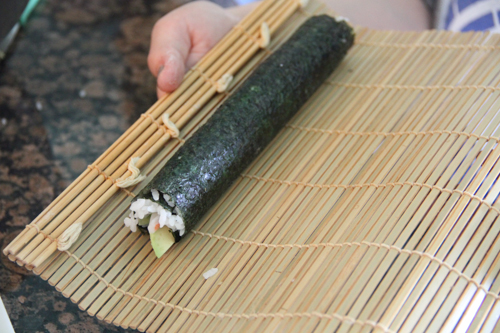
When you roll the mat all the way over, your roll will close, like this:
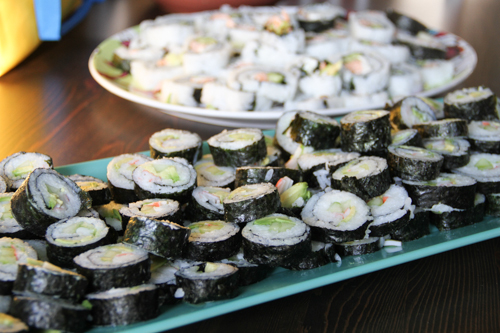
Cut: I find this works best with an electric knife. Arrange your beautiful rolls on plates. Eat the ends as you go. Bonus!
Eat: Make a beautiful plate complete with soy sauce, pickled ginger, spicy mayo, and wasabi. Be sure to instagram your fun and then enjoy!
If you’re still reading this post, here’s a fun fact for making it all the way through. At the gathering where I took these pictures, we fed 9 adults, 8 teenagers, and 3 younger kids – all of whom ate their fill – for about $15 a family (about $75 total). We even had 2 large Ziploc bags of leftovers for lunches the next day. We always have a great time, everyone in the kitchen cutting and rolling and laughing – I hope you’ll try a sushi party soon!

Sarabeth Jones is a creative at Fellowship North who enjoys all kinds of artistic work; her latest project is bringing the national live-reading show Listen To Your Mother to Little Rock. She lives in Sherwood with her husband, Bryan, and their kids, Elizabeth, Jonathan, and Will. She loves to write about they way they make her laugh on her blog, thedramatic.com.

