By Heidi Clark of The Busy Nothings
Before I had kids, I threw the best parties. Any occasion to celebrate, I would open my house and gleefully experiment in the kitchen. I would decorate my house for every holiday and had cute dishes to take to all the parties we went to. Ohhh… and I was a size 4.
Now…
There are two rotting pumpkins on my front porch which, although gross, shows signs of progress as per the fact that we actually decorated with something this year to celebrate fall. My husband Ben is already groaning that he will have to get the Christmas decorations out soon and last year- try not to judge- we didn’t even have a Christmas tree up. I can’t serve more than five people with matching plates at the moment and my “fancy Christmas dish” is a bent Christmas-colored tin that I saved after someone gifted us with a plate of cookies. Moving, having two crazy boys and just good life living have broken a thing or two along the way. C’est le ve. Ohhh and I’m not going to tell you what size jeans I’m wearing today…
Life has been very different- working full time obviously takes up a lot of time and since I’m not home physically anymore, those little free pockets of unexpected time that I had to play with flour, water and sugar in the kitchen have evaporated. These days, I need something quick, dependable yet delicious as chocolate chip cookies for pop-up dinners, community groups and parties.
I love gourmet, will forever search out the fancy and savor the special but for my plain, hectic and frugal phase of life that I am in right now, I have found my special, go-to dessert. Texas Sheet Cake.
Perhaps you’ve heard of Texas Sheet Cake before. It was my Minnesota mother-in-law who introduced me which I find a humorous irony as I’m the one FROM TEXAS but nonetheless I am thankful. At first, I was embarrassed to bring “such a basic recipe” but, event after event I watched people’s faces light up with recognition, watched their eyes close as they took a bite and carried home an empty cookie sheet. I changed my mind.
Really this is the best dessert. You can mix it in a few minutes, it only takes 15 minutes to bake and the homemade icing is a breeze. The incredibly moist, rich, and flavorful cake combined with the chocolaty, buttery icing is one of the best tastes around and because there is no way that I could just follow a recipe without changing it just a little, this cake recipe has been gourmet-ed up for you here today, but don’t worry, it also works when you just have the basic ingredients.
Oh and this is also for my Vlogging Bestie- Taylor over at Texas Women Bloggers! Hey girl! 😉
- 4 Tablespoons cocoa powder
- 2 sticks margarine (1 cup)
- 1/2 cup oil
- 1 cup water
- 2 cups flour (OR 1 1/2 cups white flour, 1/2 cup coconut flour)
- 2 cups sugar
- 1/2 cup buttermilk
- 2 Great Day Farms organic eggs
- 1 teaspoon soda
- 1 teaspoon pure vanilla (home-made is best! If you can't, just buy a high quality one.)
- 1 teaspoon Ceylon cinnamon (I put 2 tsp in my cake!)
- 1 teaspoon chili powder (optional)
- 1 stick margarine (1/2 cup)
- 4 tablespoon cocoa powder
- 5 Tablespoon milk (or almond milk)
- 1 tsp vanilla
- 1 pound powdered sugar
- optional: crushed walnuts
- In a saucepan, add margarine, cocoa, oil and water. Boil for 2-3 minutes.
- Mix remaining ingredients together in a large bowl. Add cocoa mixture, mix well.
- Bake in a 15 x 10-in.ch jelly roll pan coated with nonstick spray at 400 degrees for 15 minutes.
- Cool and frost.
- Boil margarine, cocoa and milk for 3 min. Add remaining ingredients, mix well. While still warm, spread on cool cake.
- Bonus: (for the nights you have an extra 15 minutes)
- So much of a recipe is about presentation so on the nights you aren't running out with burning fingers and dripping icing, take a little time to make your cake look as good as it tastes!
- After the cake is cool and the icing hardens, carefully cut into large squares. Stack on a plate as neatly as possible in a pyramid shape or put 1 large slice on a desert plate.
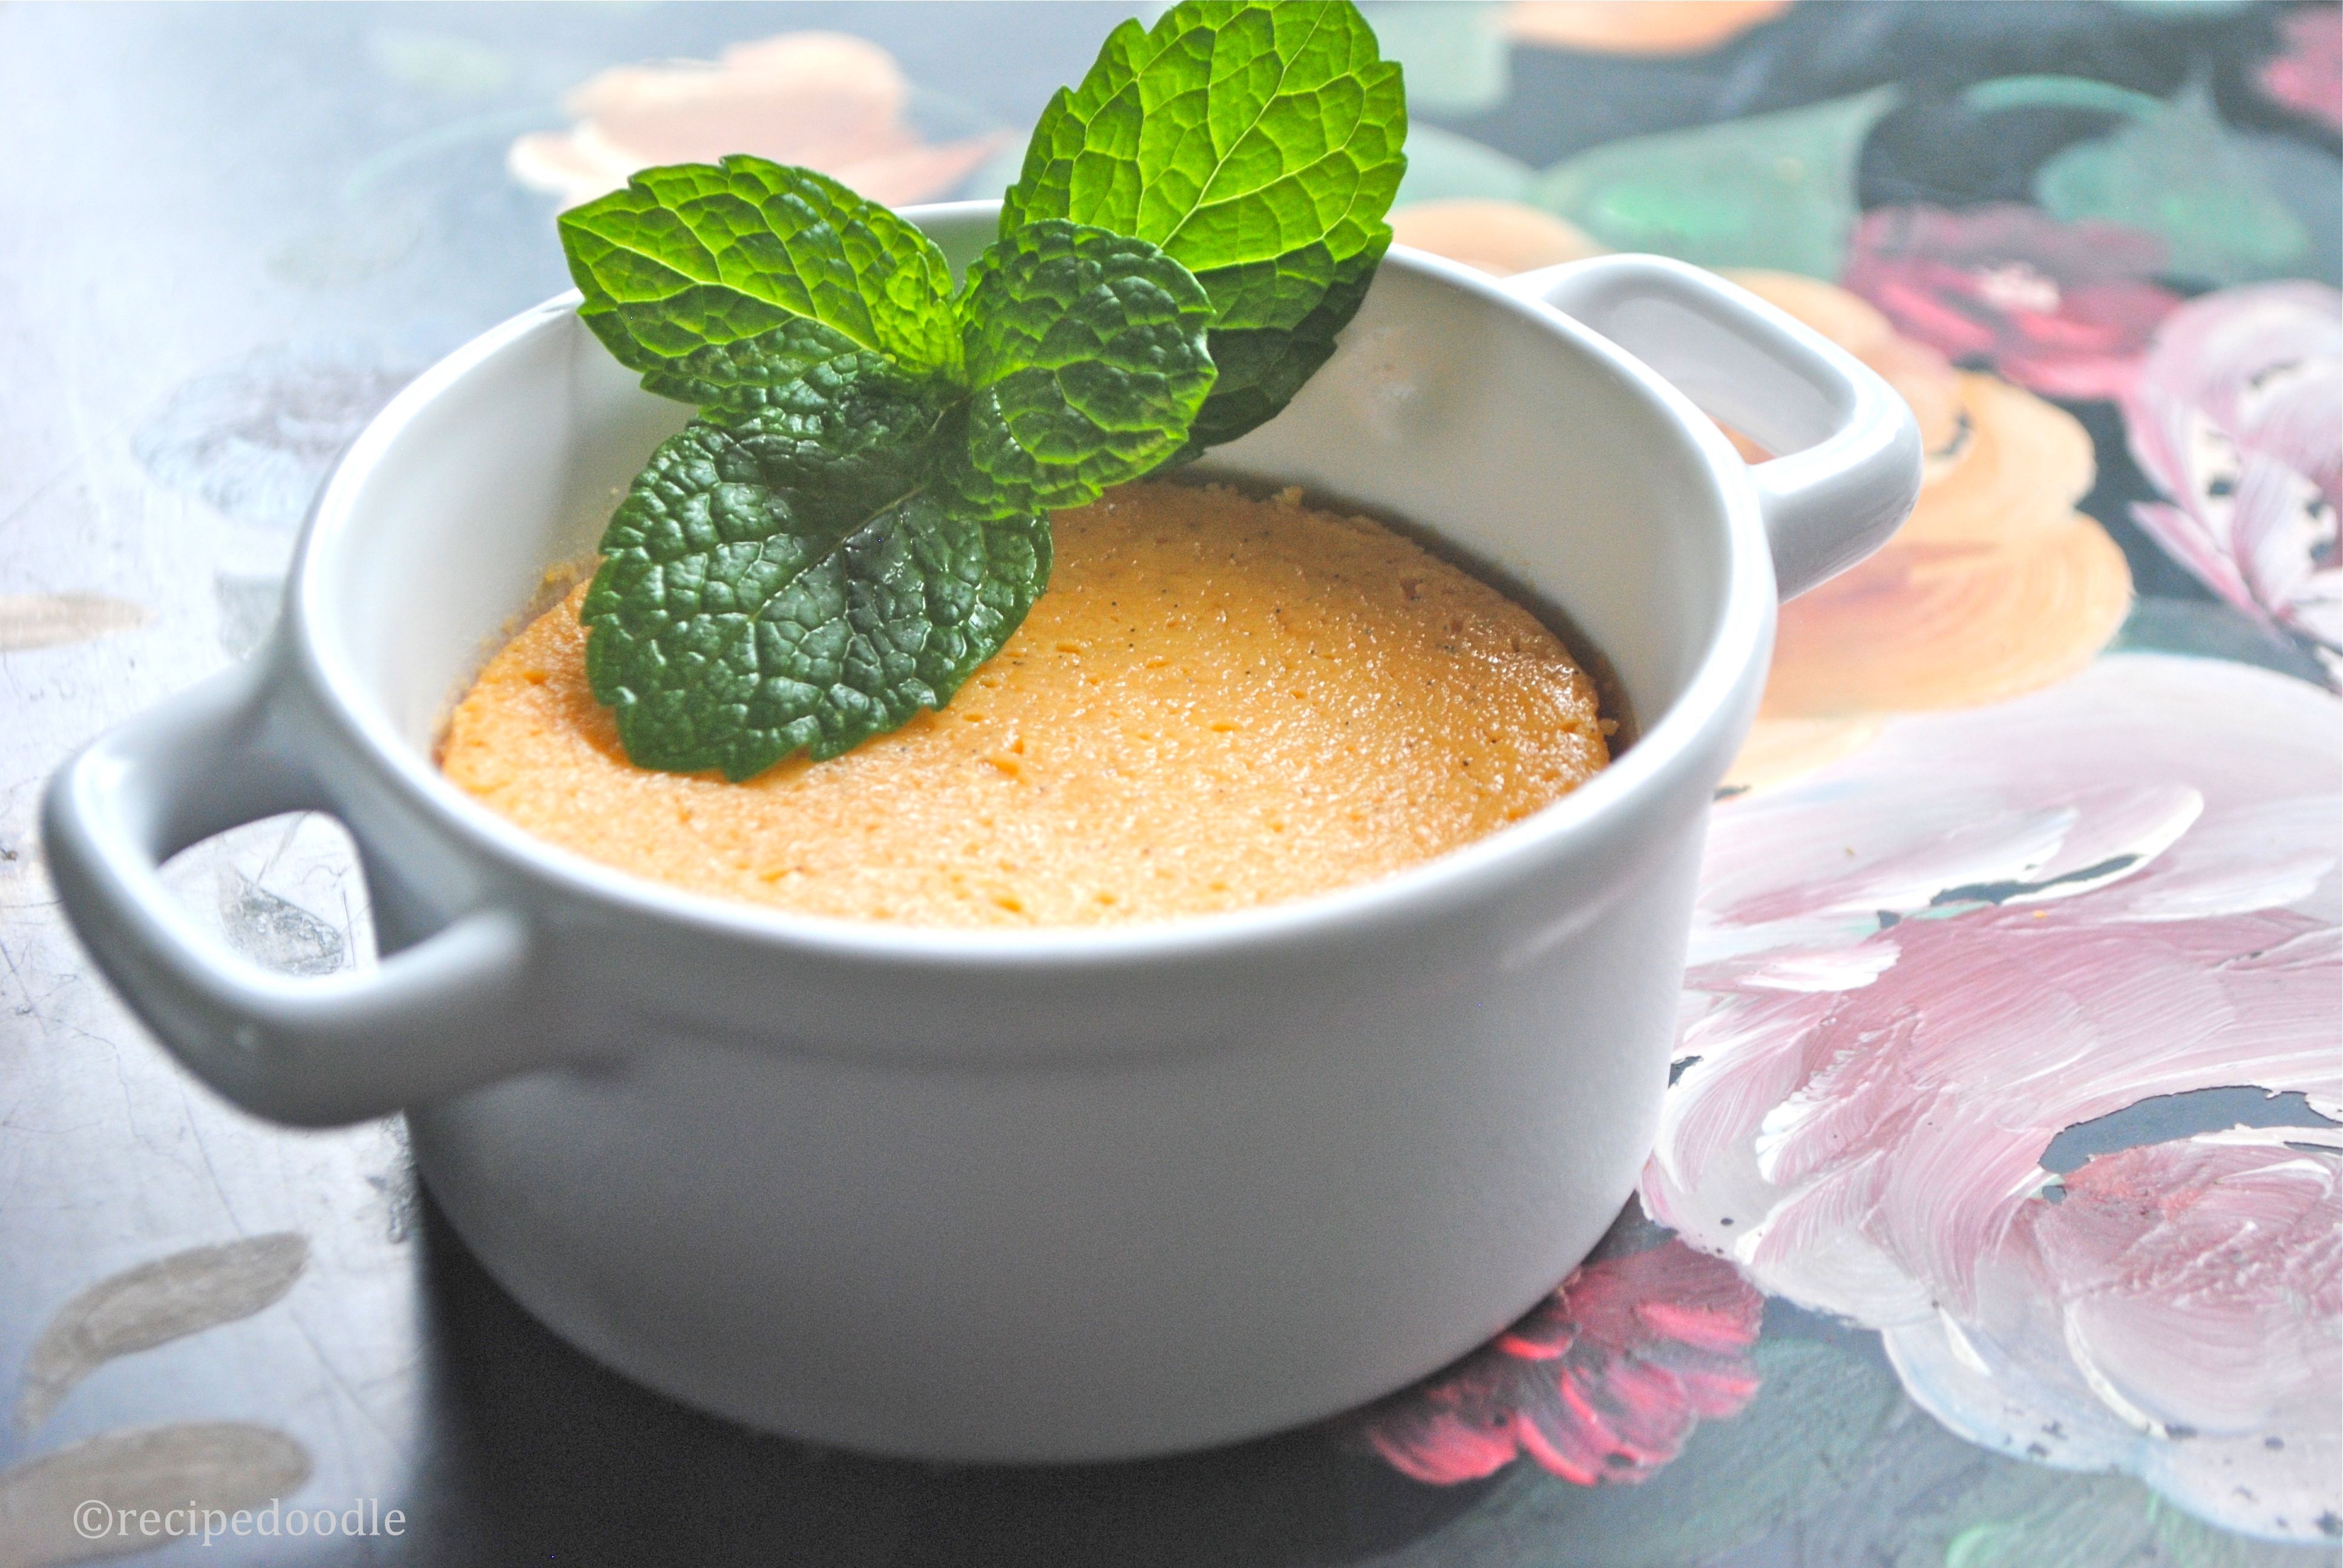
- Get your sifter out and lightly sift powered sugar on top, then a bit of unsweetened cocoa. Top with a mint leaf and raspberry.
- If it's for a Christmas party, sprinkle on some crumbled peppermints.
- Enjoy having the best tasting thing at the party!
Glammed UpTexas Sheet Cake
Cake:
4 Tablespoons cocoa powder
2 sticks margarine (1 cup)
1/2 cup oil
1 cup water
2 cups flour (OR 1 1/2 cups white flour, 1/2 cup coconut flour)
2 cups sugar
1/2 cup buttermilk
2 Great Day Farms organic eggs
1 teaspoon soda
1 teaspoon pure vanilla (home-made is best! If you can’t, just buy a high quality one.)
1 teaspoon Ceylon cinnamon (I put 2 tsp in my cake!)
1 teaspoon chili powder (optional)
In a saucepan, add margarine, cocoa, oil and water. Boil for 2-3 minutes. Mix remaining ingredients together in a large bowl. Add cocoa mixture, mix well. Bake in a 15 x 10-in.ch jelly roll pan coated with nonstick spray at 400 degrees for 15 minutes. Cool and frost.
Icing:
1 stick margarine (1/2 cup)
4 tablespoon cocoa powder
5 Tablespoon milk (or almond milk)
1 tsp vanilla
1 pound powdered sugar
optional: crushed walnuts
Boil margarine, cocoa and milk for 3 min. Add remaining ingredients, mix well. While still warm, spread on cool cake.
Bonus: (for the nights you have an extra 15 minutes)
So much of a recipe is about presentation so on the nights you aren’t running out with burning fingers and dripping icing, take a little time to make your cake look as good as it tastes!
After the cake is cool and the icing hardens, carefully cut into large squares. Stack on a plate as neatly as possible in a pyramid shape or put 1 large slice on a desert plate.
Get your sifter out and lightly sift powered sugar on top, then a bit of unsweetened cocoa. Top with a mint leaf and raspberry.
If it’s for a Christmas party, sprinkle on some crumbled peppermints.
Enjoy having the best tasting thing at the party!

Heidi is a wife, mom and lover of beauty. She has been blogging since 2007 and enjoys writing about a variety of topics on her lifestyle blog TheBusyNothings.com, which she now writes with a few friends as co-contributors. Heidi is the director of social media marketing for Great Day Farms and loves that her passion for social media and writing are now what she does full time.